How to Create Marble Texture in Photoshop?
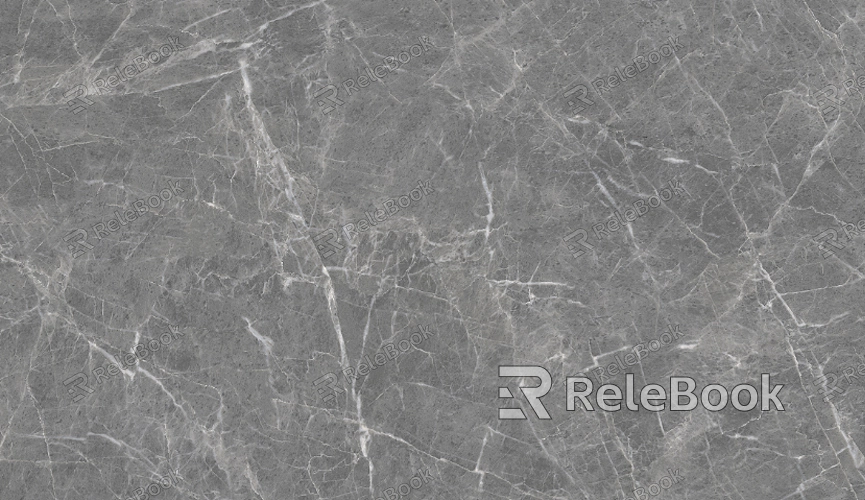
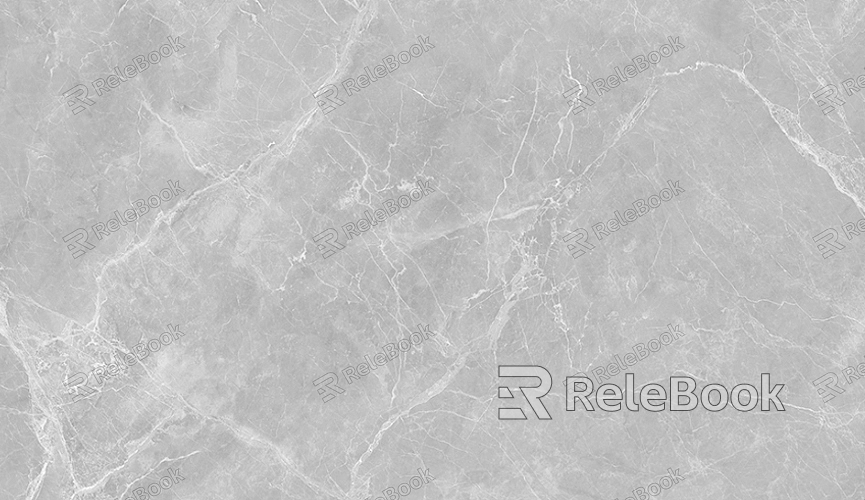
Marble texture is widely appreciated for its unique beauty and intricate patterns, making it a popular choice in design and art. Whether for backgrounds, decorations, or product displays, creating a realistic marble effect can significantly enhance visual appeal. This article will guide you step by step on how to create marble texture in Photoshop.

1. Preparation
Before you start, ensure you have Photoshop installed. Choose an appropriate canvas size, usually a medium size like 1000 by 1000 pixels, which allows you to see details clearly.
2. Create a Base Layer
On your new canvas, select a base color, typically white or light gray. Use the paint bucket tool to fill the background, as this will be the foundation for your marble texture.
3. Add Noise
From the "Filter" menu, select the "Noise" option. Adjust the noise intensity to achieve an irregular texture. Adding noise simulates the natural variations found in marble, making the texture more realistic.
4. Apply Blur
To make the noise appear more natural, use the "Gaussian Blur" filter. You can adjust the blur amount as needed; a moderate blur will give depth to the texture.

5. Create Layer Styles
In the layers panel, right-click on the current layer and choose "Layer Style." In the pop-up window, select "Gradient Overlay" and set the gradient colors. Using a black and white gradient effectively mimics the shine of marble.
6. Adjust Colors
Use the "Image" menu, then select "Adjustments" and choose the "Hue/Saturation" tool to fine-tune the colors. By adjusting the hue and saturation, you can give the marble a more personalized look.
7. Refine the Texture
To enrich the texture, use the brush tool to add details on the layer. Choose an appropriate brush and work with a low opacity to gently add fine lines and spots, simulating the natural patterns of marble.
8. Layer Management
Create multiple layers, each one adding different textures or colors. By adjusting the opacity and blending modes of the layers, you can create more complex effects. Layer management allows for greater flexibility when modifying later.
9. Final Adjustments
Once the basic texture is complete, use the "Image" menu's "Adjustments" feature for final color and brightness tweaks. Ensure the overall effect meets your design needs and that the details look polished.
10. Save and Export
When finished, select the "File" menu and choose "Save" to keep your work as a PSD file for future edits. You can also export the final image as a PNG or JPEG for use.
By following these steps, you can easily create beautiful marble textures. Once you master this technique, feel free to experiment with different colors and styles to make your designs more creative. If you’re looking for more inspiration and resources, visit Relebook to download 3D models and textures.
FAQ
How can I adjust the color of the marble texture?
You can adjust the colors using the "Image" menu and selecting "Adjustments," then using "Hue/Saturation."
Can I use pre-made marble textures?
Absolutely! There are many free or paid marble texture resources available online for you to download and use in your projects.
Is this method suitable for beginners?
Yes, the steps provided are simple and easy to understand, making it suitable for users of all skill levels.
What design projects can I apply marble texture to?
Marble texture can be used in posters, web design, packaging, and various other projects to add a high-end feel.

