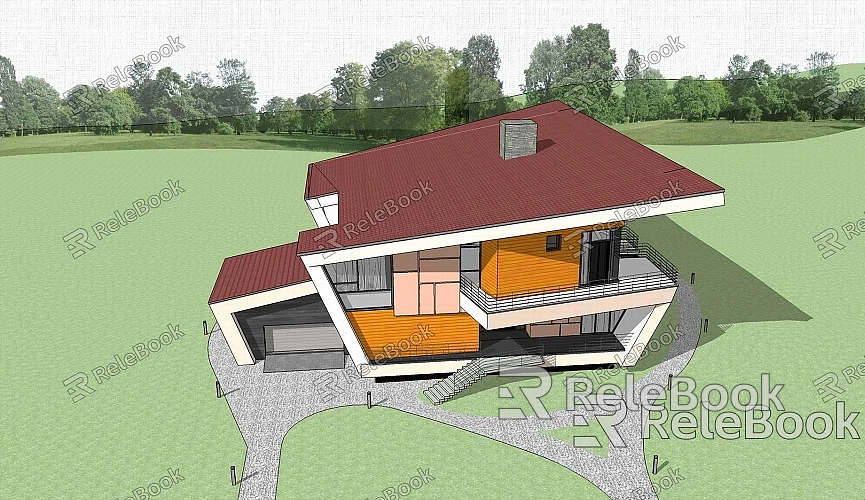
How to convert revit model to sketchup
In the architecture and construction industries, Revit and SketchUp are two commonly used modeling tools. Revit is primarily used for Building Information Modeling (BIM), while SketchUp is popular for its intuitive interface and flexible modeling capabilities. Converting a Revit model to SketchUp allows designers to leverage the strengths of both software platforms. This article will detail how to efficiently perform this conversion, ensuring a smooth design process.
Before you begin the conversion, make sure you have completed the design of your Revit model and saved it in the correct format. Revit supports various export formats, including DWG and IFC, which are typically the best choices for converting to SketchUp.

Export the Revit Model
First, you need to export your Revit model into a format suitable for SketchUp. Here are the specific steps:
- Open the Revit Project: Launch Revit and open the project you want to convert.
- Export as DWG or IFC: Click on the "File" menu and select the "Export" option. Choose either DWG or IFC format. Select the appropriate version and settings to ensure that the exported file contains the necessary geometry and hierarchy.
Import into SketchUp
Once the export is complete, you can import the file into SketchUp. Here are the steps:
- Launch SketchUp: Open the SketchUp software and create a new project.
- Import the File: From the menu, select "File," then choose "Import." Locate the DWG or IFC file you just exported and click "Open."
- Set Import Options: In the import options, make sure to select "Preserve Hierarchy" and "Import as Component." This will help you manage the imported model more effectively.
Check and Refine the Model

After importing, it's essential to check the integrity and accuracy of the model. You may need to perform some adjustments:
- Adjust Position and Scale: The imported model may require adjustments to its position and scale to align with the SketchUp environment.
- Clean Up Unnecessary Elements: Use SketchUp tools to delete duplicate or unnecessary faces and components to simplify the model structure.
Handle Materials and Textures
Revit and SketchUp handle materials differently, so the imported model may need to have materials and textures reapplied. You can manage this by:
- Checking the Materials Panel: Open the materials panel in SketchUp and review the imported materials. If any materials are incorrect, you can replace them manually.
- Using High-Quality Resources: To make your model more realistic and vibrant, if you need high-quality 3D textures and HDRI, you can download a variety for free from [Relebook Textures](https://textures.relebook.com/). For beautiful 3D models, check out [Relebook Models](https://3dmodels.relebook.com/), which offers a wide selection of quality 3D resources.
Export and Share
After adjusting and refining the model, you can export and share your SketchUp model. Here are the export steps:
- Export in Various Formats: In SketchUp, choose "File" and then click "Export." You can select multiple formats, such as STL or DWG, for convenient future use.
- Share the Model: Share the exported file via email or cloud storage with team members to ensure everyone has easy access to the latest design files.
Considerations
During the conversion process, keep these considerations in mind to enhance efficiency and accuracy:
- File Size: Larger Revit models may affect import speed, so try to clean up unnecessary elements before exporting.
- Version Compatibility: Ensure that the versions of Revit and SketchUp you are using are compatible to avoid unsupported format issues.
- Regular Backups: Periodically save and back up your files during conversion and editing to prevent data loss.
Converting a Revit model to SketchUp is an important skill that can help optimize your design process. By following the correct export and import steps, along with subsequent model adjustments and material handling, you can ensure that the converted model is accurate and aesthetically pleasing. I hope this article provides you with practical guidance, and utilizing high-quality 3D resources will further enhance your design outcomes, resulting in outstanding projects!

