How to Model a Sofa in Rhino 3D?
In modern interior design, a sofa is an indispensable element. It serves not only as a place for rest and relaxation but also as a focal point in home decor. With Rhino 3D, a powerful modeling software, designers can easily create various shapes and styles of sofas to meet different client needs. This article will detail the steps and techniques for modeling a sofa in Rhino 3D, helping readers master this skill.
Understanding the Basic Structure of a Sofa
Before diving into modeling, it's essential to understand a sofa's basic structure. Generally, a sofa consists of a frame, seat cushions, a backrest, and armrests. The frame typically provides the supporting structure, while the cushions and backrest offer comfort. Considering the relationship between these elements and the overall style and function is crucial for making informed design decisions during the modeling process.
Creating the Sofa Frame
The first step in Rhino 3D is to model the frame of the sofa. The frame can be constructed using basic geometric shapes like rectangular prisms and cylinders. Start by opening Rhino 3D and using the "Box" tool to create a rectangular prism as the main structure of the sofa. Adjust the dimensions to ensure the frame's proportions are appropriate.
Next, use the "Move" tool to position the frame correctly within the coordinate system. Then, utilize the "Fillet" tool to add rounded edges, giving the sofa a softer and more modern look.
Adding Seat Cushions
Once the frame is complete, the next step is to add seat cushions. Since cushions are typically made of soft materials, you can use the "Surface" tool to create more complex shapes. Select the top plane of the frame and use the "Curve to Surface" tool to outline the cushion's shape.
After defining the outline, use the "Extrude" tool to raise the cushion to the desired thickness. Throughout this process, continuously adjust the shape and thickness of the cushion to ensure it meets design requirements.
Designing the Backrest and Armrests
The backrest and armrests are also vital in sofa design. You can use the "Move" tool to extend the back and sides of the frame to form the backrest and armrests. By selecting the relevant edges, use the "Surface" tool to create smoother curves for these components, enhancing their visual appeal.
If needed, the "Mirror" tool can quickly replicate the armrest on the other side, ensuring symmetry in the sofa's design. At this stage, feel free to experiment with different curves and heights to find the best fit for your design style.
Adding Details
Details can make or break a design. In sofa modeling, incorporating small details can significantly enhance realism. Use the "Fillet" tool to soften the edges, avoiding harsh corners. Consider adding stitching and textures to the cushions and backrest; these details will add depth to the sofa's appearance.
Additionally, utilizing the "Layers" feature to manage different components separately will simplify future adjustments and modifications. This way, when creating renderings, you can more clearly control the display effects of each part.
Applying Materials and Textures
Once the modeling is complete, it's time to apply materials and textures to the sofa. In Rhino 3D, use the "Material Editor" to choose suitable materials like leather, fabric, or others. Selecting the right texture maps will make the sofa look more realistic.
When setting materials, adjust properties like glossiness and transparency to simulate the actual material effects. You can use the "Render" function to preview the final outcome, ensuring that all parts' materials are well-coordinated and align with the overall design concept.
Exporting the Model
After completing all steps, you can export the sofa model for use in other software. Use the "Export" function and select an appropriate file format, such as OBJ or FBX. This not only facilitates further use but also allows sharing the model with other designers, enhancing workflow efficiency.
Make sure to select the correct settings during export to avoid losing model details or material information. Once exported, you can continue to refine the model in other software or apply it to actual projects.
Through the steps outlined above, we have detailed how to model a sofa in Rhino 3D. From constructing the frame to designing cushions, adding details, and applying materials, each aspect is vital. With these techniques mastered, designers can create aesthetically pleasing and functional pieces with ease.For those looking to further enhance their modeling skills, visit the Relebook website to download a wealth of 3D models and textures, aiding your design endeavors.
FAQ
How do I choose the right size for a sofa?
When designing a sofa, it's essential to consider the room's size and layout to ensure that the sofa coordinates well with the space.
Which tools in Rhino 3D are best for modeling a sofa?
Commonly used tools include "Box," "Surface," "Extrude," and "Fillet," which can help create various sofa shapes.
How can I add more details to my sofa model?
Enhance the model's realism by using "Fillet," adding stitching, and applying different material textures to create depth.
Can I import Rhino 3D models into other software?
Yes, Rhino 3D supports exporting in various file formats, such as OBJ and FBX, making it easy to use in other software.
Where can I find reference images for sofa designs?
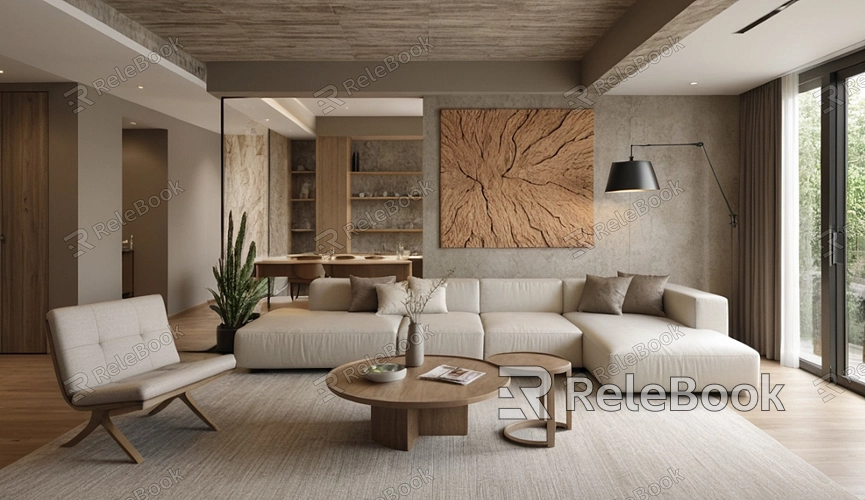
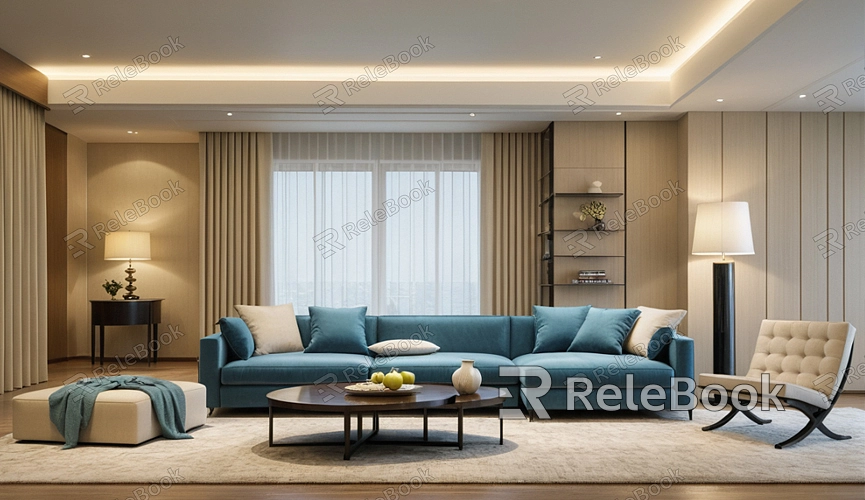
You can find abundant sofa reference images on design websites, furniture stores, or social media platforms to inspire your designs.
