How do I use sky HDR textures in 3D modeling?
When creating realistic scenes, sky HDR textures can greatly enhance the overall effect. These textures are commonly used in fields like architectural visualization, game design, and visual effects in films. Major 3D software such as Blender, 3ds Max, Maya, and Cinema 4D support the import and application of sky HDR textures. In this article, we’ll delve into how to effectively use sky HDR textures in 3D modeling to elevate your work’s realism and visual impact.
1.Understand the Basics of Sky HDR Textures
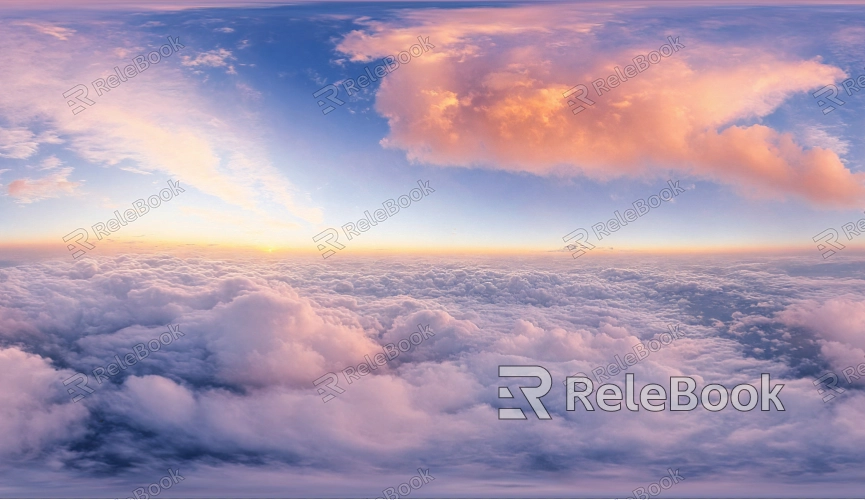
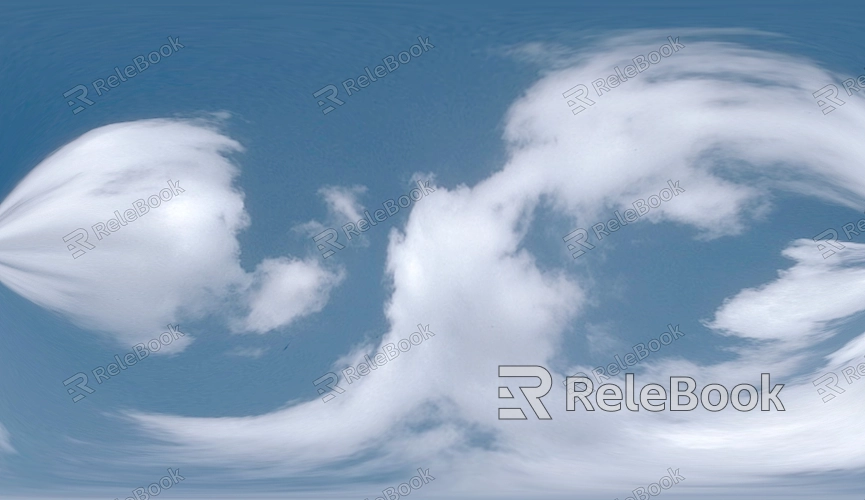
Sky HDR textures consist of high dynamic range images that capture the sky under various lighting conditions. They often feature rich colors and details, helping provide more accurate lighting effects during rendering.
2.Choose the Right Sky HDR Texture
When selecting a sky HDR texture, consider the scene’s atmosphere and time of day. For instance, sunset textures convey a different mood than those for daytime. Numerous online resources offer high-quality free and paid sky HDR textures.
3.Import HDR Textures into 3D Software
Most 3D software includes simple import functions, typically found under environment or lighting settings. Make sure to select an appropriate projection mode (like spherical projection) to ensure proper texture display in the scene.
4.Adjust HDR Texture Settings
After importing, you can tweak the brightness, contrast, and color temperature of the HDR texture to suit specific scene needs. Modifying ambient light intensity and reflection strength can help achieve more desirable lighting effects.
5.Combine with Other Light Sources and Materials
Sky HDR textures are not the sole light source; pairing them with other light sources (like point lights and spotlights) can enhance the scene’s depth. Ensure that material reflection and refraction properties align with the HDR texture for increased realism.
6.Preview in Real-time Rendering
Utilize real-time rendering features to quickly assess the impact of HDR textures on your scene. Adjust based on preview results to ensure harmony among all scene elements.
7.Enhance Effects through Post-Processing
After rendering, further adjustments in image processing software (like Photoshop) can elevate overall visual quality. Post-processing can improve color balance, boost contrast, or adjust saturation, making the final output more striking.
8.Master Techniques for Different Scenes
Different scenarios require various sky HDR textures. For example, indoor scenes may need softer lighting, while outdoor scenes can benefit from intense sunlight effects. Experiment with multiple texture combinations to find what works best for your project.
9.Regularly Update Your Texture Library
With evolving technology and design trends, it’s essential to refresh your sky HDR texture library regularly. Keeping an eye on new textures can inject freshness into your work.
10.Share and Exchange Ideas
Sharing your experiences with sky HDR textures among fellow designers can provide new perspectives and inspiration. Engage in community discussions to stay informed about industry trends and broaden your horizons.
Through this exploration, it’s clear that using sky HDR textures in 3D modeling and rendering can significantly enhance the realism and artistry of your scenes. Mastering these techniques not only makes your work more appealing but also boosts efficiency, helping you stand out in the design field. I hope these insights will assist your creative endeavors. If you’re looking for high-quality HDR image resources, 3D textures, or models like SketchUp and 3ds Max, Relebook offers a wealth of options to help achieve outstanding visual results in your projects.
