How to Add Texture to 3D Objects in Blender
Adding textures to 3D models is a crucial part of the modeling and rendering process, as textures provide realism and depth to your creations. However, many beginner designers find the process of applying textures in Blender overwhelming, especially when working with complex objects. I’ve gone through this learning curve myself, but over time, I’ve developed some effective methods to simplify the process. Today, I’ll be sharing these tips with you, helping you streamline the process and improve your work. Whether you’re using Blender for game development, animation, or architectural visualization, mastering texture application is essential to enhancing your project’s quality.

In this article, we will cover the step-by-step process of adding textures to 3D objects in Blender, including preparing the model, choosing and applying textures, UV unwrapping, and optimizing the textures for better rendering results. This guide aims to help you texture your 3D models more efficiently and improve your final render quality.
Prepare Your 3D Model
Before you start texturing, ensure that your 3D model is fully completed and free of errors. Any issues with the model’s faces or vertices can interfere with how textures are displayed. Blender provides several tools to clean up your model. Here are some points to pay attention to:
Check the model’s normals: Incorrect normals can cause textures to appear incorrectly. Use Blender’s “Recalculate Normals” function to adjust them.
Merge duplicate vertices: Duplicated vertices can occur during modeling, and they can be fixed with Blender’s “Merge” tool.
Keep the topology simple: A complex topology might cause textures to stretch or distort. It’s important to optimize your model’s geometry to avoid such issues.
Choose the Right Texture
There are several types of textures you can apply to your models: image textures, procedural textures, and environmental textures. When choosing a texture, it’s important to consider the needs of your specific project. If you're rendering realistic objects, high-quality image textures are recommended. Blender supports various image formats, including JPG, PNG, TIFF, and HDR.
Image textures: These are used to add detail to the model’s surface, such as for walls, wood, or skin.
Procedural textures: These can be used to generate materials like noise or waves, especially suitable for seamless environmental textures.
Environmental textures: These are used to provide global illumination for the scene, enhancing the overall realism of the render.
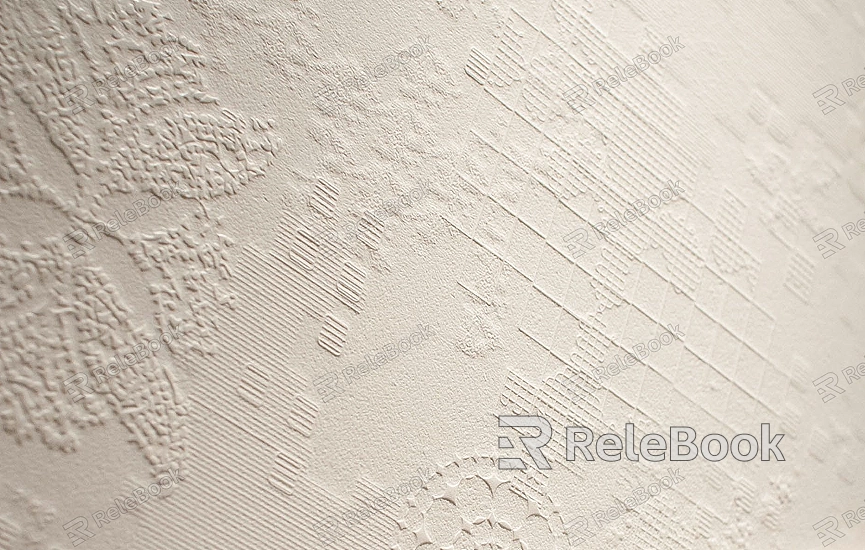
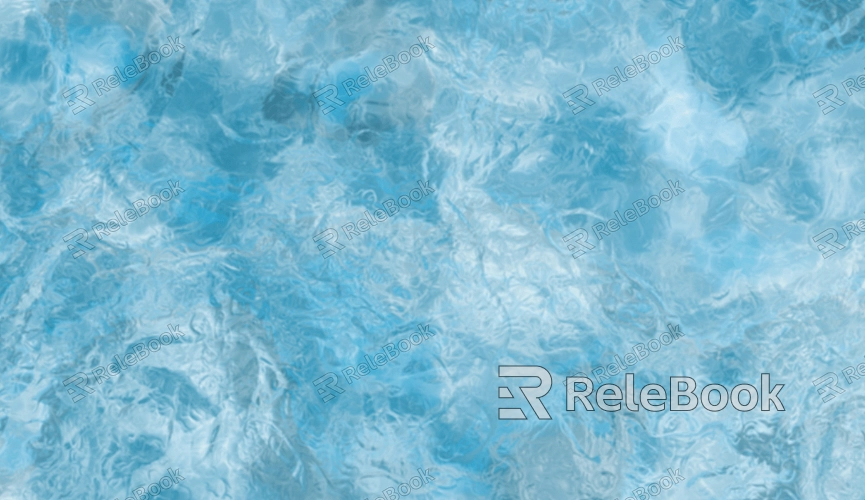
If you find it time-consuming or complicated to search for high-quality 3D textures or don’t know how to create them, you can visit Relebook for beautiful 3D textures, available for download at https://textures.relebook.com/.
UV Unwrapping
UV unwrapping is the process of flattening a 3D model’s surface into a 2D plane, allowing the texture to be mapped correctly onto the model. The accuracy of the UV unwrap directly affects how well the texture is applied. Here are some essential steps:
Select the model and enter edit mode: Once in edit mode, select all the faces of the model by pressing the “A” key.
Perform the UV unwrapping: In Blender, press the “U” key to bring up the unwrapping options. The most common method is “Unwrap,” which is an automatic unwrapping tool, and “Smart UV Project,” ideal for quick and simple models.
Adjust the UV mapping: After unwrapping, go to the UV editor and inspect the result. Make sure there are no overlapping UV regions, and make adjustments as necessary.
Apply the Texture to the 3D Model
After unwrapping the model, the next step is to apply the texture to the model. This is done through materials and image mapping. Follow these steps:
Create a material: Go to the “Materials” panel and click “New” to create a new material. Set the “Base Color” to your texture image.
Load the texture image: In the “Textures” panel, select the “Image Texture” type and load the texture file you prepared.
Connect the nodes: Open the node editor and ensure that the material node is connected to the texture node. Usually, the texture output should be connected to the “Base Color” input of the “Principled BSDF” node.

Adjust Texture Settings
After loading the texture, you may need to further adjust the settings to make sure it looks correct across different rendering engines. Blender’s default rendering engines are Cycles and Eevee, and the way textures appear may vary between them.
Texture scaling and mapping: Adjust the texture's scale and positioning in the UV editor to ensure it fits properly on the model.
Normal maps: To add more surface detail and depth, you can use normal maps. Set the normal map’s color space to “Non-Color” and connect it to the material’s “Normal” input.
Reflection and glossiness: In the material node editor, tweak the reflection, roughness, and other physical properties to make the texture look more realistic.
Optimize the Texture
Optimizing textures not only improves rendering speed but also reduces file size. Here are some optimization methods:
Texture compression: Use appropriate image compression formats like PNG or JPG to reduce the texture file size.
Control texture resolution for render quality: Adjust the texture’s resolution based on the needs of your project. Higher resolution textures provide better detail but can increase computation times.
Node optimization: Simplify material nodes and reduce unnecessary texture layers to minimize computational overhead.
In this article, we covered the entire process of adding textures to 3D models in Blender, from preparing the model and choosing the right texture to UV unwrapping, applying the texture, and optimizing it for better rendering. By mastering these basic techniques, you’ll be able to texture your models more efficiently and achieve better render results. I hope these tips will help you create better 3D renders and improve the quality of your work.
If you're interested in learning more or would like to dive deeper into these techniques, feel free to visit Relebook for more resources and tutorials.

