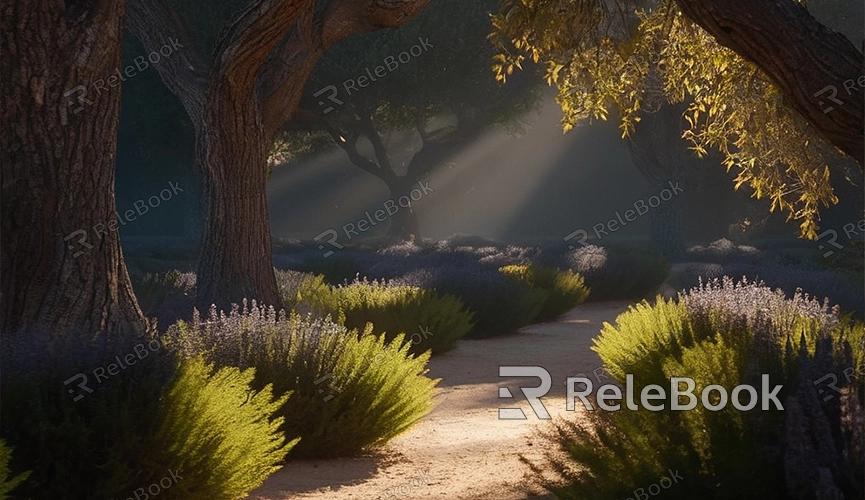
How to Render Blender Video
Creating stunning videos in Blender is a dream for many, but for beginners, rendering videos might seem a bit confusing. Fortunately, Blender offers powerful and flexible rendering capabilities, and with the right approach, rendering videos can be done effortlessly. This article will guide you through the steps of rendering videos in Blender, ensuring your creations are presented in the best possible quality.
1. Prepare Your Scene
First and foremost, ensure that your Blender scene is ready, including models, materials, lighting, etc. You can create your own scene in Blender or use existing models and assets. Regardless of the approach, make sure the scene layout is appropriate and the effects meet your expectations.

2. Set Render Parameters
Before starting the rendering process, you need to set some render parameters to ensure the final output video meets your requirements. In Blender's render options, you can adjust parameters such as resolution, frame rate, output format, etc. Typically, choosing a high resolution and appropriate frame rate can yield higher-quality video output.
3. Add a Camera
Add a camera to your scene to capture the desired perspective and animation effects. Adjust the camera's position, angle, and focal length to ensure it captures all elements of the scene and the perspective aligns with your creative intent.
4. Set Animation Effects
If your scene includes animation effects, set up animation parameters in Blender. You can add keyframes to objects and adjust animation curves to ensure smooth and natural animation effects. Use the preview feature to view animation effects in real-time and make adjustments and optimizations.
5. Render the Video
Once all preparation is complete, you can start rendering the video. In Blender, you can choose to render the entire animation sequence or specific frames. Click the render button, and Blender will render the scene frame by frame, saving the result as a video file. Rendering time depends on the complexity of the scene and your computer's performance and may take some time.
6. Export the Video
After rendering is complete, you can export the video file in Blender. Select the appropriate output format and codec, then set the video's save path and filename. Click the export button, and Blender will save the rendered video to the specified location. Now, you can watch your creation in any supported media player!
7. Adjust and Enhance
Finally, don't forget to adjust and enhance the rendered video. You can use video editing software to trim, color grade, and add special effects to make the video more vivid and engaging. Additionally, you can adjust audio effects, add background music or voiceovers to enhance the video's atmosphere and expressiveness.
By following these steps, you can easily render beautiful video works in Blender. Whether it's a static scene or dynamic animation, Blender can meet your creative needs and offers rich rendering features and options. With the right approach, you can effortlessly create stunning video works. If you need high-quality 3D textures, HDRI, or 3D model downloads while creating models and virtual scenes, you can download them from Relebook and directly import textures and 3D models into your project for use.

