How to Render Wireframe in Blender
Blender is a powerful open-source 3D modeling and rendering software widely used in animation, game development, and visual effects industries. Rendering wireframes is an effective way for many beginners and professionals to showcase the structure of 3D models. This article will introduce you to how to render wireframes in Blender, helping you quickly master this skill.
I. Preparation
1. Download and Install Blender
First, make sure you have Blender installed. If not, you can download the latest version from the [Blender official website]. The installation process is straightforward; just follow the prompts.
2. Familiarize with Blender Interface
Before rendering wireframes, spend some time getting acquainted with Blender's basic operations and interface layout. This will help you smoothly proceed with the following steps.
II. Create and Set Up Scene
1. Create New Project or Open Existing Project
After opening Blender, you can choose to create a new project or open an existing one. The default new project scene includes a cube, a light, and a camera. You can modify these elements as needed.
2. Set Up the Scene
Ensure your scene is properly set up with all models, lights, and camera positions you want to render. Adjust these elements in the 3D view until you achieve the desired effect.
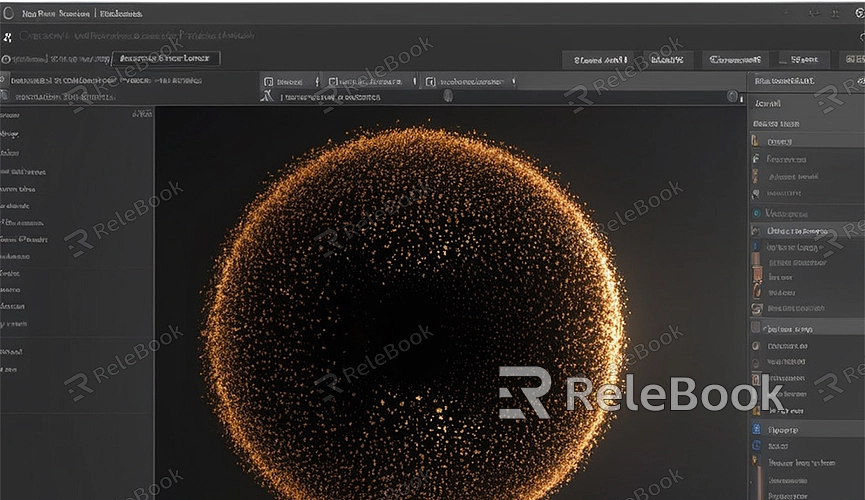
III. Configure Wireframe Rendering Settings
1. Select Render Engine
In the right-side properties panel, click on "Render Properties" (camera icon). Under the "Render Engine" option, you can choose either "Eevee" or "Cycles." Here, we choose "Cycles" as it better showcases the wireframe effect.
2. Add Wireframe Material
In the "Material Properties" panel, click on the "New" button to add a new material to your object. Set the material type to "Wireframe." This will automatically generate a material suitable for wireframe rendering.
3. Adjust Wireframe Thickness
You can adjust the thickness of the wireframe under the "Wireframe" options. Use the "Thickness" slider to control the appearance of the wireframe. Increase the thickness value slightly for clearer wireframe lines.
4. Enable Backface Culling
To enhance the clarity of the wireframe rendering, you can enable "Backface Culling" in the "Options" tab. This will hide the backside of the model, making the front wireframe more prominent.
IV. Render Wireframe View
1. Set Camera View
Ensure the camera is focused on the object you want to render. In the 3D view, press the number key '0' to switch to camera view. Adjust the camera position and angle until you achieve the desired composition.
2. Render Image
From the top menu, choose "Render" -> "Render Image" or simply press F12. Blender will begin rendering the current view and display the result in a new window. You can view the rendered image in the "Image Editor" window.
3. Save Rendered Result
After rendering completes, in the "Image Editor" window, select "Image" -> "Save As" to save the rendered image to your desired location. Ensure the file format matches your earlier settings to maintain high-quality images.
V. Optimize Wireframe Rendering Effect
1. Adjust Lighting and Background
Lighting and background settings greatly affect the wireframe rendering effect. You can adjust the background color in the "World Properties" panel to emphasize the wireframe. Try using simple background colors like white or black for better contrast.
2. Use Post-Processing Effects
Blender comes with powerful post-processing tools to further enhance rendered results. In the "Compositor" panel, you can add various nodes to adjust color, brightness, contrast, etc., to improve the quality of the wireframe image.
3. Optimize Rendering Parameters
In the "Render Properties" panel, you can adjust rendering parameters such as sampling and anti-aliasing settings. These parameters directly impact rendering speed and image quality. Increasing sampling can improve image quality but will also extend rendering time. Adjust according to your specific needs.
By following these steps, you've learned how to render wireframes in Blender. From creating and setting up scenes to configuring wireframe rendering parameters, to final rendering and saving images, each step is crucial. Hopefully, this article helps you quickly grasp Blender's wireframe rendering feature and produce high-quality wireframe images. Wishing you continuous improvement on your journey in 3D creation, creating more amazing works!
