How to Make a Blender Render Transparent
When working with Blender for 3D modeling and rendering, you may need to render an image with a transparent background. This is particularly important for graphic design, animation, or compositing. This article will detail how to achieve transparent rendering in Blender and share some practical tips to help you complete this task effectively.
Setting a Transparent Background
First, open Blender and load your 3D scene. Follow these steps to set a transparent background:
1. On the right side of the Blender interface, find the "Render Properties" panel (usually represented by a camera icon).
2. In the "Render Properties" panel, find the "Film" option and check the "Transparent" box.
3. Once this is set, the rendered image will have no background, resulting in a transparent effect.
Configuring the Output Format
To ensure the rendered image's transparent background is correctly saved, you need to select an appropriate output format. PNG is recommended because it supports transparency. Follow these steps:
1. On the right side of the Blender interface, find the "Output Properties" panel (usually represented by a printer icon).
2. In the "Output Properties" panel, select "PNG" as the file format.
3. Ensure the "RGBA" option is selected to save the transparency channel information.
Adjusting Materials and Lighting
After setting the transparent background and output format, ensure that the materials and lighting in the scene are properly configured for the best rendering effect. Here are some tips:
- Ensure the object's material settings are correct, especially for transparent materials. In the "Material Properties" panel, you can adjust parameters like "Alpha" and "Transmission" to achieve the desired effect.
- Adjust the brightness and position of the lights to ensure the object looks natural against the transparent background.
Rendering Preview
Before the final render, you can use a rendering preview to check the transparent background effect. In Blender's "View" menu, select "Rendered" to see a real-time preview of the rendering. If you find any issues, you can adjust the settings accordingly.
Exporting the Transparent Render
After completing the above steps, you can start the final render and export the image. At the top of the Blender interface, click the "Render" menu and select "Render Image." Once rendering is complete, choose "Save As" from the "Image" menu or use a shortcut to save the image to your desired location.
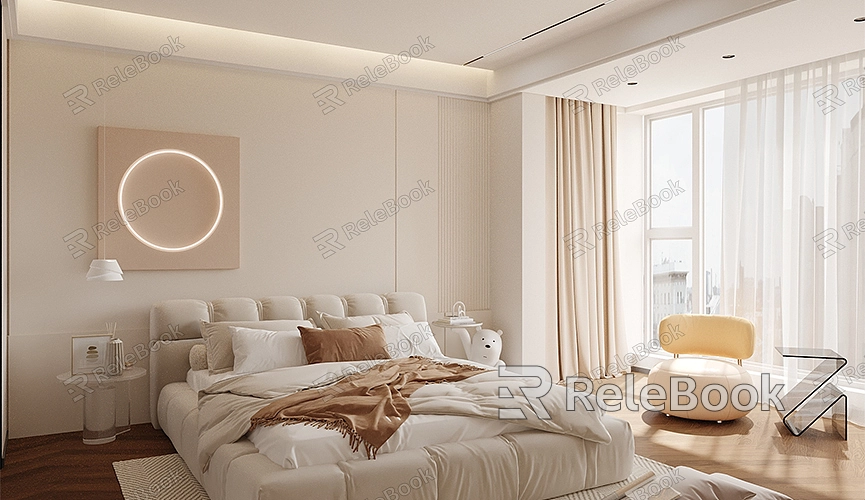
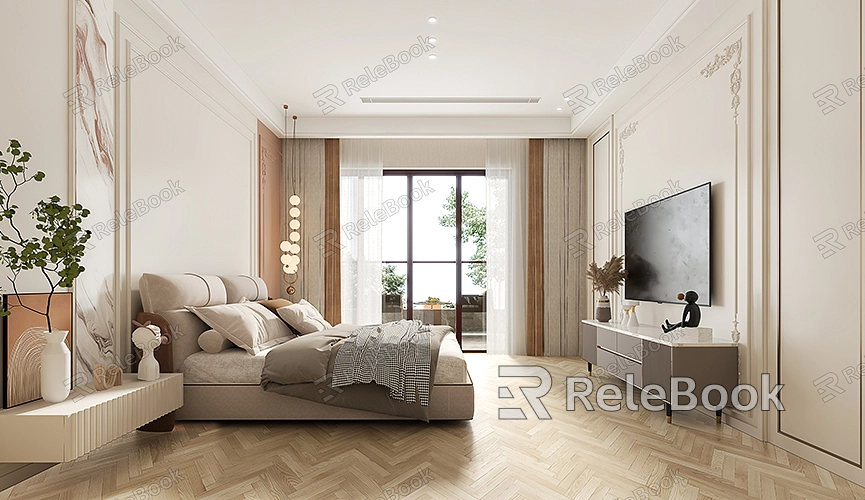
If you need high-quality 3D textures and HDRIs or 3D model downloads when creating models and virtual scenes, you can download them from Relebook. After downloading, you can directly import the textures and 3D models into Blender for use, ensuring you get the best quality resources to help you achieve a transparent rendering effect.
By following this guide, you should now understand the basic steps to create a transparent render in Blender. Setting a transparent background, choosing the right output format, adjusting materials and lighting, and conducting a rendering preview and export are key to achieving this effect. If you need high-quality 3D textures and HDRIs or 3D model downloads when creating models and virtual scenes, you can download them from Relebook. After downloading, you can directly import the textures and 3D models into Blender for use.
