How to Render Light Fog Effects in Maya?
Wondering how to achieve those stunning light fog effects in Maya? Cool light fog effects can significantly enhance the overall look and quality of rendered models or virtual scenes. Many enthusiasts are unfamiliar with the process of rendering cool light fog effects. Today, let's briefly introduce how to use the Arnold renderer in Maya to render light fog effects, and you can download high-quality HDRI from Relebook for even better results!
1. Open Maya:
Launch the Maya software and create a new scene, or import your preprocessed model into the virtual scene you've set up.
2. Set up Light Sources:
Create a spotlight or other types of light sources, or import an HDRI from Relebook, and adjust its position and parameters to meet your requirements.
3. Add Light Fog:
In the "Attribute Editor," find the attributes of your light source and click on the "Light Effects" tab. Click the chessboard icon next to "Light Fog" to enable the light fog effect. This will automatically add a node named "lightFog1" to your scene.
4. Configure Light Fog Parameters:
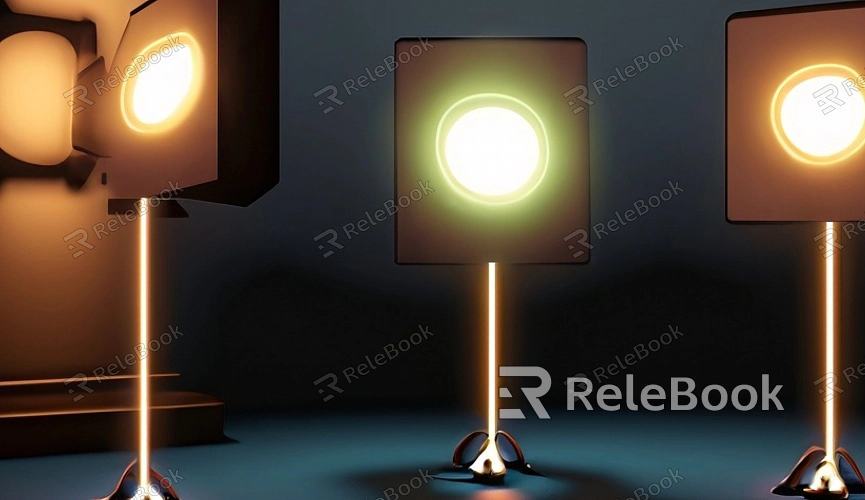
In the "Attribute Editor," adjust parameters such as color, intensity, and range of the light fog. For example, you can change the color of the light fog to a warm tone, creating an effect resembling sunlight streaming through a window.
5. Open Render Settings:
Go to the "Render Settings" window and select "Arnold Renderer" as the current rendering engine.
6. Configure Global Illumination and Atmospheric Effects:
Under the "Arnold Renderer" tab, you may need to adjust some parameters for global illumination and atmospheric effects to ensure the light fog interacts correctly with the surrounding environment. Parameters to consider adjusting may include "Global Illumination Quality" and "Ambient Occlusion."
7. Preview and Render:
Use Arnold's real-time view or interactive rendering mode to preview your light fog effects. If satisfied with the results, click the "Render" button to initiate the final rendering process.
8. Post-Processing:
As needed, you can perform post-processing after rendering, such as color correction or adding special effects.
