What is Rendering in 3D Modeling?

Understanding Rendering in 3D Modeling
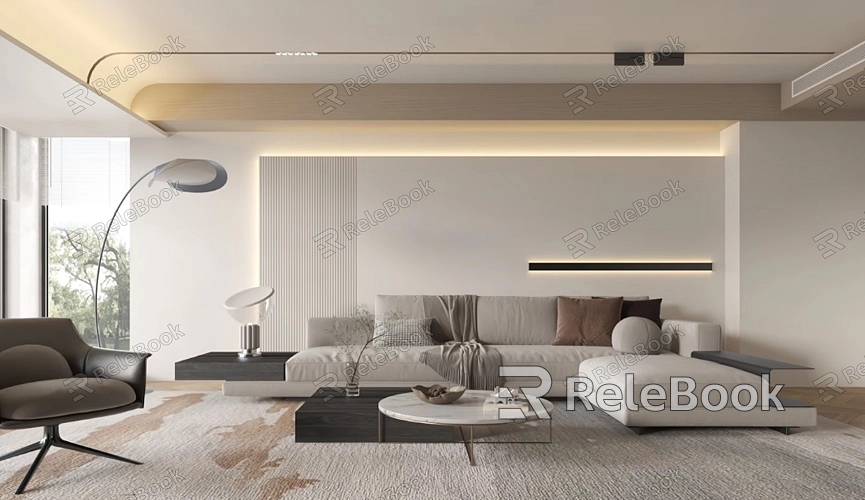
Rendering is the process of converting a 3D model into a 2D image or sequence of images, often known as a render. It involves the simulation of light, shadows, materials, and textures to create a realistic or stylized representation of the model. The goal of rendering is to produce an image that closely resembles how the model would look in the real world, taking into account factors like lighting, material properties, and environmental effects.
In the rendering process, the 3D software calculates how light interacts with the surfaces of the model. This includes determining how light is reflected, refracted, and absorbed by different materials. The software then compiles this information to generate an image that visually represents the model with all these interactions accounted for.
Types of Rendering Techniques
There are various rendering techniques, each with its advantages and suitable applications. Here’s a look at some of the most common types:
1. Real-Time Rendering
Real-time rendering is commonly used in video games and interactive applications where the images need to be generated instantly as the user interacts with the environment. In this technique, the rendering process is optimized to produce images quickly, usually at the expense of some level of realism. Real-time rendering relies heavily on graphics processing units (GPUs) to achieve fast frame rates, ensuring smooth and responsive experiences for users.
2. Ray Tracing
Ray tracing is a more advanced rendering technique that simulates the behavior of light rays as they interact with objects in a scene. This method traces the path of light from the camera to the objects, considering reflections, refractions, and shadows to produce highly realistic images. While ray tracing can create stunning visuals with accurate lighting and shadows, it is computationally intensive and often requires significant processing power, making it less suitable for real-time applications.
3. Radiosity
Radiosity is a rendering technique that focuses on the diffusion of light in a scene. It simulates the way light reflects off surfaces and bounces around an environment, resulting in soft, natural lighting. Radiosity is particularly effective for rendering interiors and scenes where indirect lighting plays a significant role. However, like ray tracing, radiosity is also computationally demanding and typically used for still images or pre-rendered animations.
4. Rasterization
Rasterization is one of the most common rendering techniques used in real-time graphics. It works by converting the 3D model into a 2D image by projecting its geometry onto the screen and filling in the pixels with colors, textures, and shading. Rasterization is fast and efficient, making it ideal for applications like video games and real-time simulations. However, it may not produce the same level of realism as ray tracing or radiosity, especially in terms of complex lighting and shadows.

The Rendering Process
Rendering is not just about pressing a button and waiting for the software to produce an image. It involves several steps that require careful planning and execution to achieve the desired result:
1. Modeling
Before you can render anything, you need a 3D model. This model can be created using various software tools and techniques, from simple geometric shapes to complex characters and environments. The quality of your model will significantly impact the final render, so it’s essential to invest time in refining the details.
2. Texturing and Shading
Once the model is ready, the next step is to apply textures and shaders. Textures define the surface properties of the model, such as color, patterns, and bumpiness, while shaders control how the material interacts with light. The combination of textures and shaders is crucial in achieving a realistic look for your render.
3. Lighting
Lighting is one of the most critical aspects of rendering. The placement, intensity, and color of lights can drastically change the appearance of your model. In the rendering process, you’ll need to set up different light sources, such as ambient light, directional light, and spotlights, to create the desired mood and atmosphere.
4. Rendering Setup
In this stage, you configure the rendering settings, such as resolution, render engine, and quality settings. Depending on the complexity of your scene and the rendering technique used, you may need to adjust these settings to balance quality and performance.
5. Rendering
With everything set up, you can now initiate the rendering process. This is where the software calculates the interactions of light, shadows, and materials to produce the final image or animation. Depending on the complexity of the scene and the chosen rendering technique, this process can take anywhere from a few seconds to several hours or even days.
6. Post-Processing
After rendering, the image or animation often requires some post-processing to enhance its appearance. This may include color correction, adding effects like bloom or depth of field, and compositing multiple renders together. Post-processing can significantly improve the final output, making it more polished and visually appealing.
Tips for Achieving Better Renders
Rendering is as much an art as it is a science. Here are some tips to help you achieve better results in your rendering projects:
1. Optimize Your Scene
Reduce the complexity of your scene by removing unnecessary details and optimizing textures. This can speed up the rendering process without compromising quality.
2. Use High-Quality Textures
Invest in high-quality textures and materials to make your renders look more realistic. Poor-quality textures can ruin an otherwise great render.
3. Experiment with Lighting
Lighting can make or break a render. Experiment with different lighting setups to see how they affect the mood and realism of your scene.
4. Leverage Render Farms
If you’re working on a complex project, consider using a render farm to speed up the rendering process. Render farms allow you to distribute the rendering workload across multiple computers, significantly reducing render times.
5. Stay Updated
The world of 3D rendering is constantly evolving, with new techniques and software updates being released regularly. Stay updated with the latest trends and tools to ensure your renders are always top-notch.
FAQ
What is the difference between real-time rendering and ray tracing?
Real-time rendering focuses on speed, producing images instantly for interactive applications like video games. Ray tracing, on the other hand, prioritizes realism by simulating light interactions in a scene, but it is more computationally intensive and slower.
Why is lighting important in rendering?
Lighting plays a crucial role in rendering because it determines how your model is perceived. Proper lighting can enhance the realism of a scene, highlight details, and set the mood, making it a vital aspect of the rendering process.
How can I speed up the rendering process?
To speed up rendering, you can optimize your scene by reducing complexity, lowering the render resolution, using faster rendering engines, or leveraging render farms to distribute the workload.
What software is best for 3D rendering?
There are many software options available for 3D rendering, including Blender, Autodesk Maya, 3ds Max, and Cinema 4D. The best software depends on your specific needs, budget, and the complexity of your projects.
Can I render it on a regular computer?
Yes, you can render on a regular computer, but the performance will depend on your hardware specifications. High-end CPUs and GPUs, ample RAM, and fast storage are recommended for complex renders.

