How to Add Background Images to Maya HDR
When working on complex scene rendering in Maya, especially in fields like film, gaming, and architectural visualization, adding HDR background images is crucial for enhancing realism and visual impact. This article will provide a detailed guide on how to incorporate background images into HDR environments within Maya, offering steps and tips to help you achieve this effectively.

1.The Role of HDR Images in Maya
Benefits of Using HDR Images
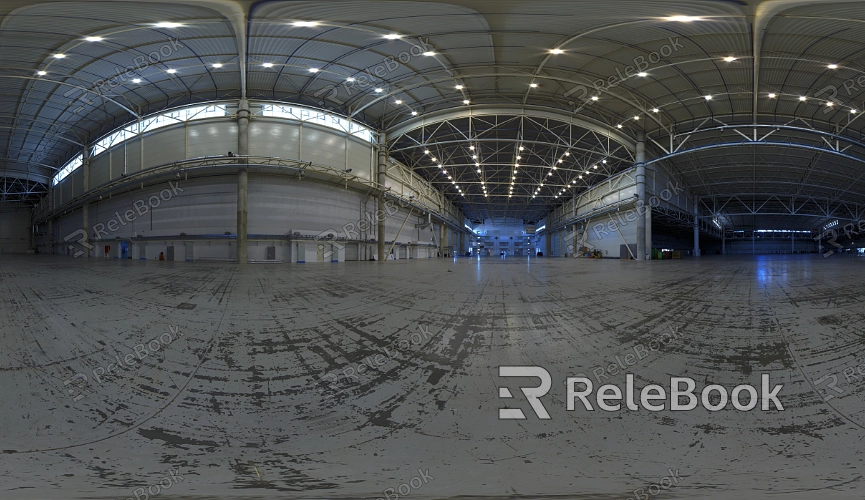
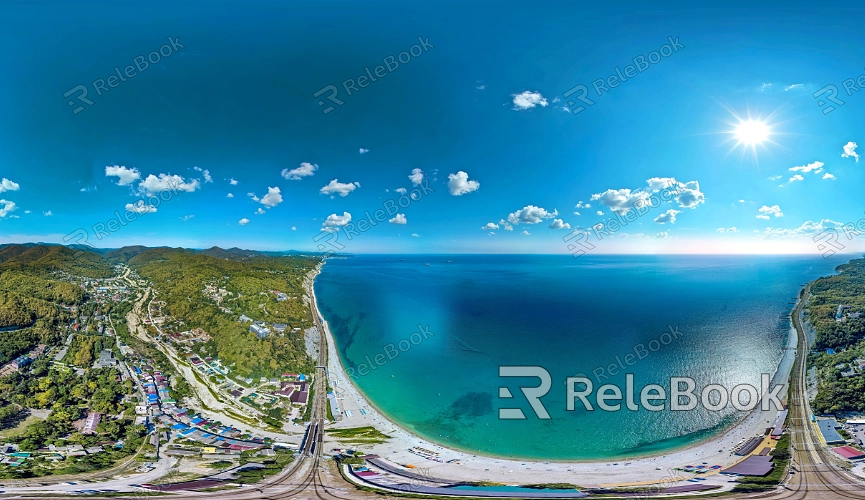
HDR images play a significant role in 3D modeling by capturing a wide range of lighting information from a scene, which results in more realistic lighting effects during rendering. In Maya, HDR images are often used to create panoramic lighting environments that help designers simulate real-world lighting variations in a virtual space. This lighting not only enhances the realism of the scene but also adds subtle reflections to materials and surfaces.
Why Add Background Images to HDR?
While HDR images provide excellent environmental lighting, designers often add background images to further enrich the scene. Background images can introduce storytelling elements and visual depth, whether it's a sky, mountains, or a cityscape, thereby adding a unique atmosphere to the work. By integrating background images into the HDR environment, designers can better control the overall visual effect of the scene and focus the viewer's attention on specific visual points.
2.Importing HDR Images into Maya
Choosing the Right HDR Image
Before using an HDR image in Maya, you need to select a suitable one as the environmental light source for your scene. These images can be downloaded online or created using professional HDR image tools. It's recommended to choose HDR images with rich lighting details and high resolution to ensure the quality of the final render.
Steps to Import HDR Images in Maya
Importing an HDR image into Maya is relatively straightforward. Start by opening Maya and accessing the "Render Settings" panel. In the "Environment Lighting" section, select the HDR image as your light source. Next, adjust the exposure and brightness of the HDR image to match the lighting needs of your scene. Once this step is completed, you can view the impact of the HDR image on your scene’s lighting within Maya and make further adjustments as needed.

3.Steps to Add Background Images in HDR
Setting Up Background Images Using the Perspective Camera
The first step in adding a background image in Maya is to set it up through the perspective camera. In the camera's "Attribute Editor," locate the "Image Plane" option and import the image file you want as the background. You can use common formats like JPEG or PNG. After importing, adjust the scale and position parameters of the image plane to accurately align the background image with the HDR environment lighting.
Adjusting Exposure and Brightness of the Background Image
To ensure the background image blends seamlessly into the HDR environment, you may need to adjust its exposure and brightness. In Maya, you can control the brightness of the background image by tweaking the exposure value in the "Image Plane" settings. This adjustment helps maintain harmony with the overall lighting effect of the scene. If the background image is too bright or too dark, it can disrupt the scene’s coherence, so fine-tuning is essential until you find the optimal setting.
4.Refining the Integration of the Background Image with the Scene
Using Blend Modes for Better Image Integration
To make the background image integrate more naturally into the scene, Maya offers various blend modes. By selecting different blend modes like "Overlay" or "Soft Light" in the "Image Plane" settings, you can create softer or more layered background effects. This technique is particularly useful in scenes with strong light sources, such as a sunrise or sunset background.
Matching the Tones of HDR and Background Images
After setting up the basic background image, you may need to adjust the tone consistency between the HDR and background images. Using Maya's "Color Correction" tools, you can fine-tune the tones of the HDR image to more closely match the overall color atmosphere of the background image. This step enhances the visual consistency of the scene, immersing the viewer further into the virtual world you’ve created.
Adding Post-Processing Effects to Enhance the Scene
Once you’ve set up the HDR and background images in Maya, you can further enhance the scene’s impact by adding some post-processing effects. For example, you can use Maya’s "Depth of Field" feature to add a sense of depth to the scene, making foreground objects stand out, or apply a "Glow" effect to intensify the brightness of light sources, making the scene more dynamic. These post-processing techniques can significantly boost the visual impact of the rendered images.
By following these steps, you can successfully add background images to an HDR environment in Maya and further enhance the overall visual quality of your scene. If you’re looking for high-quality HDR images or need 3D textures, SketchUp models, or 3ds Max models to create more realistic virtual scenes, Relebook offers a wide range of resources to help you achieve outstanding visual results in your projects.

