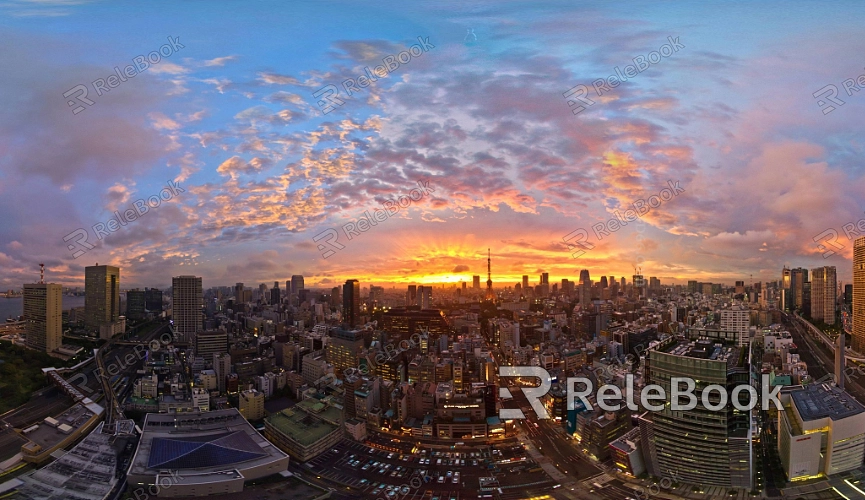
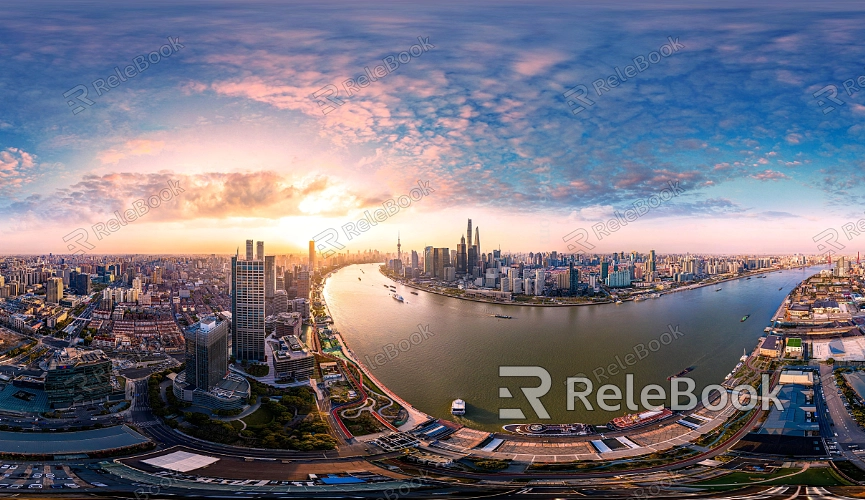
How to Edit HDR Images
HDR images, whether used for environment mapping, lighting simulations, or enhancing rendering effects, offer a more realistic visual experience by preserving both highlights and shadow details. Popular 3D software like Blender, 3ds Max, Cinema 4D, and Maya provide robust HDR image processing features, enabling designers to further edit and refine these images. This article delves into the techniques for editing HDR images within these software programs, helping you elevate the visual quality and realism of your work.

1. Importing and Basic Adjustments of HDR Images
Importing HDR Images into 3D Software
Before diving into editing, the first step is to import the HDR image into your 3D software. Programs like Blender, 3ds Max, and Cinema 4D all support common HDR formats such as EXR and HDR. Ensure that the imported image retains its original quality and dynamic range for the best results.
Basic Color Adjustments
Once the HDR image is imported, the initial step involves basic color adjustments. This includes tweaking the white balance, exposure, and contrast to ensure the overall tone of the image is well-suited for further editing. These foundational adjustments lay the groundwork for the subsequent editing stages, setting the visual tone.
2. Advanced Tone Mapping and Brightness Adjustments
Tone Mapping
Tone mapping is a crucial process that compresses the high dynamic range of an HDR image into a visually accessible range. Within 3D software, you can choose different tone mapping algorithms, such as Reinhard or Filmic, to suit various scene requirements. Proper tone mapping helps retain details while enhancing the overall visual impact of the image.
Local Brightness and Contrast Adjustments
For specific areas of the image, designers can make localized brightness and contrast adjustments to highlight details. This technique is particularly useful when editing complex lighting scenarios, such as enhancing highlights in sunlit areas or refining shadow details.

3. Fine-Tuning Light and Shadow Effects
Adding Virtual Light Sources
In 3D software, designers can use HDR images as a base for environment lighting and further enhance the effect by adding virtual light sources. By adjusting the color, brightness, and direction of these lights, you can create more complex light interactions, significantly boosting the realism of the scene.
Adjusting Shadows and Reflections
By fine-tuning the shadow and reflection areas within the HDR image, designers can add more depth to objects in the scene. This includes adjusting the intensity and blur of reflections or enhancing the gradient effect of shadows to better simulate real-world lighting conditions.
4. Enhancing Details and Final Output
Noise Reduction and Sharpening
During the editing process, HDR images might amplify the noise present in the original image, making noise reduction essential after tone mapping and brightness adjustments. Additionally, applying appropriate sharpening can further accentuate the details in the image, resulting in a clearer and more vibrant final product.
Output and Format Selection
After completing all the edits, selecting the appropriate format for exporting the HDR image to your final project is a crucial step. It’s recommended to export in EXR or HDR formats to preserve the dynamic range of the image, ensuring that no details are lost during rendering.
Editing HDR images requires a meticulous approach, involving basic adjustments, tone mapping, optimization of light and shadow effects, and detail enhancement. Mastering these techniques in software like Blender, 3ds Max, or Cinema 4D will enable you to create outstanding 3D models and renders. If you're looking for high-quality HDR image resources, 3D textures, SketchUp models, or 3ds Max models, Relebook is an excellent resource. By downloading textures and models from Relebook and importing them into 3D Max, you can significantly enhance the quality of your work.

