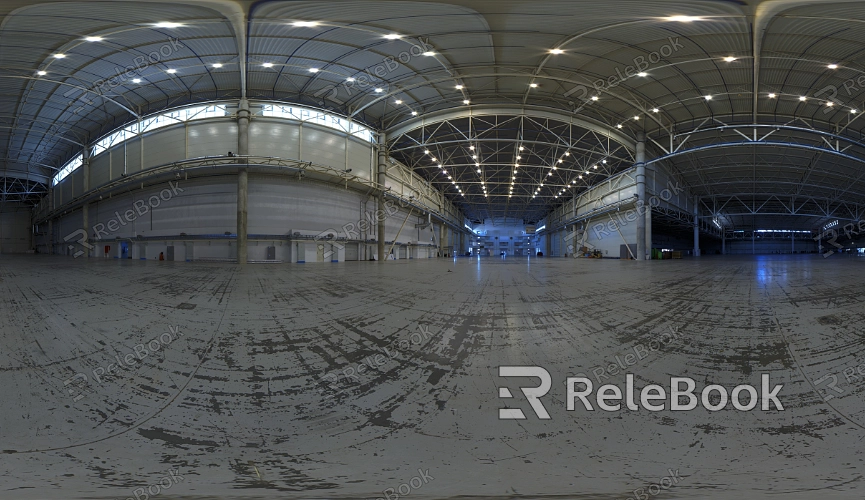
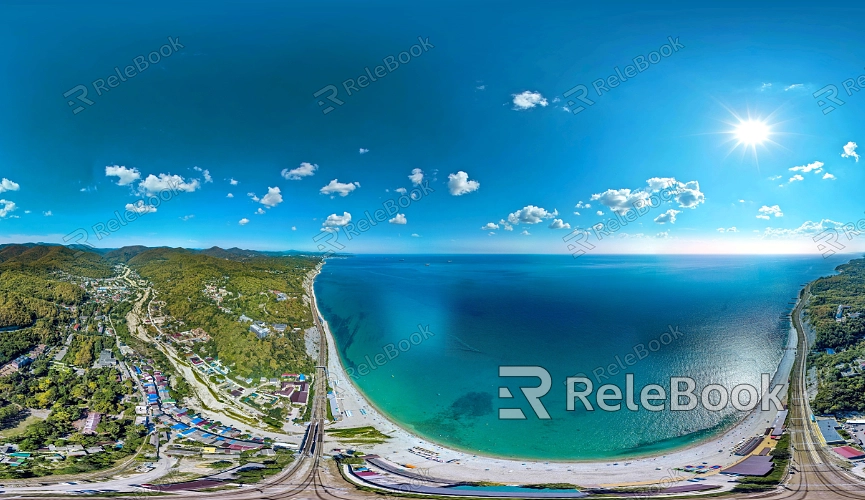
How to Import HDR Textures into Blender Cycles
HDR (High Dynamic Range) textures are powerful tools that can simulate real-world lighting and environmental reflections, significantly enhancing the realism of rendered images. Whether you're creating complex interior scenes, product visualizations, or architectural renderings, HDR textures can add a level of detail and realism that elevates your work. However, for many designers, properly importing HDR textures into Blender Cycles and making the most of their potential can be a challenge. This guide will walk you through the process, helping you seamlessly integrate HDR textures into your projects.

1.Preparing Your HDR Texture Files
Before importing HDR textures into Blender, you need to ensure that you have the appropriate HDR files on hand. HDR textures are typically stored in ".hdr" or ".exr" formats, which can capture a wider dynamic range than standard images, making them ideal for use as environment lighting and reflection maps.
Choosing the Right Resolution: Select the resolution of the HDR texture based on your project’s needs. Lower resolutions (such as 2K) are suitable for quick previews and smaller projects, while higher resolutions (like 8K or 16K) are ideal for complex scenes requiring detailed lighting.
Checking File Quality: Make sure the HDR file has even lighting distribution and is free from noise to avoid affecting the final render quality. You can use specialized HDR viewing tools to assess the quality of the file.
If finding high-quality HDR textures feels overwhelming or time-consuming, or if you're unsure how to create them, you can easily download stunning HDR textures from Relebook at https://textures.relebook.com/
2.Importing HDR Textures into Blender
The process of importing HDR textures into Blender is straightforward but requires attention to detail to ensure the textures are applied correctly to your scene.
Create a New Scene or Open an Existing Project: Start by creating a new scene in Blender or opening the project you're working on.
Switch to the Shading Workspace: From Blender's top menu, select the "Shading" workspace, which will allow you to adjust texture and material settings.
Add an Environment Texture Node: In the Node Editor, add an "Environment Texture" node and connect it to the "Background" node's color input.
Load the HDR File: Click the "Open" button, select the HDR file you prepared, and load it into the Environment Texture node.

3.Adjusting HDR Texture Settings
After importing the HDR texture, you may need to make some adjustments to ensure it fits your scene perfectly.
Rotating the HDR Map: Use the "Texture Coordinate" and "Mapping" nodes to rotate the HDR map, adjusting the light source direction to better match your scene’s lighting needs.
Adjusting Brightness and Contrast: Control the light intensity of the HDR texture by adjusting the "Strength" value in the Background node. For finer adjustments, you can add a "ColorRamp" node to further tweak the brightness and contrast of the lighting.
Adding a Blue Sky or Other Backgrounds: Sometimes, you might not want the sky portion of the HDR texture to appear in the final render. In this case, you can use a "Mix Shader" to combine the HDR lighting with another background, achieving a more natural look.
4.Optimizing Render Settings
Once you've imported and configured the HDR texture, the final step is to optimize your render settings to ensure the best possible results with maximum efficiency.
Setting Render Samples: Adjust the number of render samples in the "Render Properties" panel. Higher sample counts will improve image quality but also increase render time. Find the right balance between quality and efficiency based on your project’s needs.
Enabling Baking: For complex scenes, consider using Blender's baking feature to bake the HDR lighting information into textures. This reduces real-time rendering computation, speeding up the rendering process.
Checking Noise and Denoising Settings: High dynamic range scenes might introduce noise. By adjusting denoising settings, you can minimize these issues and enhance the clarity of the final image.
By following these steps, you'll be able to effortlessly import and utilize HDR textures in Blender Cycles, adding a greater level of realism to your 3D rendering projects. If you’re looking for high-quality HDR images, 3D textures, SketchUp models, or 3ds Max models, Relebook is an excellent resource. Downloading textures and models from Relebook and integrating them into your scenes can significantly enhance the quality of your work.

