How to Pose 3D Models in Blender
In the world of 3D design, posing is a crucial element for expressing emotions, actions, and stories. Whether you’re animating characters, designing game assets, or creating static models for product showcases or artistic projects, a well-executed pose can bring your work to life and add dynamism. Blender, as a powerful and free 3D modeling software, provides extensive tools and features to make posing 3D models both flexible and intuitive. This guide will explore how to pose 3D models in Blender, offering detailed tips and considerations to help you achieve better results in your creations.
Understanding Blender's Armature System
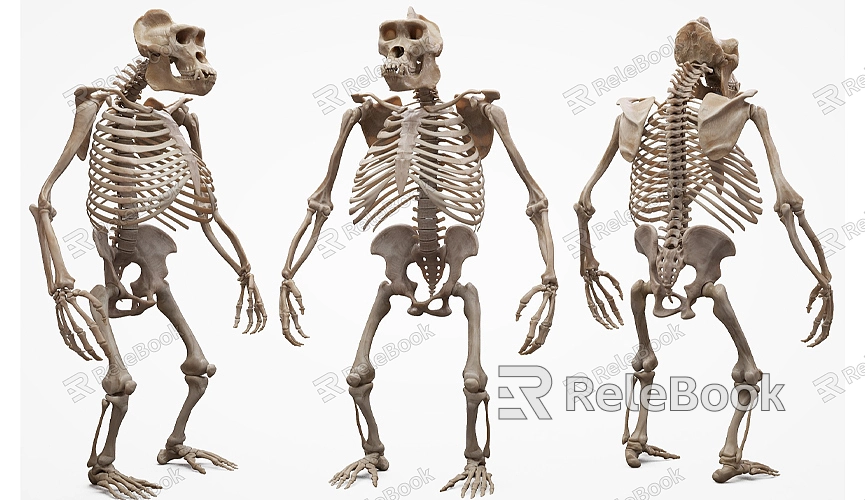
To pose a 3D model naturally and expressively, you first need to understand Blender's armature system. An armature in Blender simulates a skeleton structure, allowing you to control how different parts of the model move. Each armature consists of multiple "bones" connected by joints, similar to a human skeleton.
Before you start posing, you need to create or import an armature for your model. You can add a new armature in Blender by selecting “Add > Armature” and then entering “Edit Mode” to adjust the bone structure. Typically, you start from the pelvis or the center of the body and then add bones for the legs, arms, and head. By adjusting the position and angles of the bones, you can define a basic skeletal structure for your model.
Binding the Model to the Skeleton
Once you have the skeletal structure, the next step is to bind the model to the skeleton so that the movement of the bones drives the model’s pose. This process is known as “weight painting,” which determines how different parts of the model are affected by specific bones. Blender offers an automatic weight binding feature: simply select the model and skeleton, press “Ctrl + P” in “Object Mode,” and choose “Automatic Weights.” Blender will automatically bind the model's vertices to the corresponding bones.
While automatic weight painting is convenient, you might need to manually adjust weights for more precise control. Enter “Weight Paint Mode” to fine-tune the weights of individual vertices, ensuring that the model deforms naturally during movement. This step is especially important for complex models, as it helps prevent unnatural stretching or deformation in certain poses.
Adjusting Poses in Pose Mode
After binding the skeleton to the model, you can start adjusting poses. Blender's “Pose Mode” is specifically designed for manipulating bone poses. In this mode, you can select any bone and use rotation, movement, or scaling tools to change its pose.
Blender provides several powerful features to assist with posing. For example, “Inverse Kinematics” (IK) is a commonly used technique that allows you to adjust part of the model, with other parts automatically adjusting to maintain pose continuity. For instance, if you move a character’s hand, Blender will automatically calculate the correct positions of the arm's other parts to keep the arm's natural bend.
In addition to IK, you can use “Constraints” to add various limitations to the bones. For example, you can set bones to rotate only along specific axes or ensure that a bone always points toward a target. These features help you create physically accurate and natural poses more easily.
The Importance of Center of Gravity and Balance
When posing a model, center of gravity and balance are crucial factors. A natural pose not only looks more realistic but also conveys the intended action of the model. For example, when a character is standing, the center of gravity should be directly above the supporting foot to ensure stability and balance. In dynamic scenes, such as running or jumping, the center of gravity shifts with the movement, and you need to ensure the model’s pose reflects this dynamic change.
Blender provides various tools to help you assess the model’s center of gravity and balance. You can add a ground plane or reference lines in the scene as guides for the model. By observing the model’s position relative to these references, you can better judge if the pose is balanced and realistic.
Artistic Expression
Beyond technical operation, artistic sense is equally important in pose design. A good pose should not only adhere to physical laws but also convey the character’s emotions and story. For instance, a hero character might need a tall, confident pose, while a sad character might exhibit a slumped posture. By adjusting the model’s pose, you can evoke the character’s inner world and enhance the overall narrative.
To enhance artistic expression, you can use reference images or models in Blender. For example, using photos of real-life poses as references can help you create more vivid and realistic poses. Additionally, through practice and experimentation, you will develop your own posing style, making your work unique and expressive.
Detail Refinement After Completion
Once you have posed the model, don’t rush to finish. Spend time refining the pose to ensure every part is perfectly executed. Check details such as fingers, toes, and facial expressions to ensure they align with the overall pose. You can also use Blender’s “Shape Keys” feature to fine-tune the model’s expressions and pose, further enhancing the quality of your work.
If you need high-quality 3D textures and HDRIs for your models and virtual scenes, you can download them for free from [Relebook](https://textures.relebook.com/). For exquisite 3D models, visit [Relebook](https://3dmodels.relebook.com/), where Relebook offers a wide range of premium 3D resources. Utilizing these resources effectively will improve your workflow and add value to your projects.
Posing a 3D model in Blender is a creative and challenging process. From understanding the skeleton system to weight painting and adjusting poses, each step requires careful handling and thought. By mastering these techniques, you can give your 3D models life and showcase their unique personalities and charm. We hope this guide provides valuable insights and helps you better master the art of posing in Blender. If you have higher demands for models or scenes, don’t forget to leverage the high-quality resources provided by Relebook.
