How to Turn an Image into a 3D Model Blender
In the field of 3D modeling, converting a 2D image into a 3D model is a highly practical skill. This not only helps you transform flat designs into three-dimensional representations but also accelerates the modeling process, especially when rapid prototyping or reconstructing real-world objects is needed. As a powerful open-source 3D software, Blender offers various tools to achieve this goal. Below, we will guide you step by step on how to convert an image into a 3D model using Blender.
Preparation
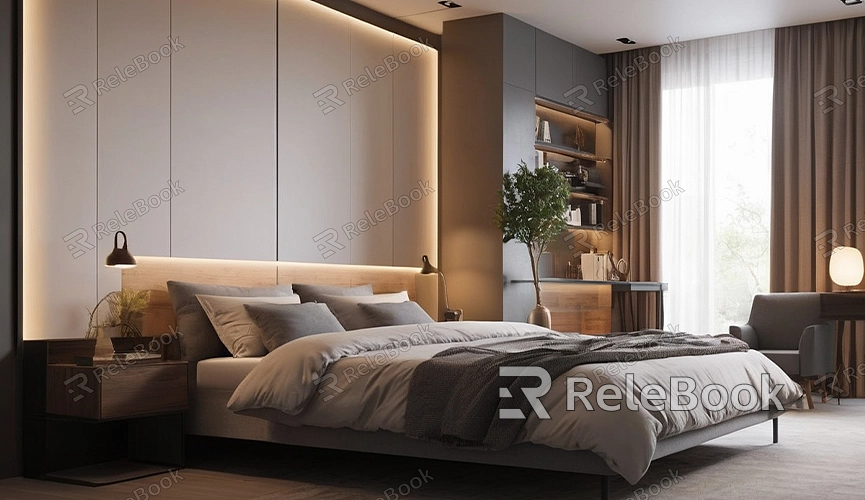
Before you begin, you need to prepare a clear image to use as your foundation. This image can be a photo of any object you want to turn into a 3D model, ideally featuring distinct foreground and background elements. This way, Blender will have an easier time recognizing the contours and details of the object during processing.
Importing the Image
First, open Blender and create a new project. Next, import your image into Blender. In the “View” panel, select the “Background Image” option, then click “Add Image.” Choose the image file you prepared and import it.
For better image handling, it’s recommended to select “Front View” or “Side View” in the “View” mode to ensure the image aligns accurately in 3D space. Adjust the image's position and size so that it aligns with the grid in the view.
Creating the Base Model
In Blender, you will start by creating a basic 3D model to sculpt. Typically, a simple cube or plane can serve as a starting point. In “Object Mode,” add a basic geometric shape (like a cube), and then switch to “Sculpt Mode.” In Sculpt Mode, you can use various tools to gradually modify the geometry to match the contours of the object in the image.
For more precise adjustments, utilize Blender’s sculpting tools, which allow for detailed editing of the model, helping you create a shape that aligns with the image. Through continuous sculpting and adjustments, you can refine the basic model.
Using Image Texture
Once the basic shape of the model is complete, you can apply the image as a texture to add details to your 3D model. Switch to the “Material Properties” panel and create a new material for your model. Then, in the material settings, add a “Texture” and select the “Image Texture” type.
Next, load your image file as the texture, and Blender will apply the image to the surface of the model. You can use the “UV Unwrap” function to adjust the placement and scaling of the image texture on the model to ensure it accurately covers the surface.
Refining and Adjusting
Once the texture is applied, you can continue to refine and adjust the model. Use Blender’s various modeling and sculpting tools to further enhance the details of the model, making it more closely resemble the object in the original image. Additionally, you can adjust lighting and rendering settings to better showcase the model's features.
Rendering and Output
After completing the adjustments, you can render the model to generate the final 3D view. In Blender’s rendering settings, choose an appropriate rendering engine (like Cycles) and configure the lighting, materials, and background settings. Click the “Render” button, and Blender will produce the final image of your 3D model.
Resources and Tools
To help you efficiently create and render models, obtaining high-quality texture and model resources is essential. If you need a large number of high-quality 3D textures and HDRIs while creating models and virtual scenes, you can download them for free from [Relebook](https://textures.relebook.com/). If you require stunning 3D models, you can also download them from [Relebook](https://3dmodels.relebook.com/), which offers a wide array of premium 3D resources. These resources can greatly enhance the quality of your work and improve your workflow efficiency.
Converting images into 3D models involves several steps, including image importing, base model creation, texture application, and refinement. By mastering these steps, you can effectively transform flat designs into vibrant 3D models, enriching your creative and presentation capabilities. I hope this article helps you successfully turn images into 3D models in Blender!
