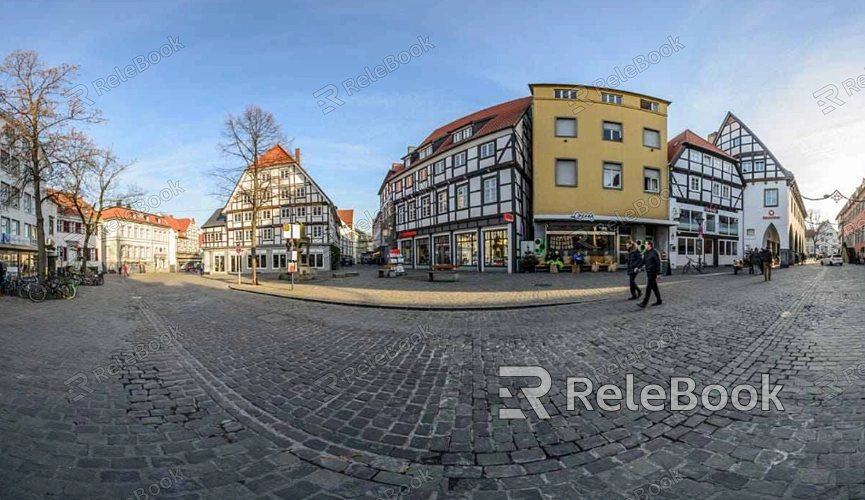
How do I remove text from HDR textures for 3D rendering
When creating virtual reality scenes, game environments, or architectural visualizations, designers often encounter issues where original HDR textures contain copyright information or unnecessary logos, which can negatively affect the final render. This article will explore effective methods for removing text from HDR textures in 3D rendering, helping designers enhance their workflow and rendering quality.

Using Image Editing Software
Choosing the Right Software: Utilizing professional image editing software such as Photoshop, GIMP, or Affinity Photo is an effective way to handle text in HDR textures.
Clone Tool: These applications typically offer a Clone Tool, allowing designers to select surrounding pixels to cover the text, ensuring a seamless blend.
Leveraging Content-Aware Features
Content-Aware Fill: Many image editing programs provide content-aware fill features that intelligently analyze the surrounding environment and fill in the gaps left by removed text. This technique can efficiently handle complex backgrounds.
Fine-Tuning Repair Effects: Even with content-aware capabilities, designers should fine-tune the repaired areas to ensure a natural blend with surrounding pixels.
Processing in Blender
Built-in Image Editor: In Blender, designers can edit HDR textures directly in UV Editing mode, using the Clone Tool or Healing Tool to remove text.
Node Editor: By setting up blends in the material nodes, designers can overlay text areas with other textures, ensuring the overall material effect is cohesive.
Quick Texture Replacement
Finding Alternative Textures: If text removal proves ineffective, consider replacing the HDR texture with another version that does not contain text. Software like Blender, Unity, and Unreal Engine offer numerous high-quality alternatives in their texture libraries.
Checking UV Mapping: After replacing the texture, it's essential to verify the UV mapping to avoid distortion or unnatural appearances.

Using Texture Overlay Techniques
Simple Overlay Method: A straightforward approach is to add a new texture layer to effectively cover the original text. This method is suitable for time-sensitive projects.
Choosing the Right Overlay: Ensure the new texture aligns with the overall style of the scene to enhance visual impact.
Utilizing Plugins and Scripts
Finding Useful Plugins: Many Blender plugins can simplify the texture editing process, allowing designers to search for and install these tools as needed.
Writing Custom Scripts: For more experienced users, developing custom scripts can automate the text removal process, significantly boosting efficiency.
Post-Processing Techniques
Editing Text After Rendering: After the final render, use post-processing software (like After Effects or DaVinci Resolve) to fine-tune the render and remove any remaining text or unwanted logos.
Adjusting Color and Brightness: Ensure that during post-processing, the color and brightness of the areas where text was removed match the surrounding parts.
This article discussed various methods for removing text from HDR textures in 3D rendering. By employing image editing software, content-aware technology, Blender’s built-in tools, texture replacement, overlay techniques, and utilizing plugins or custom scripts, designers can efficiently tackle this common challenge. These strategies not only improve workflow efficiency but also ensure a professional and aesthetically pleasing final render.
For designers looking for high-quality HDR image resources, 3D textures, SketchUp models, or 3ds Max models, Relebook is an excellent choice. Downloading textures and models from Relebook can significantly enhance your project quality, providing more inspiration and possibilities for your design endeavors.

