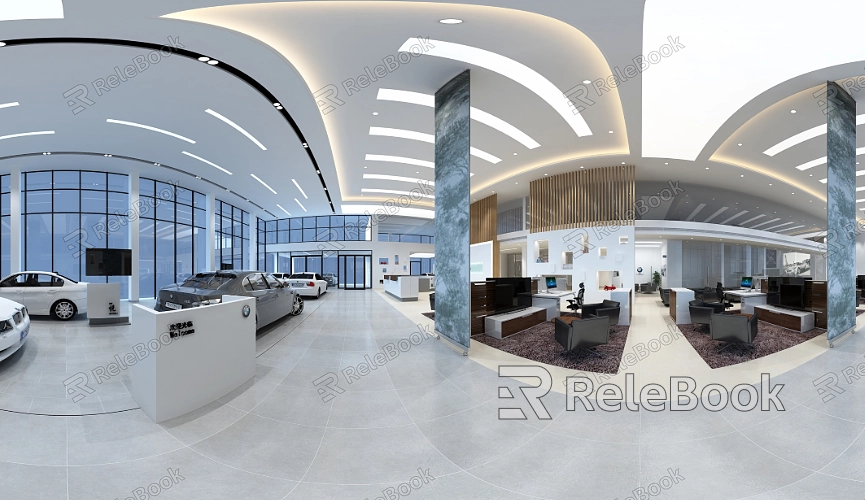
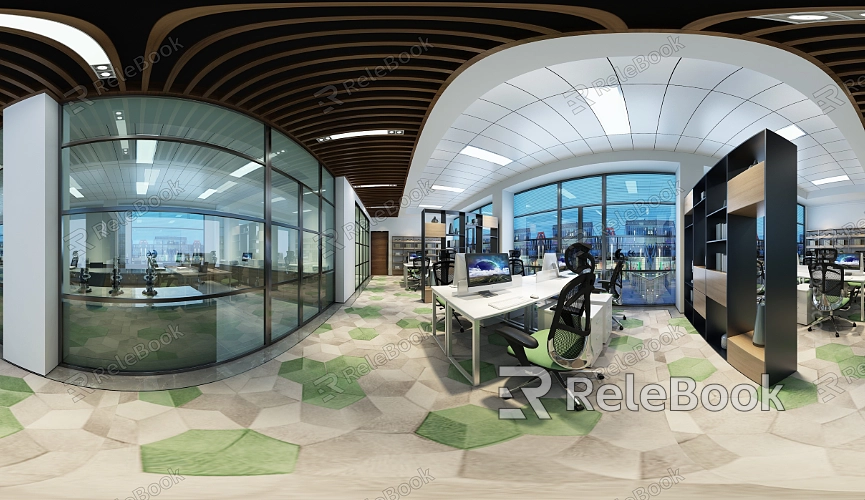
How Do I Apply HDR Textures in Blender?
Using HDR textures in 3D software like Blender is common practice because it adds realism and depth to scenes, making them appear more lifelike. HDR textures are particularly valuable in complex projects such as architectural visualization, product rendering, or environmental design. However, many designers, especially those new to Blender, may find it challenging to correctly load and apply these textures. The following steps will guide you through how to easily use HDR textures in Blender.

1. Loading HDR Textures
To apply HDR textures in Blender, you’ll first need to download the required HDR file from a trusted resource. The most common formats for HDR textures are .hdr and .exr, which carry the necessary lighting data to create high-quality lighting and reflections for your scene.
After downloading the file, go to Blender's “Shading” workspace to set it up.
Open the "World" tab and find the "Surface" node, which will have a "Background" node by default.
Click on the yellow circle next to “Color,” and select “Environment Texture.” This step allows you to load your HDR file.
Then, click the “Open” button and choose the HDR texture you previously downloaded.
2. Adjusting HDR Lighting Effects
Once the HDR texture is loaded, you’ll notice that the lighting information from the texture is automatically applied to your scene. However, this default lighting may not suit your needs perfectly, so you’ll likely want to adjust it for the best results.
In the “Shading” tab, the HDR texture will appear as a purple node. By adjusting the "Strength" parameter, you can control how bright or dim the HDR lighting is.
If the light seems too intense or too dull, tweak the strength setting accordingly.
You can also add "Mapping" and "Texture Coordinate" nodes to have more precise control over the texture’s rotation and scaling, which will affect the light direction and coverage.
3. Testing in Preview Mode
After making initial adjustments to the HDR texture's strength and direction, it’s a good idea to test the lighting in preview mode. In Blender, switch to the “Rendered” view mode in the upper-right corner to see the impact of the HDR texture in real-time.
If you’re happy with how the lighting looks, you can proceed to add more elements to your scene, such as refining models or applying materials.
If the lighting still doesn’t meet your expectations, return to the “Shading” tab and make further adjustments to the HDR texture settings.
4. Using HDRI Lighting for Enhanced Realism
In addition to basic lighting, HDRI (High Dynamic Range Imaging) is another powerful way to create realistic lighting in Blender. HDRI lighting allows designers to simulate complex outdoor lighting environments without manually placing multiple light sources.
To apply HDRI lighting, ensure that you’ve successfully loaded the HDR texture in the “World” settings.
By adding reflective surfaces or other objects that bounce light, you can showcase the advantages of HDR textures, making the lighting feel more natural and dynamic.
If you prefer to keep the HDR lighting but hide the background, use the “Transparent” option in the “Film” section. This feature is especially useful when you want to focus on the lighting without showing the HDR image itself.

5. Tweaking Render Settings to Enhance HDR Quality
To get the most out of HDR textures, you’ll need to fine-tune Blender’s render settings. Different render engines like Cycles and Eevee handle HDR lighting differently.
Cycles, as a physically-based renderer, processes HDR lighting more effectively, offering more realistic results, though at the cost of slower render times.
Eevee, on the other hand, is a real-time render engine, meaning it works faster but may not fully capture the nuances of HDR lighting. For high-quality final outputs, Cycles is often the better choice.
In Cycles, ensure that light tracing is enabled. This helps simulate light bouncing and refraction, which significantly improves the overall quality of HDR textures in the scene.
6. Post-Processing After Rendering
Once rendering is complete, designers can use Blender’s “Compositing” workspace to fine-tune the final result. The lighting from the HDR texture can be further enhanced by adjusting contrast and saturation.
You can add a brightness/contrast node to increase the contrast between light and shadow.
If the HDR texture introduces unwanted color tints or noise into the scene, you can clean it up using filters or other post-processing tools.
7. Saving and Exporting the Final Render
After all adjustments are made, it’s time to export your render. Depending on the type of project you’re working on, you can choose the appropriate file format and resolution.
For still renders, common formats include PNG or JPEG.
For animations, consider using formats like AVI or MP4 for high-quality output.
By following these steps, you’ll be able to easily apply HDR textures in Blender, making the most of the lighting features to create more realistic and visually striking renders.
If you're looking for high-quality HDR images, 3D textures, SketchUp models, or 3ds Max models to enhance your designs and create immersive virtual scenes, check out Relebook. They offer a wide range of resources to help you elevate the visual quality of your projects.

