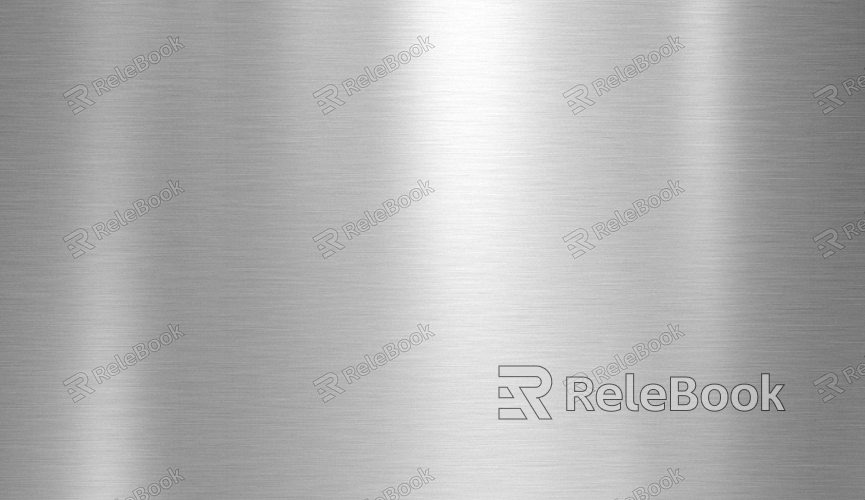
How to Create 3D Metal Textures in Photoshop?
In today's digital design field, the creation of 3D metal textures is an extremely fascinating skill. It can add a realistic texture and visual appeal to various design works, whether it's for product presentations, web design, or other types of visual creations. This article will elaborate on the specific methods of creating 3D metal textures in Photoshop to help readers master this practical skill.

Preparation Work
Before starting to create 3D metal textures, we need to ensure that the Photoshop software is installed and that we have a certain understanding of its basic operations. Additionally, we need to prepare a suitable image file as a base, which can be a newly created blank document or an existing image.
Creating the Basic Texture
First, open Photoshop and create a new document. Select the appropriate size and resolution, depending on the final usage requirements. For metal textures, we can start with a simple grayscale image. Use the Gradient Tool to create a linear gradient from light gray to dark gray, which will serve as the base tone of the metal texture. You can adjust the colors and angles of the gradient to achieve different effects.
Adding Noise Effects
To make the metal texture more realistic, we need to add some noise. In Photoshop, you can add noise through the "Noise" option in the "Filter" menu. Select the "Add Noise" filter and adjust the amount and distribution method. Generally, choosing "Gaussian Distribution" and setting an appropriate amount can simulate the tiny granular feeling on the metal surface.

Adjusting Contrast and Brightness
By adjusting the contrast and brightness of the image, we can further enhance the effect of the metal texture. Use the "Brightness/Contrast" option in the "Image" menu to adjust. Increasing the contrast can make the highlights and shadows of the metal more prominent, and appropriately adjusting the brightness can make the texture look more natural.
Applying Blur Effects
To simulate the glossiness of the metal surface, we need to apply some blur effects. Select the "Blur" option in the "Filter" menu, such as "Gaussian Blur" or "Motional Blur". Gaussian Blur can make the texture softer, while Motional Blur can simulate the brushed effect on the metal surface. Select the appropriate blur type and parameters according to your needs.
Drawing Metal Highlights
The highlighted areas on the metal surface are crucial for its texture. Use the Brush Tool, select white or light gray, and draw the highlight areas on the image. You can adjust the size, hardness, and opacity of the brush to achieve different highlight effects. Note that the position and shape of the highlights should conform to the lighting rules of the metal object.
Creating the Three-Dimensional Effect of the Metal Texture
To give the metal texture a 3D effect, we can use the layer styles in Photoshop. Select the "Layer Styles" option in the "Layer" menu and add the "Bevel and Emboss" effect. Adjust the parameters, such as depth, size, and softening, to make the texture look three-dimensional. Additionally, you can add "Drop Shadow" and "Inner Shadow" effects to enhance the three-dimensionality and layering of the metal.
Color Adjustment
Metals usually have specific colors, such as silver, gold, or copper. Use the "Color Balance" or "Hue/Saturation" option in the "Image" menu to adjust the color of the metal texture. You can adjust the values of different color channels to obtain the desired metal color.
Detail Processing
After completing the basic creation of the 3D metal texture, some detail processing is still needed. You can use the Eraser Tool or masks to remove unwanted parts or use the Healing Brush Tool to repair some flaws. Additionally, you can add some other details, such as scratches, rust marks, etc., to make the metal texture more realistic.
Saving and Applying
Finally, save the created 3D metal texture in a suitable file format, such as PSD, JPEG, or PNG. In design projects where the metal texture is needed, it can be used as a background material or texture map for the corresponding elements.
This article has detailed the steps of creating 3D metal textures in Photoshop, from the preparation work to the final detail processing and saving application. By mastering these methods, readers can create high-quality 3D metal textures. If you need more 3D models and textures, you can download them from the Relebook website to enrich your design resources.
FAQ
What should I do if the created metal texture looks too monotonous?
You can try adding more details, such as using different brush tools to draw complex patterns or overlaying other image materials on the texture, such as texture patterns, pattern stamps, etc. Additionally, you can adjust the opacity and blending modes of the layers to obtain more diverse effects.
What should I do if the three-dimensional effect of the metal texture is not obvious?
You can readjust the parameters of the "Bevel and Emboss" effect in the layer styles, increasing the values of depth and size. At the same time, you can try adding more shadow effects, such as "Inner Glow" and "Outer Glow," to enhance the three-dimensionality. Additionally, pay attention to the adjustment of the colors and positions of the highlights and shadows to make them more in line with the lighting rules.
What should I do if the color of the created metal texture is inaccurate?
You can use the "Color Balance" tool for more precise adjustment. Refer to the color samples of real metals and adjust the values of different color channels. At the same time, pay attention to the adjustment of the saturation and brightness of the color to avoid it being too bright or dull.

