How to make 3d topographic model on sketchup
In fields like architecture, landscape planning, and urban design, creating 3D topographic models is a crucial step. These models allow designers to visually showcase the terrain's natural features, such as slopes, valleys, and elevations, aiding in the design and planning of projects. For architects, urban planners, and landscape designers, accurately replicating terrain characteristics can help better predict and address design challenges such as water flow, lighting, and spatial layout.
SketchUp, a powerful yet user-friendly modeling software, has become a go-to tool for terrain modeling. Whether for simple site plans or complex mountainous or urban terrains, SketchUp provides multiple methods for creating precise 3D topographic models. This guide will walk you through the process of creating 3D terrain models in SketchUp and explore tips and best practices to help you craft detailed and expressive terrain models.

Understanding the Concept of 3D Topographic Models
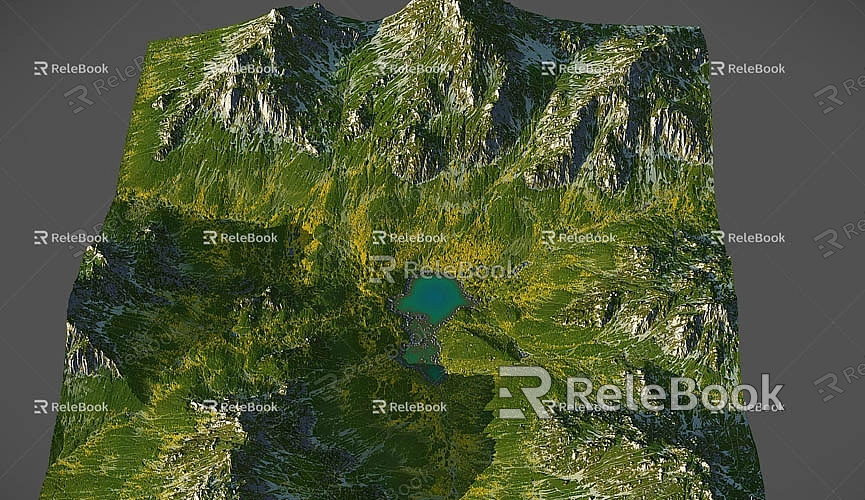
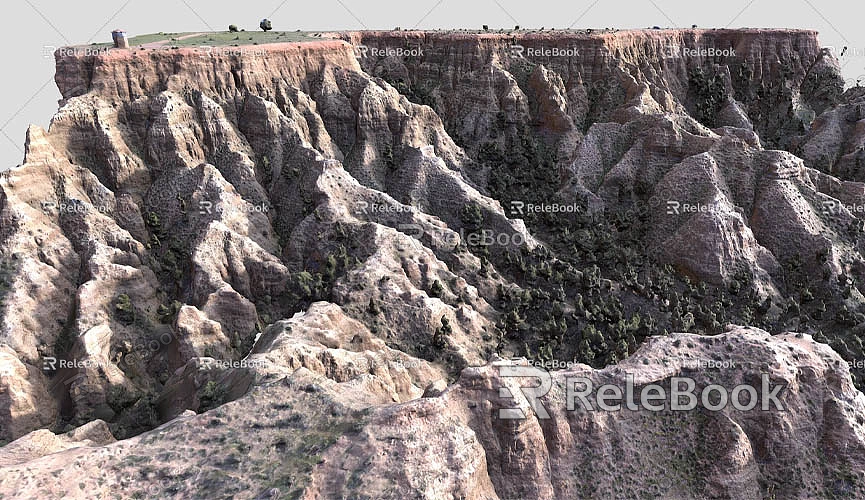
A terrain model is a 3D representation of the Earth's surface, scaled to depict height, width, and depth proportionally. These models illustrate terrain features such as elevation, slopes, ravines, and hills, helping designers analyze the geographical context of a project. Widely used in architecture, urban planning, and landscape design, terrain models provide insights into how topography affects aspects like building placement, roads, vegetation distribution, and drainage systems.
Unlike 2D contour maps, 3D topographic models convey depth and dimensionality. By processing these data points, designers can better understand the impact of terrain on various elements of a project, enabling them to create more thoughtful and functional designs.
Preparing for the Project: Gathering Essential Terrain Data
Before you start creating a 3D terrain model, gather the following key data:
1. Contour Line Data: Contour lines represent ground level at different elevations and are typically sourced from maps or GIS data. They provide the height variations needed to accurately map the terrain.
2. Elevation Data: Survey data, such as drone-captured point clouds or other elevation datasets, will help you build a highly precise terrain model.
3. SketchUp Software: Ensure that you have the latest version of SketchUp installed, complete with essential plugins—particularly those for terrain modeling, such as the Sandbox tools.
4. Plugins and Extensions: While SketchUp’s built-in tools are sufficient for basic terrain modeling, advanced plugins like TopoShaper and Artisan offer more functionality, enabling more detailed and efficient modeling.
Step-by-Step Guide to Creating a 3D Terrain Model in SketchUp
1. Import Terrain Data
The first step is to import your terrain data into SketchUp. The method depends on the data you have:
- Importing Contour Line Data: If you have contour maps or GIS data, they are usually provided in DXF or other CAD-compatible formats. Use SketchUp’s import function to bring these files into your project. Once imported, SketchUp converts the contour lines into editable model elements.
- Using Google Earth Data: For general terrain modeling without specific data, you can use SketchUp’s built-in geolocation feature to import terrain data directly from Google Earth. To do this:
1. Go to File > Geolocation > Add Location.
2. Select your area of interest on the map. Make sure the area has detailed terrain data.
3. Click Grab, and SketchUp will import the terrain data into your model.
Though Google Earth data may lack fine detail, it provides a solid starting point for large-scale terrain modeling.
2. Create the Terrain Surface Using the Sandbox Tools
SketchUp’s Sandbox tools are specifically designed for terrain modeling. To use these tools:
1. Enable the Sandbox toolbar by going to View > Toolbars and selecting Sandbox.
2. If you have imported contour lines, use the From Contours tool to transform them into a 3D terrain surface. Select the contour data, click From Contours, and SketchUp will generate a 3D surface based on the lines.
3. Refine and Optimize the Terrain Model
After creating the initial terrain surface, you can fine-tune and optimize it using the following tools:

- Smoothing Tool: Use this tool to make the terrain surface more natural and fluid, removing sharp edges or rough transitions. A smoother surface enhances the realism of the terrain.
- Raise/Lower Tool: Adjust specific areas of the terrain by raising or lowering the elevation. This is especially useful for fine-tuning details such as ridges, rivers, or the impact of man-made structures.
- Stamp Tool: This tool allows you to imprint new height details onto the terrain. It's highly effective for creating complex features like valleys or terraces.
4. Add Details and Textures to the Terrain
Enhance your model’s realism by incorporating additional details:
- Vegetation and Trees: Adding vegetation brings life to your terrain model. Use 3D models of trees and plants from SketchUp’s 3D Warehouse or specialized plugins to create realistic vegetation effects.
- Water Bodies and Roads: For rivers, lakes, or roads, model these elements directly on the terrain using tools like Follow Me. Apply realistic materials and textures to ensure they blend seamlessly with the surrounding terrain.
- Textures and Materials: Assign appropriate textures to the terrain, such as grass, rock, or sand, to represent different areas accurately. High-quality textures significantly enhance the visual appeal and help convey the characteristics of the terrain.
For premium textures, you can download free high-quality 3D textures and HDRI images from [Relebook](https://textures.relebook.com/). Relebook also offers an extensive collection of detailed 3D models to enrich your scenes.
5. Render and Post-Process the Model
After completing the 3D terrain model, use rendering plugins like V-Ray or Enscape to create photorealistic visualizations. These tools simulate real-world lighting, shadows, and material reflections to enhance the model’s realism. Rendered images are invaluable for client presentations, reports, or marketing materials.
6. Export and Share Your Model
Once your 3D terrain model is finalized, export it for sharing or further use. SketchUp supports various export formats, including OBJ, STL (for 3D printing), and DWG (for CAD applications). You can also export images or videos to showcase your work to clients, collaborators, or stakeholders.
Conclusion
Creating 3D terrain models in SketchUp is both straightforward and creatively rewarding. By importing terrain data, utilizing the Sandbox tools, adding details and textures, and applying rendering and post-processing techniques, you can produce highly accurate and visually striking models to support your design projects.
For enhanced results, consider exploring high-quality 3D textures and models available for free on [Relebook](https://textures.relebook.com/) and [Relebook’s 3D Models](https://3dmodels.relebook.com/). By leveraging these resources and SketchUp’s powerful tools, you’ll be able to create professional-grade terrain models that bring your design visions to life.

