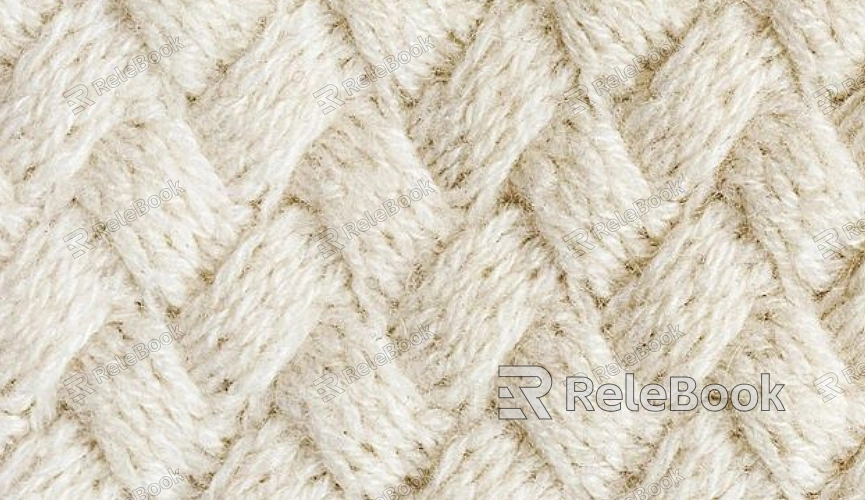
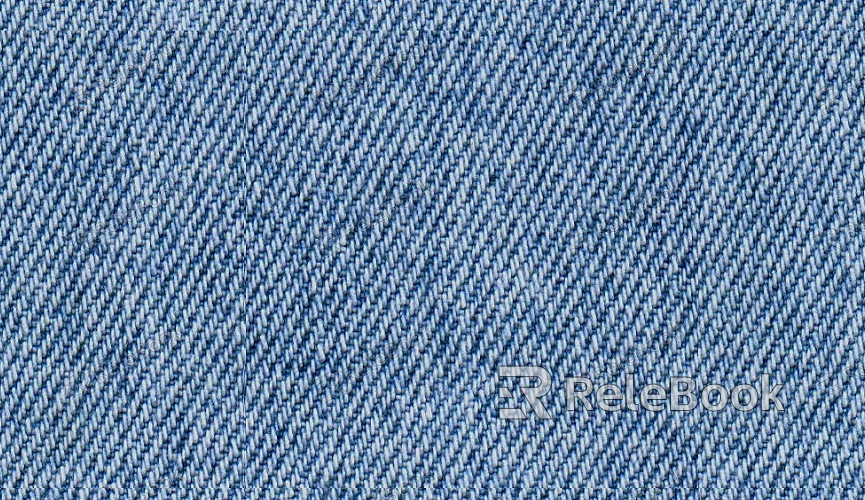
How to Make 3D Fabric Textures
3D fabric textures are widely used in applications such as interior design, character clothing, and prop decoration. These textures help replicate the appearance of fabric, including its material qualities, subtle lighting interactions, and fine details. They add realism to renders and enrich the overall complexity of models. Whether you’re working in Blender, Maya, Substance Painter, or other 3D software, fabric textures are indispensable for creating detailed projects. By mastering the process of creating these textures, designers can handle a wide range of project requirements with ease. This guide will take you step by step through creating high-quality 3D fabric textures, from initial setup to fine-tuning, helping you elevate your creative work.

1. Prepare Your Materials and Tools
Starting with proper preparation ensures a smoother and more efficient workflow.
Gather Fabric References
Collect high-resolution images of fabric types such as cotton, silk, denim, or linen. These references will help capture the unique characteristics and patterns of different materials.
Choose the Right Tools
Depending on your needs, use Photoshop for texture refinement, Blender or Substance Designer for creating seamless patterns, and Substance Painter for complex material adjustments.
Set Up Your Workspace
Use a high-resolution canvas (such as 2K or 4K) for texture creation. This ensures that details remain clear across various rendering scenarios.
2. Create the Base Texture
The base texture establishes the fabric's overall appearance, including color, roughness, and glossiness.
Define the Primary Colors
Select colors appropriate for the fabric type, such as soft pastel tones for cotton or vibrant hues for silk, setting the stage for detailed texturing.
Add Initial Texture Details
Use Photoshop’s brush tools to draw basic textures, mimicking fabric weaves like horizontal, vertical, or diagonal patterns.
Make Seamless Patterns
Ensure the texture can tile seamlessly on a UV map. Use Photoshop’s Offset feature to check and fix any discontinuities along the edges manually.
3. Add Detail and Realism
Details are the key to making fabric textures look authentic, from depth to natural imperfections.
Simulate Depth
Apply the "Emboss" filter to add surface variations, adjusting settings to match the material’s weave and texture.
Incorporate Folds and Creases
Create realistic fabric folds using brushes or custom texture layers. Masks can be used to add random distribution for a natural look.
Showcase Wear and Tear
For aged fabrics, introduce elements of damage or fading. Use Photoshop’s Cloud filter to generate random patterns and blend them into the fabric texture for a realistic worn effect.

4. Generate Normal Maps
Normal maps are essential for rendering fabric details without increasing polygon counts.
Start with a Grayscale Image
Convert the fabric texture to grayscale, emphasizing surface details as a foundation for the normal map.
Use Plugins to Create Normal Maps
Utilize tools like the NVIDIA Normal Map Filter in Photoshop to quickly generate a normal map. Adjust the depth to ensure a realistic effect.
Test and Refine
Import the normal map into your 3D software to evaluate its appearance under lighting. Make adjustments to avoid exaggerated or underwhelming details.
5. Optimize and Export
Optimizing the texture ensures it works efficiently across different scenarios.
Adjust Resolution
Tailor the texture’s resolution to the project’s requirements. High-resolution textures work well for film, while lower resolutions are ideal for real-time rendering to save resources.
Use Multi-Channel Textures
Combine maps like metallic, roughness, and displacement to enhance the material’s visual fidelity. Organize them into a unified PBR texture set for easy integration.
Export in the Right Format
Save textures in formats suitable for the target software, such as PNG, TGA, or EXR. Ensure files retain transparency and HDR information when necessary.
By following these steps, you can create realistic 3D fabric textures that elevate the visual quality and professionalism of your projects. From foundational preparation to detail refinement, each phase contributes significantly to the final result. Whether you're a beginner or an experienced artist, mastering this workflow will allow you to achieve stunning, lifelike textures with confidence.
For additional high-quality 3D resources like PBR textures, models, or tutorials, explore the collection at Relebook. It’s a great way to discover tools and tips that can take your creative process to the next level!

