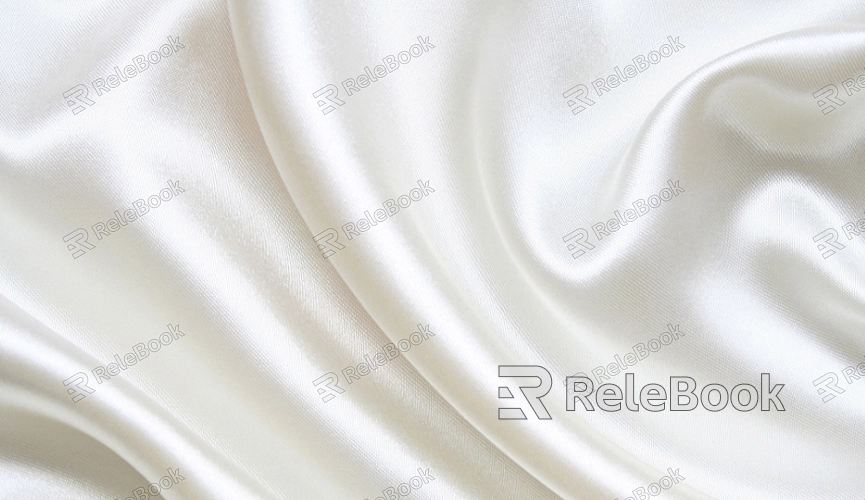
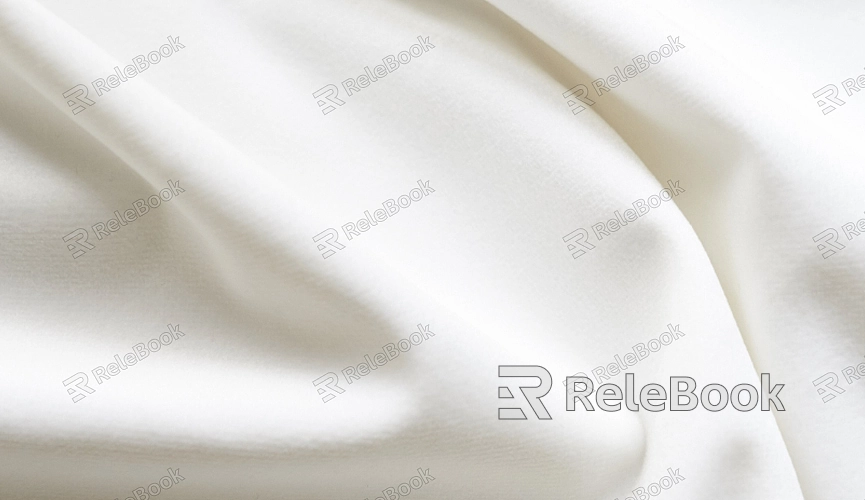
How to Draw Fabric Texture in Photoshop?
Creating realistic fabric textures in Photoshop can transform an illustration or design into a more lifelike and visually engaging piece. Photoshop, with its vast array of tools and features, offers numerous ways to simulate different fabric types, from soft cotton to rough burlaps. This article will guide you through the process of drawing fabric textures in Photoshop, step by step, while providing useful techniques and tips to make your fabric look as realistic as possible.

Understanding Fabric Types
Before you begin drawing fabric textures, it's important to understand the different types of fabrics and their characteristics. Fabrics vary widely in their appearance, texture, and behavior under light, so it’s crucial to know what you're trying to replicate. For instance, smooth silk will reflect light differently compared to a wool sweater, and denim will have visible weave patterns.
Understanding these characteristics will help you achieve more accurate results. Some fabrics have smooth, soft surfaces, while others may appear rough or have visible weave patterns. Each fabric's light interaction and texture contribute to its overall look, which is essential when creating a convincing representation in Photoshop.
Preparing Your Workspace
A clean and organized workspace in Photoshop is essential for efficiently drawing fabric textures. Start by opening a new file or the project you're working on. You should have a resolution high enough to capture details—usually, 300 DPI is ideal for texture work. It’s also a good idea to set your file size large enough to prevent pixelation as you work on the finer details of your fabric.
Next, gather reference images of the fabric you're aiming to replicate. Having a clear reference for your fabric type will guide you through the texture creation process. You can easily search online for high-quality images of the fabric, or you might even take your photos if you need something specific.

Starting with Basic Shapes
The first step in drawing fabric textures is to create the basic shape or form of your fabric. Depending on the type of fabric you’re working with, the shape might be a flat surface or draped over a form like a mannequin or clothing model. You can use the basic tools in Photoshop, such as the Polygonal Lasso Tool or Pen Tool, to create the outline of your fabric.
For example, if you're drawing a t-shirt fabric, you could begin by creating the basic shape of the shirt using the Pen Tool and filling it with the base color of the fabric. Afterward, you can start adding folds and creases, which are crucial for a realistic appearance.
Adding Texture to the Fabric
Once you've outlined the shape, it’s time to add texture to the fabric. Photoshop offers several ways to add texture, such as by using filters, brush strokes, and custom textures. One of the easiest methods to begin with is the use of the "Noise" filter, which can create the appearance of fabric weave patterns.
Start by adding a base texture using a soft, grunge-style brush. Adjust the size and opacity of your brush to suit the type of fabric you're aiming for. You can also use the "Texturizer" filter under the "Filter" menu, which has several fabric patterns, including canvas and burlap, that can be used as a starting point.
Next, apply more specific details like the weave pattern for fabrics such as denim or linen. You can either paint these details by hand or import a custom texture into your document. To do this, create a new layer, add a texture, and change the layer’s blending mode (usually "Overlay" or "Soft Light") to make the texture seamlessly blend with your fabric's base.
Shading and Highlighting the Fabric
Shading and highlighting are key components to making your fabric texture look three-dimensional. Use soft, low-opacity brushes to gently apply shading to the areas of the fabric that would be in shadow. For instance, the folds, creases, and underparts of the fabric will typically be darker than the surface. The shadows should be soft and gradual, so make sure to adjust the opacity and flow of your brush.
To create highlights, use a lighter color than your base and paint it on areas where light would naturally hit, such as the top of folds or along the edges. You can use the Dodge Tool for more intense highlights or simply paint with a soft round brush. Be sure to take into account the type of fabric you're drawing—shiny fabrics like satin or silk will have more pronounced highlights compared to matte materials like cotton or linen.
Adding Details: Creases and Folds
Realistic fabric textures often rely on fine details, such as creases and folds. These details add a great deal of realism and contribute to the overall appearance of the fabric's weight and texture. To add folds, start by sketching the general shape of where the folds would be. Use a combination of the Brush Tool and the Smudge Tool to refine the folds, ensuring they follow the natural flow of the fabric.
You can also use the Warp Tool to manipulate sections of the fabric to create realistic, flowing drapes. When adding folds, pay attention to the direction of light and shadow to ensure that the creases follow the proper lighting.
Enhancing with Layers and Layer Styles
As you refine your fabric texture, you can further enhance it by using Photoshop's layer styles. Adding subtle bevels, embossing, or texture overlays can give the fabric more depth and realism. Layer styles like "Inner Shadow" or "Outer Glow" can create a more pronounced 3D effect, especially in areas where the fabric is tightly stretched or folded.
Make sure each layer of texture and shading is on a separate layer to maintain flexibility in case you want to adjust specific areas later. This method also allows you to apply different blending modes to each layer, helping you achieve a more complex and dynamic fabric texture.
Fine-Tuning and Final Adjustments
After adding all the necessary elements to your fabric texture, it’s time to refine the overall appearance. Zoom in to inspect the details and ensure that everything looks seamless. You may want to add more shading to some areas or use the Clone Stamp Tool to fix any inconsistencies in the texture.
You can also adjust the color balance of your fabric texture by using the "Hue/Saturation" or "Curves" adjustment layers. This helps you match the color to the desired fabric and lighting conditions.
Once you're satisfied with the look of your fabric texture, make sure to save your file in both editable and exportable formats, like PSD for future edits and PNG for a flat texture.
By understanding the characteristics of different fabrics and using the right tools and techniques, you can create convincing and realistic textures that will elevate your work. Whether you're designing clothing, backgrounds, or simply experimenting with textures, mastering the art of fabric textures can open up new possibilities in your creative projects. If you’re looking to take your designs even further, don't forget to download high-quality 3D models and textures from the Relebook website. These resources can save you time and help you achieve professional results with ease.
FAQ
How do I make fabric textures look more realistic in Photoshop?
To make fabric textures more realistic, focus on details like shading, highlights, folds, and the overall weave pattern of the fabric. Use soft brushes for subtle shading and highlights, and ensure the fabric texture interacts well with light.
Can I use fabric textures for 3D modeling in Photoshop?
Yes, Photoshop’s texture painting tools can be used for creating realistic 3D fabric textures, but for advanced 3D modeling and texture mapping, it’s better to work in dedicated 3D software like Blender or Maya and then import the textures into Photoshop for refinement.
How do I create fabric textures from scratch in Photoshop?
Start with a solid base color, then use various brushes and filters to create a fabric weave pattern. Add shading and highlighting to mimic how light interacts with fabric, and finish by adding detailed folds and creases.
What is the best resolution to create fabric textures in Photoshop?
For high-quality textures, use a resolution of at least 300 DPI. This ensures that the fabric details remain sharp and clear, especially if the texture is to be used in print or large projects.
Are there any shortcuts to speed up the process of drawing fabric textures?
Using pre-made fabric textures, blending modes, and custom brushes can significantly speed up the process. Photoshop's "Pattern Overlay" option can also help quickly add textures without manually painting them.

