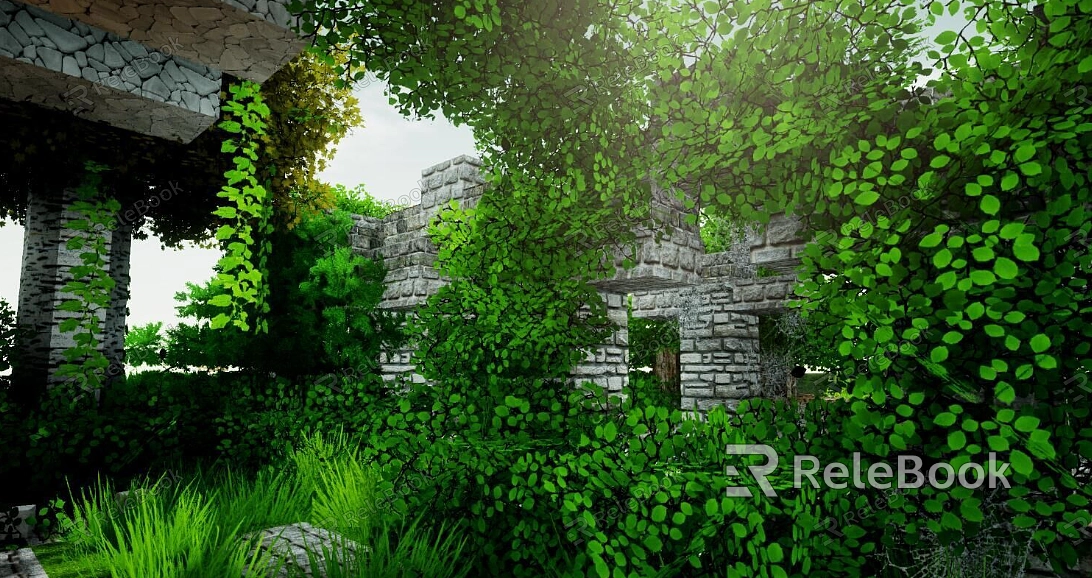
how to make a minecraft texture pack?
To make a Minecraft texture pack, you can follow these steps:
Create a new folder and name it as your texture pack.
Open the folder and create a new folder named "assets".
Inside the “assets” folder, create another folder named "minecraft".
Inside the “minecraft” folder, create a new folder named "textures".
Within the “textures” folder, you can create subfolders for different elements such as blocks, items, entities, etc.
Inside each subfolder, you can place the texture files (.png format) for the corresponding elements.
Customize the textures using image editing software like Photoshop or GIMP.
Once you have finished editing the textures, save them in the respective subfolders.
Create a new text document in the main texture pack folder and name it "pack.mcmeta".
Open the “pack.mcmeta” file and enter the following code:
{
"pack": {
"pack_format": 6,
"description": “Your texture pack description”
}
}
Save the “pack.mcmeta” file.
Compress the entire texture pack folder into a .zip file.
Launch Minecraft and go to the “Options” menu.
Select “Resource Packs” and click on "Open Resource Pack Folder".
Move the .zip file of your texture pack into the resource pack folder.
Close the folder and select your texture pack in the Minecraft resource pack menu.
If you need it, I recommend downloading 3D textures from Relebook. There is no better choice than this.
Enjoy your custom Minecraft texture pack!

