How to Create Textures for 3D Models in Unity
In game development, virtual reality design, and animation production, the quality of textures directly impacts the visual appeal of the final product. Whether it’s characters, environments, or props, the right textures can make 3D models look more realistic and immersive. In Unity, creating textures for 3D models is not just about enhancing visuals; it also plays a crucial role in the performance and rendering efficiency of the models. As a 3D designer with years of experience, I’ll walk you through the process of creating textures for Unity’s 3D models, from basic texture creation to optimization tips. These steps will help you improve your workflow and create more immersive experiences.

Choosing the Right Texture Source
The first step in creating textures for 3D models is selecting the right texture source. There are several ways to acquire textures, and the choice depends on the project’s requirements.
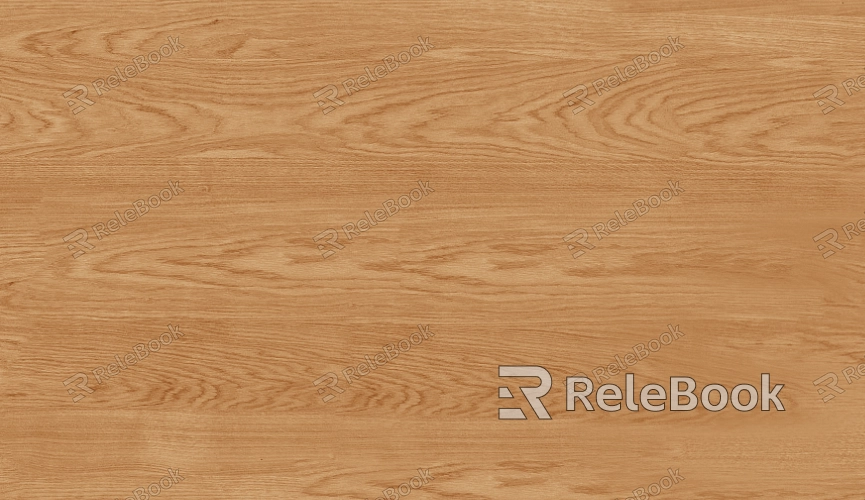
Photographs: Using a high-resolution camera to capture real-world textures, such as walls, wood, or metal, provides a highly realistic effect. This method is ideal for scenes or objects that need to be as close to real life as possible.
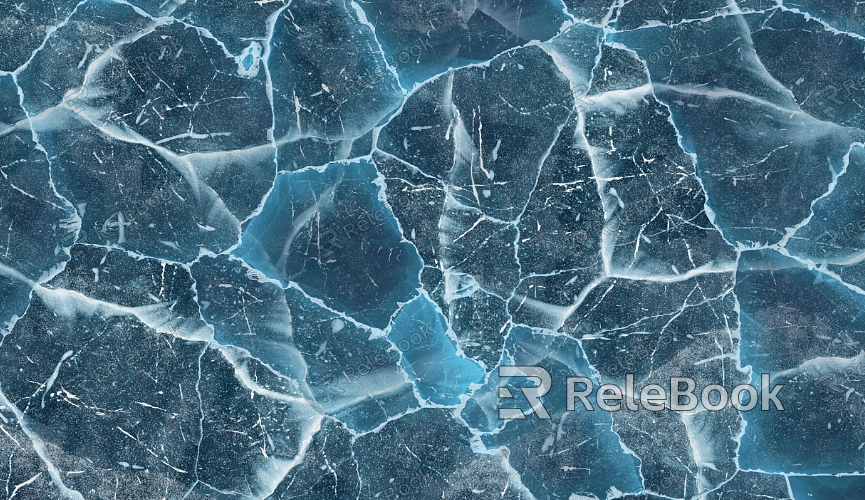
Texture Libraries: Many websites offer both free and paid high-quality texture resources. Platforms like Quixel Megascans and Relebook provide a wide range of textures, which can save you time by allowing you to download and apply them directly to Unity. You can find textures at Relebook’s Texture Library.
Hand-Painted Textures: Sometimes, custom, hand-painted textures are necessary to meet specific creative needs. Tools like Photoshop and Substance Painter are great for designing unique textures, which are ideal for special effects or custom objects in games.
Processing and Optimizing Textures
Regardless of the texture source you choose, processing and optimizing the textures is essential. This process includes adjusting resolution, cropping, removing unnecessary elements, and choosing the right file formats.
Resolution Adjustment: High-resolution textures provide more detail but can increase computational load. Choose an appropriate resolution based on the project’s needs. In general, resolutions ranging from 512x512 to 2048x2048 are suitable for most projects.
Cropping and Removal: Sometimes, you may need to crop out unnecessary elements from the texture, like text or labels, to ensure the texture fits the 3D model seamlessly.
File Format Conversion: Unity supports various texture formats, but the most common and recommended formats include PNG, JPG, and TGA. If your texture requires transparency, it’s best to use PNG or TGA to maintain image quality.
Importing Textures into Unity
Once your textures are ready, the next step is to import them into Unity and apply them to the 3D model. Importing textures is a simple process, but you need to pay attention to some specific settings.
Importing Textures: In the Unity editor, open the "Project" window, right-click, and select “Import New Asset.” Find your texture files and import them. The textures will appear in your asset folder.
Adjusting Texture Settings: After importing, you’ll need to adjust the texture settings to ensure it works optimally in Unity. For example, enable MipMap to ensure smooth texture transitions at varying distances, and tweak compression settings to optimize performance.
Creating Materials and Applying Textures
After importing textures, the next step is to create materials and apply the textures to the 3D model. Unity’s material editor provides powerful features to achieve various visual effects.
Creating a Material: Right-click in the “Project” window and select “Create > Material” to create a new material. Name the material and then double-click it to open the Inspector panel.
Applying Textures: Drag the imported textures to the corresponding slots on the material. For instance, drag the Diffuse texture to the Albedo slot and the Normal Map to the Normal Map slot.
Advanced Material Settings: In addition to basic textures, you can also tweak other material properties, such as Metallic and Smoothness, to control how the material reacts to lighting and how it looks under different lighting conditions.

Adjusting Lighting and Reflection Effects
Lighting and reflections play a crucial role in how textures appear in Unity. Properly setting up the lighting and reflection effects ensures that your textures look realistic in different environments.
Lighting Setup: Adjust the scene’s light sources to ensure textures are presented well under various lighting conditions. You can control light intensity, color, and shadow effects to simulate different environments.
Reflection and Ambient Light: Textures will behave differently depending on their reflection properties. For example, metal surfaces need higher reflection values, while non-metallic surfaces, such as wood or stone, should have lower reflections to look realistic.
Optimizing Texture Performance
High-quality textures can significantly improve the visual appeal of your project, but if not optimized correctly, they can negatively impact performance. Optimizing textures for better rendering efficiency is essential.
Lowering Texture Resolution: For objects that are far away or less important, you can use lower-resolution textures to enhance performance without sacrificing visual quality.
Using MipMap: MipMap is a texture optimization technique that automatically switches the resolution of textures based on the object’s distance, reducing GPU workload.
Texture Compression: When importing textures, select an appropriate compression format to reduce the file size, thus alleviating the load on the GPU and improving rendering performance.
By following these steps, you can create high-quality textures for 3D models in Unity, improving both the realism of the models and the performance of the project. Textures are crucial in any game development or virtual reality project, and mastering these techniques will help you produce efficient and stunning 3D assets.
If you’re looking for high-quality textures and 3D environments to bring your projects to life, Relebook offers a wealth of resources that can help you achieve outstanding visual effects. Check out Relebook’s collection and elevate your 3D creations today!

