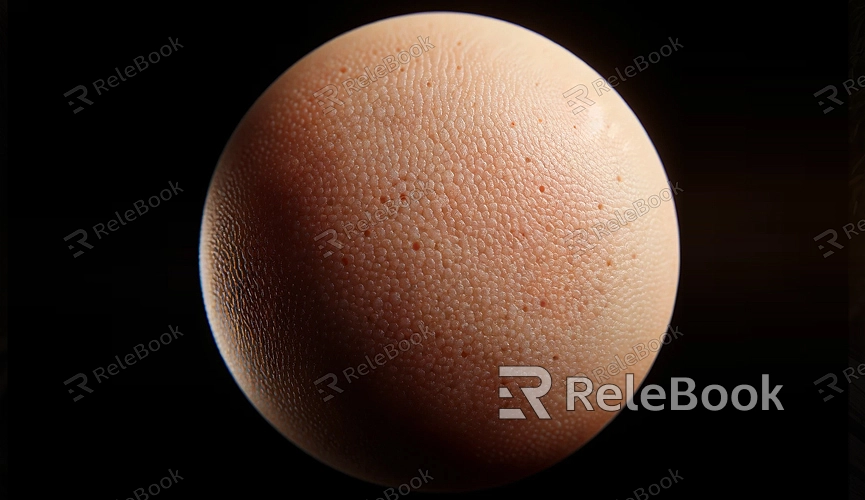
Blender how to get rid of skin texture
In Blender, achieving smooth skin surfaces is a crucial task, especially for character modeling and animation production. However, default skin textures can sometimes make models appear too rough or unnatural. In this article, we will discuss how to remove skin texture in Blender to achieve a smoother and more natural appearance.
What is Skin Texture?
In Blender, skin texture refers to the texture applied to the surface of a character model, simulating the appearance and texture of real human skin. Typically, skin texture includes color, details, and texture, enhancing the realism and vitality of character models. If you need different skin textures, you can directly download them from Relebook.
Why Remove Skin Texture?
Although skin texture can enhance the realism of character models, sometimes we may want to remove it to achieve a smoother and more uniform appearance, such as in cartoon-style or specific style projects. Additionally, default skin textures may not always align with the overall style of the model, requiring adjustment or replacement.

Methods to Remove Skin Texture in Blender
Next, let's explore how to remove skin texture in Blender:
1. Select the Model: Firstly, open your Blender project and select the model containing the skin texture.
2. Enter Edit Mode: Switch the model to edit mode to perform texture editing and adjustments.
3. Select Faces: Use the selection tool or directly click to select the faces or parts containing the skin texture.
4. Clear Texture: In edit mode, locate the "UV Editing" tab and click the "Clear" button to clear the texture of the selected parts. This will remove the skin texture from the selected parts.
5. Adjust Materials: After clearing the texture, you may need to adjust the model's materials and surface properties to achieve a smoother and more uniform appearance. You can adjust parameters like color, reflection, glossiness, etc., to achieve the desired effect.
6. Add New Texture: If necessary, you can add new textures or materials to replace the previous skin texture. Choose appropriate skin colors and textures, or try different texture effects to meet your needs.
7. Preview and Render: After completing the above steps, you can preview the model's effect in Blender and make necessary adjustments. Finally, you can render the model to observe its appearance in the rendering view.
During the process of removing skin texture, you may encounter some common issues. Here are some common problems and solutions:
Texture Stretching or Deformation: If you notice stretching or deformation of the model after clearing the texture, you can try readjusting the UV mapping to maintain the correct proportions and orientation of the texture.
Unnatural Transition at Model Edges: If you find unnatural transitions at the model edges after clearing the texture, you can try adding appropriate edge effects or applying edge smoothing to achieve smoother and more natural transitions.
Unsatisfactory Rendering Effect: If you encounter unsatisfactory rendering effects, you can try adjusting parameters such as materials, lighting, and environment to achieve better rendering results.
Through this article, you should now understand the basic methods and steps to remove skin texture in Blender. Removing skin texture can create a smoother and more uniform appearance for models, suitable for various styles and project requirements. If you need many high-quality 3D textures and HDRIs, or downloadable 3D models, you can download them from Relebook and import textures and 3D models directly into your project for immediate use.

