How to take texture off walls in Blender
When modeling and rendering in Blender, you may sometimes need to remove textures from walls in order to redesign or add new textures. In this article, we will show you how to remove wall textures in Blender, making it easy for you to meet your design needs.
1. Open Blender and Import the Scene
First, open Blender and import the scene file containing the walls. You can use Blender's built-in import function to import existing scene files or model files into Blender. Make sure the scene includes the wall model from which you want to remove the texture.
2. Enter Edit Mode and Select the Walls
In Blender, select the wall model and enter edit mode to edit and modify the walls. You can enter edit mode using the selection tool or shortcut keys and select various parts of the walls for further operations.
3. Delete Texture Materials
In edit mode, you can select the material slot of the walls and delete the texture material to remove the texture from the walls. In Blender, textures usually exist in the form of materials, which you can find and delete in the properties editor.
4. Clear Texture Coordinates
After deleting the texture material, you also need to ensure that the texture coordinates on the walls are cleared to avoid residue texture on the wall surface. In Blender, you can select all vertices of the walls and set the texture coordinates to default values to clear the texture information on the walls.
5. Redesign the Walls
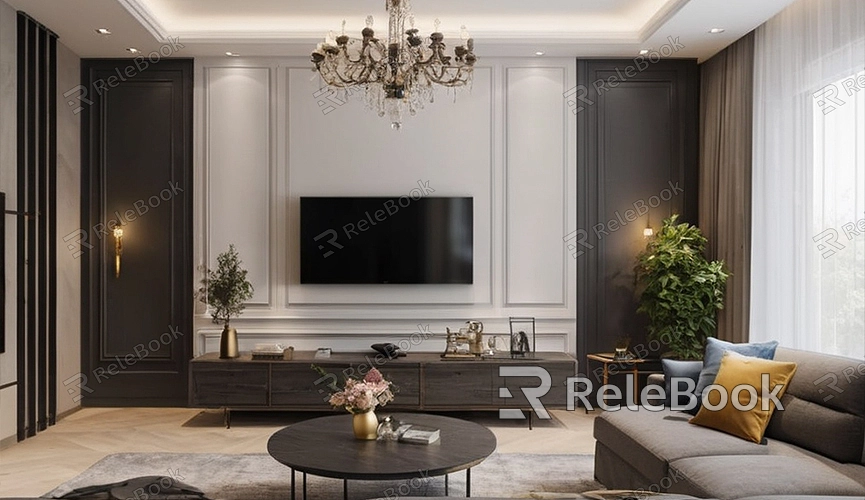
Once the texture is removed from the walls, you can start redesigning the walls and adding new textures or materials. In Blender, you can use various modeling tools and material nodes to achieve different design effects. Based on your design needs and creative ideas, redesign and decorate the walls; many exquisite 3D textures and models can be downloaded from Relebook.
6. Render and Preview the Effects
After completing the redesign, you can render and preview the effects to ensure that the wall design meets your expectations. In Blender, you can generate realistic rendering images by setting rendering parameters and lighting effects, and preview the rendering effects in the preview window in real-time.
7. Export the Design Results
Finally, when you are satisfied with the wall design, you can export the design results in common image formats such as PNG or JPEG for later use or sharing. In Blender, you can select the "Image" menu in the rendering results window, then choose the "Save Image" option, select the save path and file format, and export the design results.
Through this article, we believe you now understand the basic steps and techniques for removing wall textures in Blender. Removing wall textures is an important step in redesigning or adding new textures, allowing you to better meet design needs and creative ideas. If you need high-quality 3D textures and HDRI or 3D model downloads for creating models and virtual scenes, you can download them from Relebook and import textures and 3D models into your projects.
