How to Make a 3D DNA Model
Creating a 3D DNA model in 3D modeling is a common and fascinating task. Making a 3D DNA model can help us better understand the structure and function of DNA, and using textures and 3D models downloaded from relebook can help us render the desired effects better. In this article, we will introduce how to make a simple yet realistic 3D DNA model using common tools and materials.
1. Prepare Materials and Tools
To make a 3D DNA model, you'll need the following materials and tools:
Plastic model or spherical model: to represent the double helix structure of DNA.
Plastic sheets of different colors or colored paper: to represent the DNA bases.
Scissors, glue, and transparent tape: for cutting and pasting materials.
Black thin thread or fine wire: to simulate the helical structure of DNA.
Optional: If you have a 3D printer, you can also use 3D printing technology to make a more precise 3D DNA model.
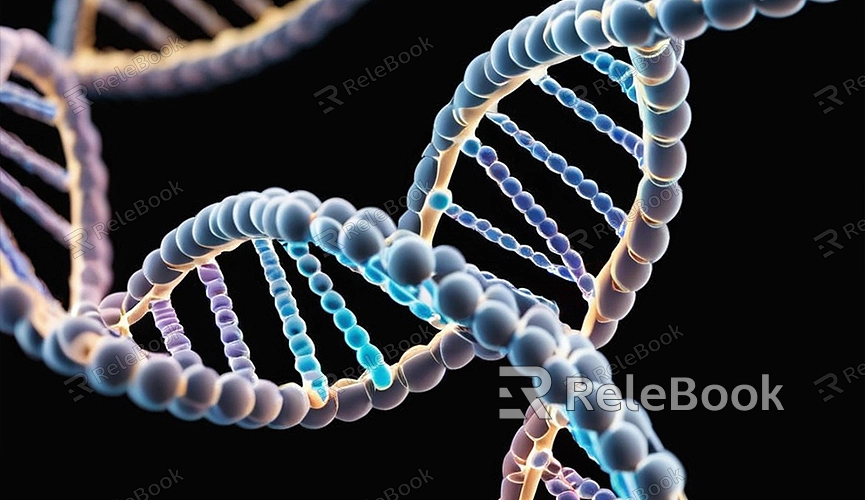
2. Construct the Double Helix Structure of DNA
Firstly, use the plastic model or spherical model as the framework for the DNA. Choose an appropriate size model based on your needs and dimensions. Then, use black thin thread or fine wire to wrap around the model to create the double helix structure of DNA, ensuring that the shape and proportions of the helix structure match the actual structure of DNA.
3. Add DNA Bases
Next, use plastic sheets of different colors or colored paper to create the DNA bases. According to the structure of DNA, bases are usually divided into adenine (A), thymine (T), guanine (G), and cytosine (C). Following the base-pairing rules, paste different colored bases onto the double helix structure of DNA to simulate the DNA base sequence.
4. Assemble the DNA Model
Once all bases have been added to the double helix structure of DNA, you can start assembling the DNA model. Use glue and transparent tape to paste different parts together, ensuring that the entire model is sturdy and intact. You can adjust the positions and arrangements of bases as needed to make the model more realistic and lifelike.
5. Add Labels and Descriptions
To help viewers better understand the structure and function of DNA, you can add labels and descriptions to the model. Use colored paper or label paper to make labels, and write relevant information such as base names, DNA structure, and function on the labels. Paste the labels in appropriate positions for viewers to see and understand.
6. Optional: Use 3D Printing Technology to Make the Model
If you have a 3D printer, you can also use 3D printing technology to make a more precise and realistic 3D DNA model. Use CAD software to design the structure of DNA and import the design file into the 3D printer for printing. After printing is complete, you can paint and decorate the model to make it more realistic and vivid.
Through the introduction in this article, we believe you now understand how to make a simple yet realistic 3D DNA model. Whether using common materials and tools or advanced 3D printing technology, you can achieve an impressive DNA model. If you need high-quality 3D textures and HDRI or 3D model downloads for creating models and virtual scenes, you can download them directly from Relebook and import textures and 3D models into your projects.
