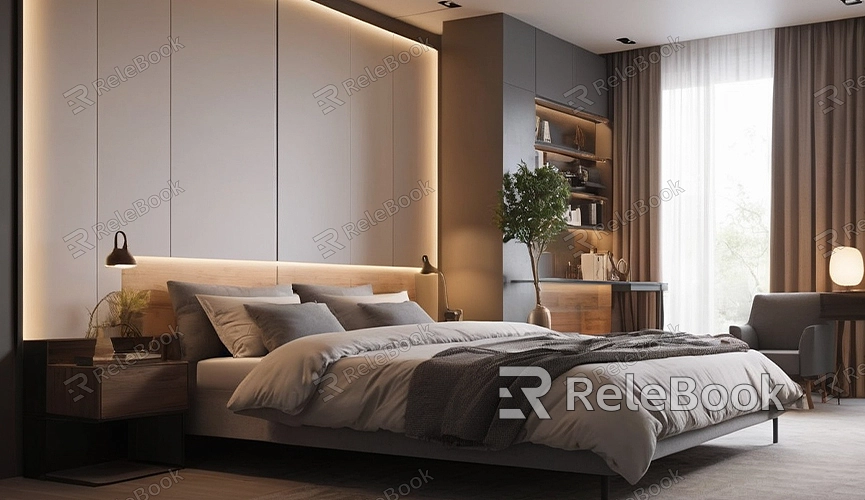
How to Render a Scene in Blender
Blender, being a powerful 3D modeling and rendering software, offers a rich set of rendering features to help users bring scenes to life. In this article, we will discuss how to render a scene in Blender and share some common rendering techniques and workflow steps.
1. Set up the Scene
Before rendering, it's essential to set up your scene. This includes choosing the appropriate camera angle and position, adjusting the type and intensity of light sources, and adding necessary objects and textures. Ensure that your scene layout and element arrangement are reasonable to achieve the desired effect.
2. Configure Rendering Engine and Parameters
Blender supports multiple rendering engines, including Cycles and Eevee. Before rendering, you need to select the appropriate rendering engine and set rendering parameters as needed. For example, choose the rendering resolution and frame rate, adjust sampling and ray tracing parameters to achieve the desired rendering effect.
3. Adjust Materials and Textures
After setting rendering parameters, you can apply materials and textures to objects in the scene to enhance rendering effects and realism. In Blender, you can adjust the appearance and texture of objects by selecting them and setting corresponding material properties and texture maps in the material editor.
4. Add Rendering Effects
In addition to basic materials and textures, you can add rendering effects to enhance the visual impact of the scene. These effects include depth of field, motion blur, ambient occlusion, etc. These effects can be found in the rendering settings and adjusted and configured as needed to increase the realism and visual fidelity of the scene.
5. Perform Preview Rendering
After setting all rendering parameters and effects, it's advisable to perform a preview rendering to see the effects of the scene after rendering. You can preview render by clicking the render button and then view the rendered image and effects in the render result panel. Based on the preview rendering results, necessary adjustments and optimizations can be made to the scene.
6. Start Rendering
Once everything is set up, you can start the actual rendering process. In Blender, you can initiate the rendering process by clicking the render button and wait for the rendering to complete. The rendering time depends on the complexity of the scene and the settings of the rendering parameters, which can be adjusted and optimized as needed.
7. Export Rendering Results
After rendering is complete, you can export the rendering results as image files or video files for further use or sharing. In Blender, you can export rendering results by clicking the "Save Image" or "Save Animation" button in the render result panel and selecting the appropriate file format and save path.
By following these steps and techniques, you can easily render beautiful scenes in Blender and showcase your creativity and imagination. If you need high-quality 3D textures and HDRI, or 3D model downloads while creating models and virtual scenes, you can download them from Relebook. After downloading, you can directly import textures and 3D models into your project for use.
