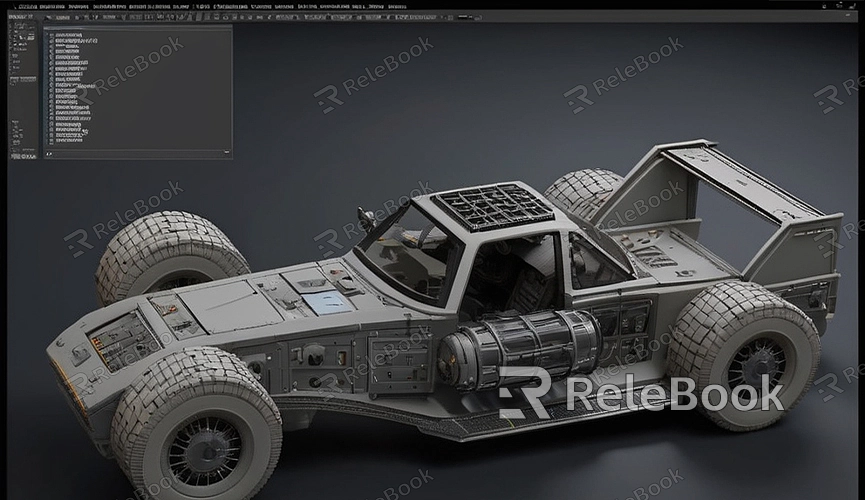
Blender how to make 3d model from photos
Blender, as a powerful 3D modeling software, can assist users in creating realistic 3D models from photos. Whether it's scenery from real life or characters from photos, Blender can handle the conversion and modeling process. Here's how to use Blender to create 3D models from photos.
1. Gather Photo References
Firstly, collect a sufficient number of photos from various angles as references. Ensure the photos are clear and cover all angles to provide accurate references during the modeling process.
2. Create Basic Geometry
Open a new project in Blender and select a suitable basic geometric shape as the object you want to model. Common basic geometric shapes include cubes, spheres, cylinders, etc. Choose the one closest to the desired shape.

3. Add Background Images
In Blender, you can add background images as references for modeling. In the modeling interface, click the "View" menu, then select "Background Images," and add the collected photos as background images in the dialog box.
4. Model Using Reference Photos
Based on the reference photos, use Blender's modeling tools to gradually create the basic shape of the model. You can use vertices, edges, faces, and operations like extrusion, scaling, rotation to adjust the shape step by step to match the reference photos as closely as possible.
5. Add Detail and Texture
After establishing the basic shape, you can add more details and textures to make the model more realistic. Utilize Blender's sculpting tools for detailed sculpting or apply texture maps to enhance the surface texture and details of the model.
6. Adjust Materials and Lighting
Once the model is built and detailed, adjust the materials and lighting to achieve a more realistic effect. You can set material properties and adjust lighting attributes in Blender, tweaking parameters such as color, reflection, refraction to produce a more authentic rendering result.
7. Render and Export
Finally, you can render the model in Blender and save the rendered result as an image or video file. As needed, you can also export the model in various common 3D file formats for further editing and application in other software.
Following these steps, you can use Blender to create realistic 3D models from photos. If you require high-quality 3D textures, HDRI, or 3D model downloads while creating models and virtual scenes, you can download them from Relebook and directly import textures and 3D models into your project for use.

