How to use blender 3d modeling
Blender, as a powerful open-source 3D modeling software, is beloved by numerous designers and artists. However, mastering Blender's 3D modeling functionality may pose some challenges for beginners. This article will start from the beginner level and introduce you to how to use Blender for 3D modeling, guiding you step by step to master this skill.
1. Download and Install Blender
Firstly, you need to visit the Blender official website (https://www.blender.org) to download the latest version of Blender software. Blender supports multiple operating systems, including Windows, macOS, and Linux. Once downloaded, follow the prompts to install it, and then you can launch Blender.
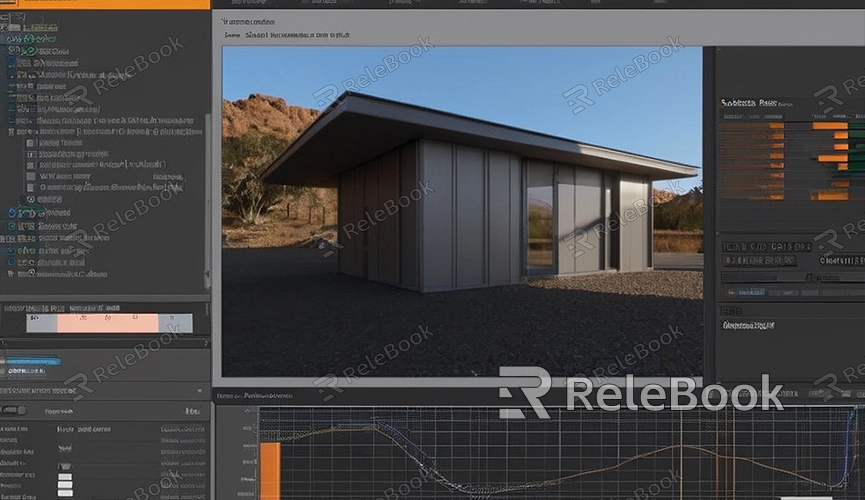
2. Explore the Blender Interface
After launching Blender, you will see a complex interface containing various tools and panels. However, don't worry, we will gradually introduce the functionality of each part. The main interface elements include viewports, toolbars, property panels, timeline, etc. You can operate by clicking, dragging, and scrolling with the mouse.
3. Familiarize Yourself with Basic Modeling Tools
Blender offers a rich set of modeling tools that allow you to create various 3D models. Some commonly used basic modeling tools include:
Vertex Edit Mode: Used for editing model vertices, allowing you to move, rotate, and scale vertices to adjust the model's shape.
Edge Edit Mode: Used for editing model edges, enabling you to create, delete, and adjust model edges to define the model's edges and boundaries.
Face Edit Mode: Used for editing model faces, allowing you to create, delete, and adjust model faces to define the model's surfaces and appearance.
4. Create Basic Geometric Shapes
In Blender, you can start your modeling process by creating basic geometric shapes. Choose "Add" > "Mesh" from the toolbar, then select the type of geometric shape you want to create, such as a cube, sphere, cylinder, etc. Once created, you can adjust the parameters and properties of the geometric shape in the property panel.
5. Perform Detail Modeling
In addition to basic geometric shapes, you can use various tools and techniques for detail modeling. Some commonly used detail modeling techniques include:
Split and Connect: Use the Knife Tool or Connect Tool to split and connect various parts of the model.
Deform and Adjust: Use the Deform Tool or Adjust Tool to adjust the shape and structure of the model.
Add and Delete: Use the Add Tool or Delete Tool to add or remove various parts of the model.
6. Apply Materials and Textures
Once the modeling is complete, you can apply materials and textures to the model to enhance its visual effects and realism. In the material panel, you can choose various material types and adjust parameters such as color, glossiness, roughness, etc. At the same time, in the texture panel, you can add various texture maps such as diffuse maps, normal maps, environment maps, etc.
7. Render and Export the Model
After completing the modeling and material settings, you can render and export the model. In the render panel, you can select the rendering engine and rendering parameters, and preview the rendering. Once satisfied with the rendering results, you can export the model to common file formats. If you need high-quality 3D textures, HDRI, or downloadable 3D models while creating models and virtual scenes, you can download them from Relebook and directly import textures and 3D models into your project.
