How to make 3d models blender
In the realm of 3D design, Blender stands out as a powerful 3D modeling software widely utilized in various fields such as game development, visual effects for films, and animation production. If you're interested in learning how to create 3D models using Blender, you've come to the right place! This article will provide you with a straightforward guide to help you quickly grasp the techniques and steps involved in making 3D models with Blender.
1. Download and Install Blender
Firstly, head to the Blender official website to download the latest version of the Blender software and follow the official instructions for installation. Once installed, launch Blender, and you're ready to start creating your first 3D model.
2. Master Basic Operations
Before diving into creating 3D models, it's essential to master Blender's basic operations. These include viewport navigation, object selection, translation, rotation, scaling, and more. You can learn these fundamentals by watching Blender's official tutorial videos or reading the official documentation.
3. Create Basic Geometric Shapes
Blender provides a variety of basic geometric shapes such as cubes, spheres, cylinders, etc., as the foundation for creating 3D models. You can add these basic geometric shapes by clicking the "Add" option in the menu bar, then adjust and combine them in the scene to create the desired shapes.
4. Use Modeling Tools
In addition to basic geometric shapes, Blender offers a wealth of modeling tools to help you edit and sculpt models more flexibly. Tools like cutting, extrusion, twisting, deformation, etc., can assist you in creating more complex and detailed models.
5. Add Materials and Textures
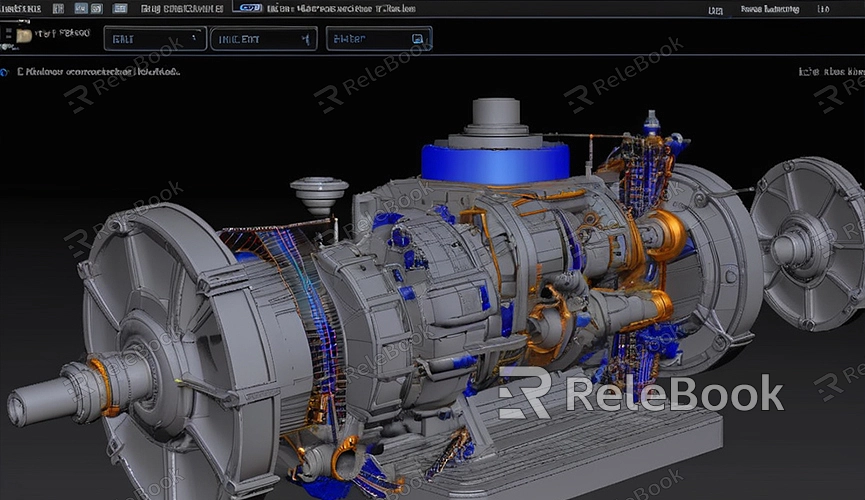
Once the model's shape is complete, you can add materials and textures to enhance the model's realism and details. Blender provides a rich library of materials and textures for you to choose from. You can also download 3D texture and model resource files from Relebook and apply them to your model.
6. Adjust Lighting and Camera
Lighting and camera settings play vital roles in rendering effects. In Blender, you can adjust the position of light sources and cameras in the scene to achieve the desired rendering effects. Experiment with different lighting setups and camera angles to find the best rendering effect for your model.
7. Render the Model
After completing the model, you can render the final rendering image. In Blender, you can choose different rendering engines and settings to meet various needs. Click the render button, and Blender will generate the rendering image based on your settings and model information.
8. Export the Model
Once rendering is done, you can export the model to common 3D file formats such as OBJ, FBX, etc., for use in other software or for further post-processing. Click on the "File" option in the menu bar, then select "Export," choose the appropriate file format, and save the file.
Through the above easy guide, you've learned the basic steps and techniques for creating 3D models using Blender. Creating 3D models is a process that requires patience and skill. If you need high-quality 3D textures, HDRI, or downloadable 3D models while creating models and virtual scenes, you can download them from Relebook. Simply download textures and 3D models and import them directly into your models for use.
