Blender how to make a turntable for 3d model
Blender is a powerful 3D modeling and animation software that not only allows you to create complex 3D models but also enables you to use a turntable feature to give your models a dynamic presentation. A turntable is an excellent way to showcase a 3D model by rotating it 360 degrees, allowing viewers to see every detail and aspect of the design. In this article, we’ll walk you through the steps to create a turntable for your 3D model in Blender.
What is a Turntable?
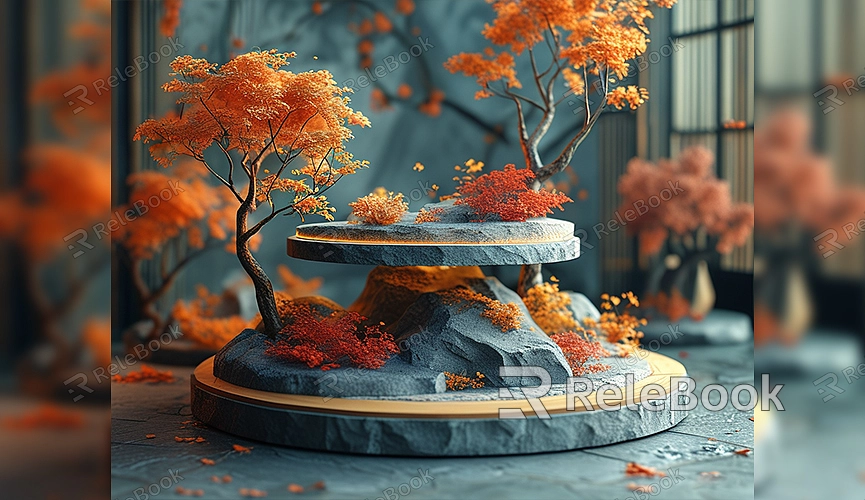
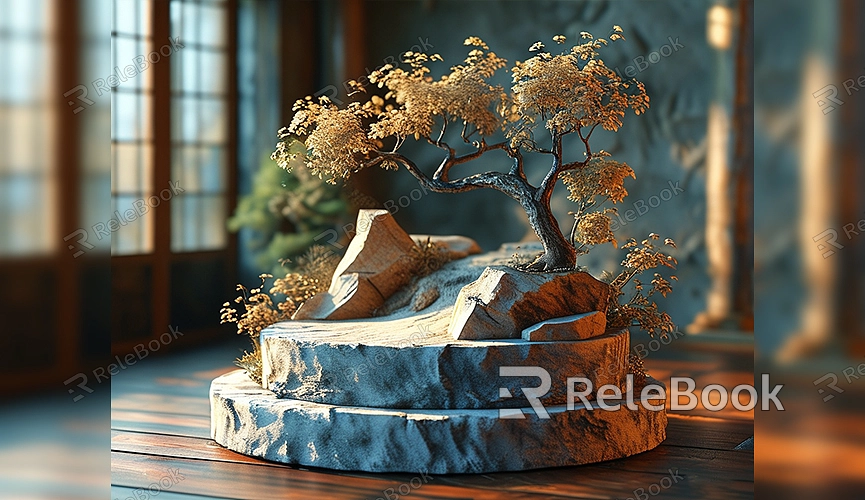
A turntable is a common display method, especially in product design and 3D art. By rotating the model slowly, viewers can appreciate its details and structure from all angles. Creating a turntable in Blender is relatively straightforward but requires some key steps and settings.

Steps to Create a Turntable in Blender
Model Preparation
First, you need to import or create the 3D model you want to showcase in Blender. If you already have a model, you can import it into Blender. If not, you can create one using Blender’s modeling tools. Ensure that the model has rich details so that it will look great during the rotation.
Setting Up the Camera Path
To make the model rotate on the turntable, you need to set up a camera to move along a circular path. This way, the camera will rotate around the model, giving viewers the impression of the model spinning on the turntable.
1. Create a Camera Path: Use the "Curve" tool in Blender to create a circular path. This path will define the camera’s movement trajectory. Go to the "Add" menu, select "Curve" -> "Circle," and adjust the circle’s size to fit your model.
2. Attach the Camera: Select your camera, then add a “Follow Path” constraint in the "Constraints" panel. Set the circular path you just created as the target path for the camera. This will make the camera orbit the model along the path.
3. Adjust Camera View: Move and rotate the camera to ensure it remains focused on the center of the model. You can preview the camera’s view in the “Viewport” panel and adjust it until you’re satisfied.
Setting Up Animation
Next, you need to animate the turntable by moving the camera along the path.
1. Set Keyframes: At the beginning of the timeline (usually frame 1), set a keyframe for the camera. Move to the end of the timeline (e.g., frame 250) and set another keyframe. The camera will complete a full rotation between these two keyframes.
2. Smooth Motion: To make the camera’s movement smoother, adjust the animation curves in the “Graph Editor.” Set the curve to linear or smooth to ensure a consistent rotation speed.
Lighting and Material Setup
To showcase your model at its best, proper lighting and material settings are crucial. In Blender, you can add multiple light sources, adjust their positions and intensities, and make sure every detail of the model is well-lit.
1. Add Lighting: Arrange several lights around the model, such as a main light, fill light, and background light. Adjust the color and intensity of the lights to highlight the model’s materials and textures.
2. Adjust Materials: In the “Materials” panel, apply suitable material properties to the model. If your model has special materials like metal or glass, make sure to add appropriate gloss and transparency effects.
Rendering Setup

After setting up everything, you can begin rendering the animation. In Blender’s “Render” panel, select the appropriate resolution and output format. For turntable animations, high-definition resolution is recommended to ensure all details are clearly presented.
1. Choose Render Engine: Blender supports multiple render engines, such as Eevee and Cycles. Eevee is faster and suitable for quick previews, while Cycles provides higher-quality rendering, ideal for final output.
2. Output Settings: In the “Output” panel, choose the save path and format for the animation. Common formats include MP4 and AVI; choose a format with minimal compression to retain the best quality.
3. Start Rendering: Click the “Render Animation” button, and Blender will start generating the animation file. Rendering time may vary depending on the model’s complexity and the settings, so be patient.
Post-Processing
After rendering, you can use Blender’s “Video Editing” features for post-processing the animation. Adding transitions or background music can make the final presentation more professional.
By following these steps, you can create a turntable for your 3D model in Blender. This presentation method allows you to showcase every detail of the model, enhancing its display quality. If you need high-quality 3D textures and HDRIs for your models and virtual scenes, you can download them for free from [Relebook](https://textures.relebook.com/). For exquisite 3D models, visit [Relebook](https://3dmodels.relebook.com/). Relebook offers a wide range of premium 3D resources to help you complete your projects effortlessly.

