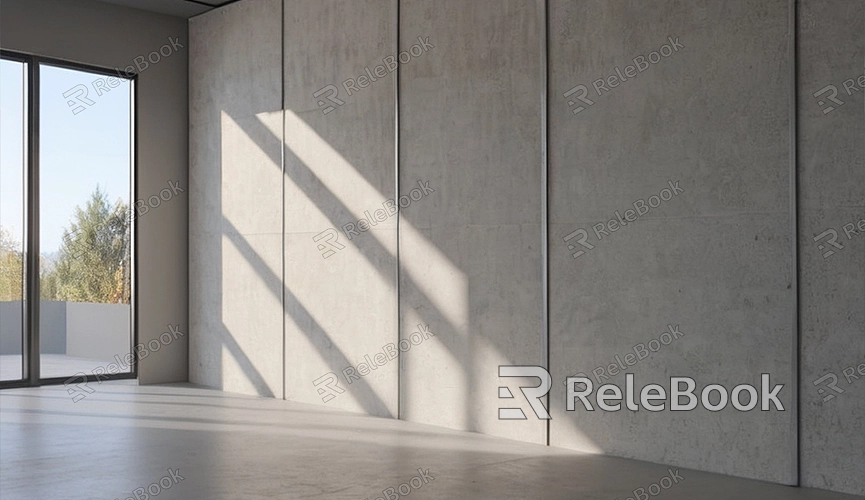
How do you paint a textured wall in blender
Painting a textured wall in Blender is a common requirement, whether it's for scene rendering, game development, or animation production. Realistic wall textures are essential. If you want to learn how to paint a textured wall in Blender, you've come to the right place! This article will provide you with a detailed tutorial to help you quickly master the methods for painting a textured wall in Blender.
1. Preparation
Before starting to paint the wall, you need to gather the necessary materials and tools. First, ensure you have Blender software installed and are familiar with basic operations. Second, prepare the wall texture images you want to use, such as bricks, wood, stone, or any other material.

2. Create the Wall
In Blender, you can use various basic geometric shapes to create a wall, such as a plane, cube, etc. Select an appropriate basic geometric shape and adjust its size and shape to simulate the desired size and thickness of your wall. Place it in the scene at the appropriate position as the base of the wall.
3. Import Texture Images
In Blender, you can add texture to the wall by importing texture images. Click on the "Texture" tab on the left side of the Blender interface, select "Image Texture" in the material properties panel, then click the "Open" button to select and import the wall texture image you prepared into Blender.
4. Apply Texture to the Wall
Apply the imported wall texture image to the wall. Select the object of the wall, choose the "Texture" tab in the properties editor on the right side of the Blender interface, and select the imported texture image from the "Image Texture" dropdown menu. This will apply the texture image to the wall, and you can see the effect in real-time view.
5. Adjust Texture Mapping
Adjust the parameters of texture mapping according to the size and shape of the wall to ensure the texture is correctly mapped to the wall. In the texture tab of the properties editor, you can adjust parameters such as tiling, offset, rotation, etc., to achieve the desired texture effect. You can also preview and adjust in real-time in the 3D view.
6. Add Material Nodes
To enhance the realism and effect of the texture, you can use the node editor in Blender to make finer adjustments to the texture. Click on the "Shader Editor" tab at the bottom of the Blender interface, connect the texture node to the appropriate material nodes, adjust parameters and properties to achieve the desired effect.
7. Adjust Lighting and Environment
Lighting and environment are important factors affecting the texture effect. In Blender, you can adjust the light sources and environment settings in the scene to change the appearance and texture of the wall. Try different lighting directions, intensities, and environment colors to find the most suitable effect for your wall.
8. Render and Preview
After completing the texture setup, you can render the final rendering image. Click the "Render" button at the top of the Blender interface, select the rendering mode and settings, then click the "Render Image" button. Blender will generate the rendering image based on your settings and display it in the rendering window.
9. Adjust and Optimize
After rendering is complete, you can make final adjustments and optimizations to ensure the texture effect meets expectations. You can further adjust and optimize textures, materials, lighting, etc., as needed until you achieve the desired effect.
With this detailed tutorial, you have learned the methods and steps for painting a textured wall in Blender. Painting a textured wall is a fun and challenging task. If you need high-quality 3D textures and HDRI or downloadable 3D models while creating models and virtual scenes, you can download them from Relebook. Simply download textures and 3D models and import them directly into your models for use.

