How to Texture a 3D Object
Adding textures to a 3D object is a critical step in bringing realism and detail to your models, making them more aligned with project goals. However, this process can be challenging for beginners or those unfamiliar with texturing workflows. As a 3D modeling professional, I’ve worked with various tools like Blender, 3ds Max, and Maya, refining techniques to streamline the process and enhance the quality of final renders. Below, I’ll share effective methods for applying textures to your models, helping you boost productivity and achieve outstanding results.

1. Prepare Texture Files
Before applying textures to a 3D object, ensure that the necessary files are ready and meet the requirements of your project.
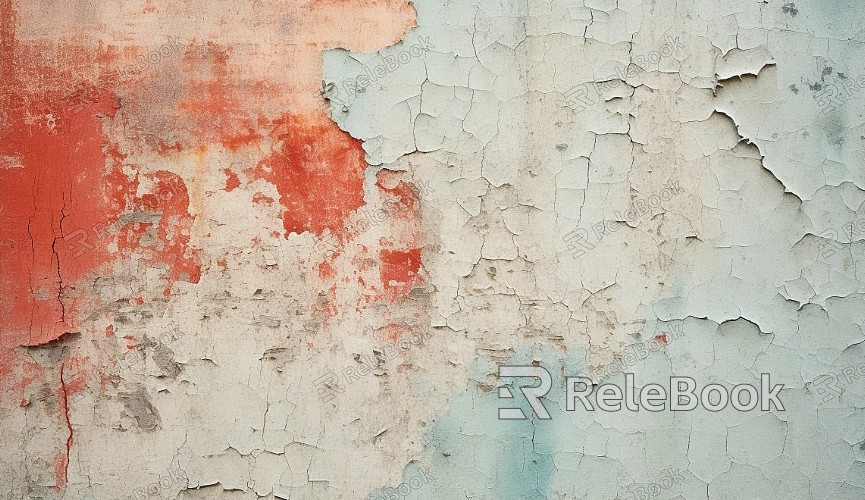
Choose the right texture type: Select textures suitable for the object’s purpose, such as wood, metal, or fabric. Use seamless textures to avoid visible edges or patterns.
Optimize resolution: Most projects work well with 2K or 4K textures. For low-detail environments, consider smaller resolutions to save resources.
Standardize file formats: Use widely supported formats like PNG or JPEG to ensure smooth import into your software.
If finding or creating high-quality textures feels overwhelming, you can access an extensive library of ready-made textures at Relebook.
2. Load Textures via the Material Editor
The material editor is the central tool in most 3D software for managing and applying textures.
Create a base material: Open the material editor, such as Blender’s Shader Editor or 3ds Max’s Slate Material Editor, and create a new material node.
Connect texture maps: Attach texture files to the appropriate channels, like Diffuse/Base Color, Normal Map, or Roughness.
Adjust parameters: Fine-tune the texture by controlling UV mapping, scale, and intensity to match the desired look.
3. Apply Materials to Objects
Once your texture is integrated into a material, it’s time to assign it to the 3D object.
Select the object: Highlight the model you want to texture within the scene.
Assign the material: Drag the material onto the object or use software-specific functions, such as “Assign Material to Selection” in 3ds Max.
Enable viewport display: Make sure the texture is visible in the viewport to preview adjustments in real-time.

4. Inspect and Adjust UV Mapping
The appearance of your texture on a 3D object heavily depends on its UV mapping. Proper UV layouts ensure the texture isn’t stretched or distorted.
Generate UV maps: For objects without UV mapping, generate a default layout using automatic unwrap tools in your software.
Edit UV layouts: Check for overlaps, stretching, or boundary issues in the UV editor, and make manual adjustments if necessary.
Optimize UV scaling: Adjust UV proportions to distribute the texture evenly and minimize visual imperfections.
5. Enhance Realism with Multiple Texture Channels
Using multiple texture maps can significantly increase the realism of your 3D objects, particularly in dynamic lighting conditions.
Normal maps: Add fine surface details like bumps and grooves for a realistic touch.
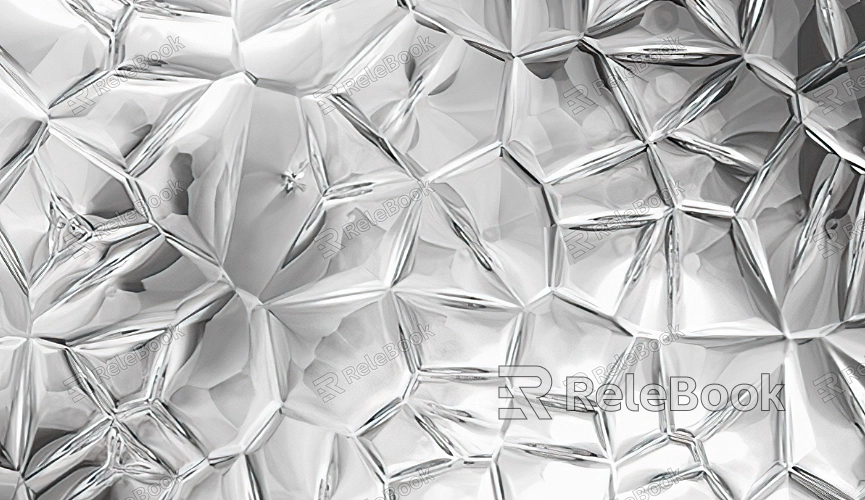
Roughness maps: Control the reflectivity of the surface to mimic real-world materials.
Displacement maps: Create actual height variations through geometric adjustments, ideal for surfaces like brick walls or stone floors.
6. Preview and Optimize the Final Result
After applying textures, use rendering previews to evaluate the results and make necessary refinements.
Adjust lighting: Introduce appropriate light sources to test how textures respond to different scenarios.
Render test shots: Utilize quick rendering engines like Eevee or Arnold to review textures in high resolution.
Refine texture details: Based on test renders, tweak color, transparency, or bump intensity to meet the project’s goals.
By following these steps, you can effectively master the texturing workflow, from initial setup to advanced enhancements. Each stage plays a crucial role in achieving polished and realistic 3D models.
If you’re looking for high-quality textures, SketchUp models, or 3ds Max assets to elevate your projects, Relebook offers a diverse collection to help you create outstanding visual effects. Visit Relebook today to explore a world of design possibilities!

