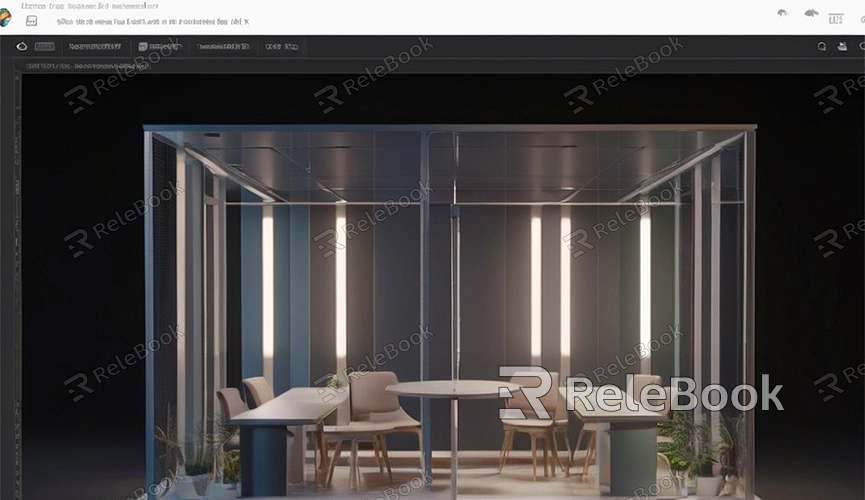
How to render with blender
Interested in learning how to render with Blender? Rendering is the process of converting a 3D scene into 2D images or videos, and it's a crucial step in creating realistic visual effects. In this article, I'll guide you through rendering with Blender, helping you master rendering techniques and create stunning visual effects effortlessly.
1. Open Blender Software
First, make sure you have installed and opened Blender software. If you haven't installed it yet, you can download and install the latest version from the official Blender website.
2. Import Your 3D Scene or Model
In Blender, you can either create your own 3D scene or import existing model files. Whether you're rendering a static scene or an animation sequence, you need to import the scene or model into Blender first.

3. Set Rendering Parameters
In Blender, click on the "Render" option in the top menu bar and select "Render Settings." In the render settings panel, you can adjust various rendering parameters, including resolution, frame rate, output path, etc. Make sure you've set the rendering target and parameters accordingly.
4. Set Output Path
In the render settings panel, locate the "Output" option and set the output path. This is the location where the rendered results will be saved. Choose a folder you prefer and set a filename prefix.
5. Choose Rendering Engine
Blender offers several rendering engines, including Cycles and Eevee. Cycles is a path-tracing-based rendering engine capable of producing high-quality realistic rendering effects, while Eevee is a real-time rendering engine for quick previewing. Choose the appropriate rendering engine based on your needs and the scene.
6. Set Lighting and Materials
In Blender, you can improve rendering effects by adjusting lighting and materials. Adding light sources, adjusting light intensity, setting material properties, etc., can all affect the final rendering effect. Experiment with different lighting and material settings to find the best effect for your scene.
7. Start Rendering
Once all parameters are set, you can click the "Render" button in the render settings panel to start rendering the scene. Blender will render the scene frame by frame according to your settings and save it as an image sequence or video file.
8. Monitor Rendering Progress
During the rendering process, you can find the rendering progress bar at the bottom of Blender's main interface. This progress bar shows the rendering progress of the current frame and the estimated remaining time for the entire rendering process.
9. Adjust Rendering Settings (Optional)
During the rendering process, you can adjust rendering settings at any time to achieve better rendering effects. You can try different resolutions, sampling rates, lighting settings, etc., to find the best rendering parameters for your scene.
10. View Rendering Results
After rendering is complete, you can find the rendered image sequence or video file in the output path. You can use any image viewer or video player to view these files and appreciate your rendering results. If you need high-quality 3D textures, HDRI, or downloadable 3D models while creating models and virtual scenes, you can download them from Relebook and import them directly into your models for immediate use.

