How to Select Blender Render Location
Blender is a powerful 3D creation software that excels in producing high-quality 3D models, animations, and renders. Once you've completed modeling and setup for a project in Blender, selecting the correct render location is key to efficient file management of your renders. This article will guide you on how to choose the render location in Blender to help you better organize and manage your output.
The Importance of Render Location in Blender
When rendering your project in Blender, the output file location determines how you manage and access these files. Choosing a logical render location not only improves workflow efficiency but also helps prevent file loss and confusion. Setting the render location is especially crucial for large projects, ensuring that each render result is stored appropriately for easier post-processing and file management.

How to Set Up Render Location in Blender
Open Blender and Access Render Settings
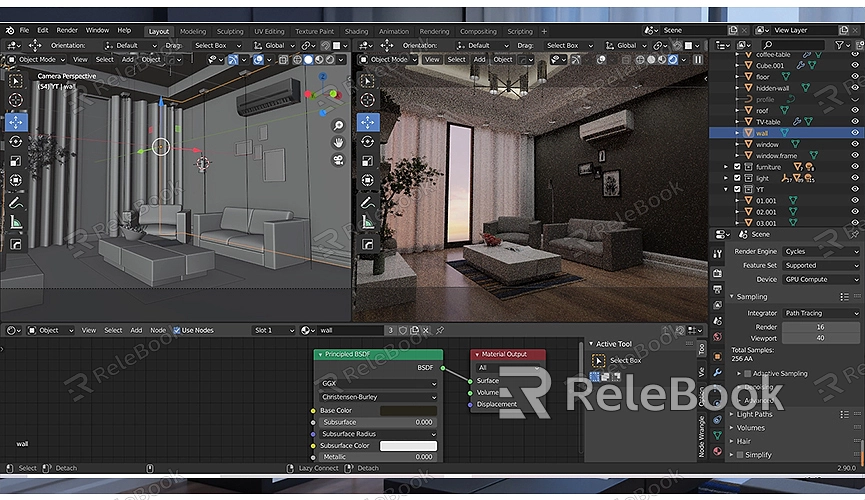
First, launch Blender and load your current project. Make sure all modeling and setup tasks are complete, then navigate to the render settings. In Blender's interface, click on the camera icon in the right panel; this is where you'll set your render parameters.
Choose the Render Output Folder
In the render settings panel, find the “Output” tab. Here, you’ll see the options for “File Path” or “Output Folder.” Click on “File Path,” and you can select a suitable folder to serve as your render output location.

Set File Format and File Name
In the same panel, you can also configure the render file format (e.g., PNG, JPEG, EXR) and the prefix for the file names. It's advisable to use meaningful prefixes to make it easier to identify and manage multiple render files.
Configure Render Resolution and Output Settings
Under the “Output” tab, you can adjust render resolution and other output settings. Ensure your settings align with project requirements, such as selecting the appropriate resolution and aspect ratio to meet your quality expectations.
Save Settings and Start Rendering
After setting the render location, click the “Render” button to begin the rendering process. Blender will save the render results to the folder you specified. Once completed, you can easily access these files through your file browser for further editing and use.
Tips for Optimizing Your Render Workflow
Organize Folder Structure
To efficiently manage render files, consider creating separate folders for different rendering stages or scenes. For example, you could have folders for “Test Renders” and “Final Renders.” This helps ensure that render files don’t get mixed up, avoiding confusion.
Regularly Back Up Render Files
In large projects, the number of render files can become overwhelming, making regular backups essential. Using an external hard drive or cloud storage service for backups can effectively prevent data loss.
Utilize Batch Rendering
For projects that require extensive rendering, consider using Blender's batch rendering feature. By setting up scripts or utilizing a render queue, you can complete a large number of rendering tasks without manual intervention and save the results to the specified location.
Clean Up Unnecessary Files
After completing a project, regularly clean up render files that are no longer needed to save storage space and keep your file system organized. Especially, clearing temporary render files can help manage storage resources effectively.
Selecting an appropriate Blender render location is a critical step in ensuring efficient file management and avoiding data confusion. By correctly setting the file path, file format, and file names in the “Output” tab, you can better organize and manage your render files. To enhance rendering efficiency, it’s recommended to establish a clear folder structure, regularly back up files, utilize batch processing, and perform necessary file cleanups.
If you need high-quality 3D textures and HDRIs for creating models and virtual scenes, you can download them for free from [Relebook](https://textures.relebook.com/). If you’re looking for exquisite 3D models, visit [Relebook](https://3dmodels.relebook.com/) for a vast selection of quality 3D resources. These assets will help you achieve better rendering results in Blender.

