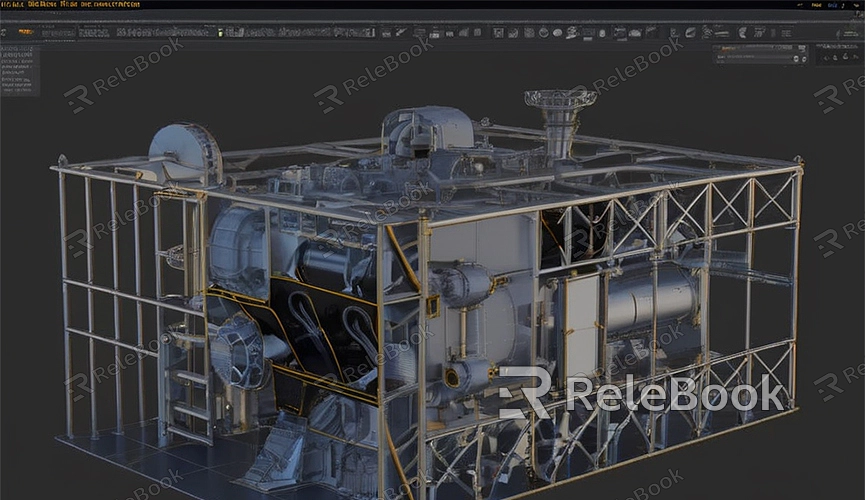
C4D how to design a 3d model
In the modern realm of 3D creation, 3D modeling has become an essential skill. Cinema 4D (C4D), as a powerful 3D modeling software, is widely used in animation, gaming, and visual effects across various industries. If you want to learn how to design a 3D model in C4D, this article will provide you with detailed steps and techniques to help you get started quickly.
Installing and Launching Cinema 4D
Firstly, ensure that you have C4D installed. If not, download the latest version. Once installed, launch C4D and create a new project.
Interface Overview

Before diving into modeling, it's crucial to familiarize yourself with the C4D interface:
1. Viewport: This is the main area for observing and manipulating 3D models.
2. Object Manager: Lists all objects in the current scene.
3. Attribute Panel: Displays properties of selected objects for detailed adjustments.
4. Toolbar: Contains various modeling and editing tools.
Creating Basic Shapes
In C4D, complex 3D models are composed of basic shapes (such as cubes, spheres, cylinders, etc.). Here are the steps to create basic shapes:
1. Select a Basic Shape Tool: In the toolbar, click on the cube icon and choose the shape you need from the dropdown menu.
2. Place the Shape: Click and drag the mouse in the viewport to place the selected shape.
3. Adjust Size: Use parameters in the Attribute Panel to adjust the shape's size and proportions.
Editing Basic Shapes
To create more complex models, basic shapes need to be edited. C4D provides various editing tools, here are some commonly used ones:
1. Move Tool: Used to move the position of objects.
2. Scale Tool: Adjusts the size of objects.
3. Rotate Tool: Changes the orientation of objects.
4. Polygon Editing: Convert basic shapes into editable polygons (press the C key), then use point, edge, and polygon editing tools for detailed adjustments.
Using Boolean Operations
Boolean operations are powerful modeling tools in C4D, allowing you to create complex models by combining or subtracting shapes:
1. Create Two Shapes: For example, a cube and a sphere.
2. Apply Boolean Operations: Select the two shapes, click on the Boolean Operations tool in the toolbar, and choose operations like "Union" or "Subtract."
Adding Detail
To make models more realistic, you can add details such as grooves, edges, etc. Using tools like Knife, Extrude, and Bevel, you can easily achieve these effects:
1. Knife Tool: Used to cut new edges and faces on the model.
2. Extrude Tool: Select a face, use the Extrude tool to pull it out to create a new part.
3. Bevel Tool: Chamfers edges, making them smoother.
Applying Materials and Textures
Once the model is complete, it's time to add materials and textures to make it look more realistic:
1. Create Materials: In the Material Manager, click "Create" and choose "New Material."
2. Edit Materials: Double-click the new material, and in the Attribute Panel, set parameters such as color, reflection, and texture.
3. Apply Materials: Drag and drop the material onto the model, or apply it to specific objects in the Object Manager.
Lighting and Rendering
Finally, add lights and render to showcase the model effectively:
1. Add Lights: Choose the Light Tool from the toolbar, place lights, and adjust their position and intensity.
2. Set Render Parameters: Open render settings, choose output format and resolution, ensuring the render quality meets expectations.
3. Start Rendering: Press the render button, wait for rendering to complete, and save the image.
By following the above steps, you've learned how to design a 3D model in C4D. From creating basic shapes to editing details, applying materials and rendering, C4D provides powerful tools and flexible operations. If you need high-quality 3D textures, HDRI, or 3D model downloads for your modeling and virtual scene creation, you can obtain them from Relebook, where you can directly import textures and 3D models into your project after downloading.


