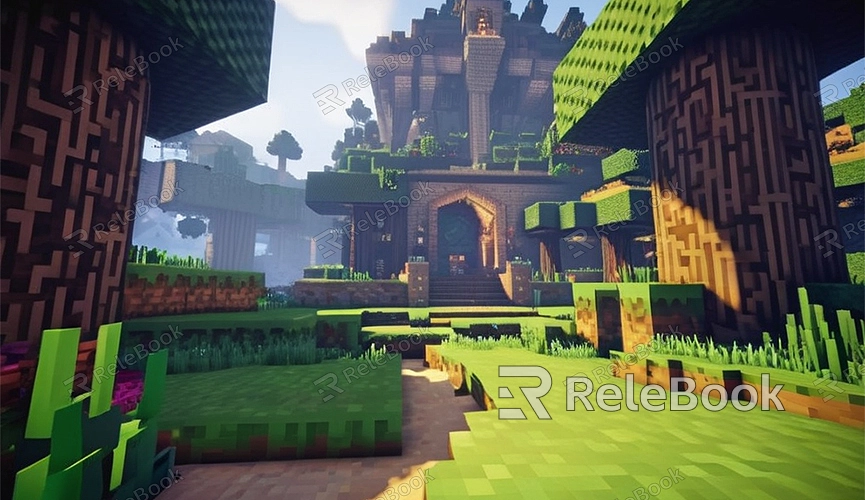
How to Render Minecraft Builds in Blender
Minecraft, as a globally popular sandbox game, has attracted countless players with its unique blocky style and creative freedom. If you've created impressive builds in Minecraft and want to render them using Blender to achieve stunning visual effects, this article will guide you on how to render Minecraft builds in Blender.
Preparation
Before getting started, you'll need the following tools:
1. Minecraft: Make sure you have it installed and understand the basic operations.
2. Blender: Blender is a powerful free 3D modeling and rendering software.
3. Mineways: This is a tool used to export Minecraft builds as 3D models.

Step 1: Export Minecraft Builds
1. Use Mineways to Export Models
First, download and install Mineways. Open Mineways and follow these steps:
1. Load the world: After launching Mineways, select the Minecraft world you want to export.
2. Select the area: Use the left mouse button to drag and select the area of the build you want to export. Adjust the selection box's height to ensure the entire build is selected.
3. Export the model: Choose "File" > "Export for Rendering" from the menu, select the save path and file name, and ensure the file format is OBJ.
2. Check the Exported Files
The exported OBJ file will include several associated files (such as MTL files and texture images). Make sure these files are in the same directory so that Blender can load the textures correctly.
Step 2: Import into Blender
1. Import the OBJ File
Open Blender and create a new project. Follow these steps to import the OBJ file:
1. Delete the default cube: In the viewport, select the default cube and press the `X` key to delete it.
2. Import the model: Click "File" in the top menu, select "Import" > "Wavefront (.obj)," locate your exported OBJ file, and import it.
2. Adjust Materials and Lighting
After importing, you may need to adjust the model's materials and lighting settings for better rendering results.
1. Adjust materials: Under the "Materials" tab on the right side, you'll see the imported materials. You can adjust the colors, reflections, and transparency of each material as needed.
2. Add lighting: Add light sources to the scene. You can use point lights, directional lights, or spotlights to illuminate your build. Create the desired lighting effects by adjusting the position and intensity of the lights.
Step 3: Set Up Rendering
1. Rendering Settings
Before starting the render, you need to set up rendering parameters:
1. Choose a rendering engine: Under the "Render" tab on the right side, select a rendering engine (such as Eevee or Cycles).
2. Set the resolution: In the "Output Properties," set the resolution of the rendered image.
3. Enable Ambient Occlusion: Under the "Render" tab, enable Ambient Occlusion (AO) to enhance the building's shadow effects.
2. Render the Image
Once the settings are configured, press the `F12` key or click "Render" > "Render Image" in the top menu to start rendering. The rendering process may take some time, depending on your computer's performance and the complexity of the rendering settings.
Step 4: Post-Processing
After rendering is complete, you can post-process the image:
1. Save the image: In the render window, click "Image" > "Save As," choose the save path and file format, and save the rendered image locally.
2. Image processing: You can further enhance the rendered image using image editing software like Photoshop or GIMP, adjusting colors, brightness, or adding effects.
By following the above steps, you can successfully render Minecraft builds in Blender, creating stunning visual effects. Whether it's for showcasing your creations or creating videos and posters, Blender is a powerful and versatile tool. If you need high-quality 3D textures, HDRI, or 3D model downloads while creating models and virtual scenes, you can download them from Relebook and import them directly into your models for use.

