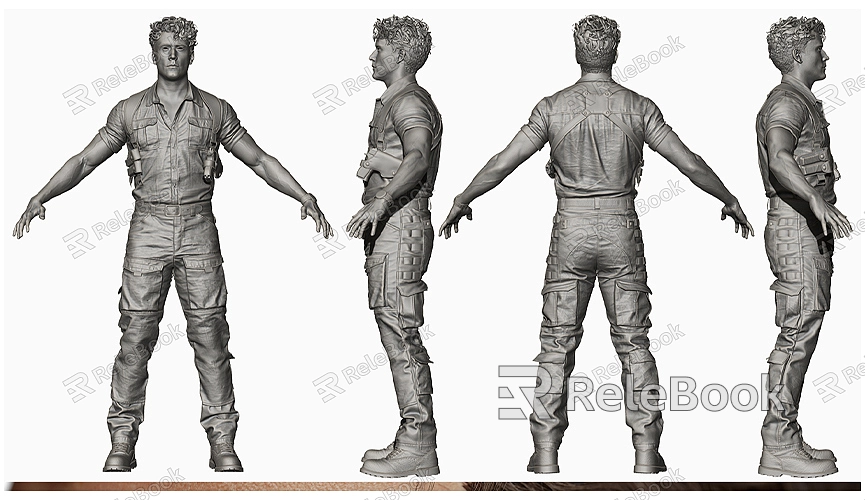
How to render white background in blender
When rendering in Blender, you may sometimes want to set the background to pure white to highlight your model or for professional presentation purposes. This type of background is commonly used in product displays, advertising materials, and other scenarios that require a clean backdrop. This article will detail how to set a white background in Blender and ensure your render achieves the best results.
Preparation
Before you begin, make sure your Blender software is installed and that you have opened a new project or an existing 3D scene. Familiarizing yourself with Blender's basic operations, such as camera setup, material editing, and rendering settings, will greatly help you when setting a white background.

Steps to Set Up a White Background
Adjust the Render Background Color
1. Open Render Settings: In the Blender interface, find the Properties panel on the right side, click on the “Render” tab to open the render settings.
2. Select the Rendering Engine: Blender supports multiple rendering engines, including Cycles and Eevee. Choose the engine you are using; this guide will use Eevee as an example.
3. Set the Background Color:
- In the “Render” panel, find the “Output Properties” section and click on the “Background” option.
- You will see a “Background Color” option. Click the color box and select pure white (RGB values of 1, 1, 1). This will change your render background to white.
Adjust the Camera and Light Sources
1. Set the Camera: Make sure your camera is pointed at your model, adjusting the angle and position as needed. If necessary, press the “Camera” view button (Numpad 0) to see the live effect from the camera.
2. Adjust the Light Sources: Lighting settings are crucial against a white background. Ensure your scene's lighting is even and adequate so the model is clearly visible against the white background. Use point lights, area lights, or spotlights to illuminate the model, adjusting their intensity and position to avoid excessive shadows.
Use the Node Editor to Set the Background
1. Open the Node Editor: In Blender, you can further customize your background settings through the Node Editor. Switch to the “Shading” workspace and find the “World” node.
2. Add a Background Node: In the Node Editor, add a “Background” node. Set its color to pure white. Then connect this background node to the “World Output” node. This will configure your render background to be white.
3. Adjust Background Node Strength: To ensure the white background isn’t too harsh, you can adjust the strength of the background node. Lowering the strength slightly can make the background appear softer.
Render and Check the Effect
After completing the above settings, you can proceed to render and view the results.
1. Select Render Mode: In the “Render” panel, select “Render Image” or press the F12 shortcut key to start rendering.
2. Check the Results: Once rendering is complete, check the rendered image to ensure the background color is white and the model is clearly visible. If needed, return to make adjustments to optimize the background and lighting settings.
Improve Render Quality
To ensure the final effect reaches its best quality, consider the following:
- Increase Resolution: Adjust the render resolution in the “Output Properties” to ensure the rendered image is sharp and detailed.
- Optimize Lighting Settings: Adjust the position and intensity of the light sources to avoid overexposure or heavy shadows.
- Post-Processing: Use image editing software (like Photoshop) for post-processing on the rendered image to further refine the background and model appearance.
Setting a white background in Blender is a straightforward and effective process that helps you create clean, professional renderings. By adjusting render settings, camera and light sources, and utilizing the Node Editor, you can easily achieve this goal. Remember, good lighting setups and appropriate post-processing can significantly enhance your render quality.
If you need a variety of high-quality 3D textures and HDRIs for your models and virtual scenes, you can download them for free from [Relebook](https://textures.relebook.com/). For beautiful 3D models, visit [Relebook](https://3dmodels.relebook.com/), where you’ll find a wide selection of premium 3D resources to help enhance your design quality and efficiency.

