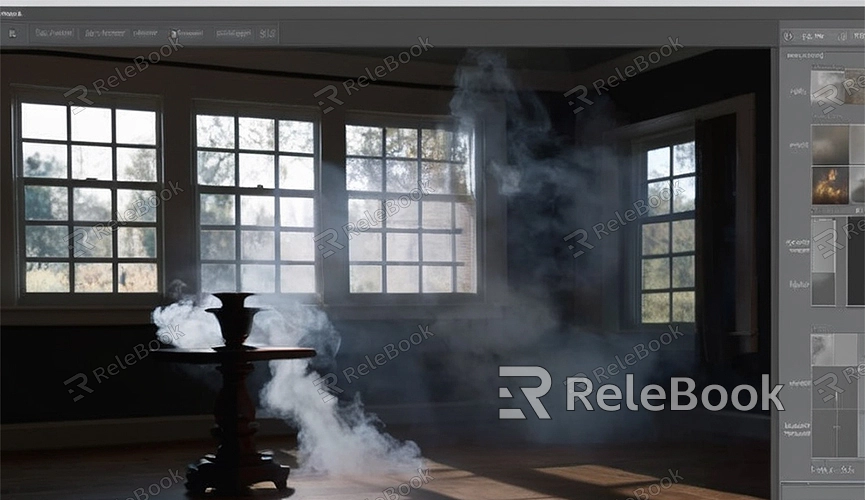
How to Render Smoke in Blender
Blender, as a powerful open-source 3D modeling and rendering software, allows users to create various realistic effects, including smoke simulations. Smoke effects find wide applications in animations, games, and visual effects, adding detailed realism to scenes. So, how do you render smoke in Blender? This article will guide you through the entire process, covering setup, simulation, and rendering steps.
I. Preparation
1. Download and Install Blender
First, ensure you have the latest version of Blender installed. If not, you can download it from the [Blender official website] and follow the installation instructions.
2. Familiarize Yourself with Basic Operations

Before starting, it's recommended to familiarize yourself with Blender's basic operations, including interface layout, navigation, and basic tool usage. This will help you proceed smoothly with the following steps.
II. Creating Smoke Simulation
1. Create a Basic Scene
Open Blender, delete the default cube (select cube and press X to delete), and add a new cube as the smoke domain. Press Shift+A, select Mesh -> Cube, then adjust the cube's size and position in the "Object Properties" panel on the right.
2. Set Up Smoke Domain
Select the created cube, go to the "Physics Properties" tab in the properties panel, click on the "Fluid" button, and set the type to "Gas." Then, under fluid settings, set the "Domain Type" to "Gas."
3. Create Smoke Emitter
Next, you need a smoke emitter. Press Shift+A, select Mesh -> Sphere to create a sphere. Place it inside the smoke domain at an appropriate position. Select the sphere, click the "Fluid" button again in the "Physics Properties" tab, set the type to "Gas," and then set the "Flow Type" to "Smoke."
4. Adjust Smoke Settings
Return to the smoke domain settings and adjust the resolution divisions to achieve finer smoke details. Higher resolutions provide more realism but also increase computation time. Typically, start with a resolution of 64 and increase as needed.
III. Rendering Smoke
1. Set Render Engine
In the top menu, choose "Render Properties" and set the render engine to either "Cycles" for high-quality rendering or "Eevee" for quick previews and real-time rendering.
2. Add Lighting
To better showcase the smoke effect, add a light source. Press Shift+A, select Light -> Sun or another type of light, and adjust its position and intensity.
3. Set Up Materials
Select the smoke domain, add a new material in the "Material Properties." Click on "Use Nodes," then in the shader editor, add a "Volume Scatter" node and a "Volume Absorption" node. Connect them to the "Volume" socket of the material output. This setup provides basic material properties for the smoke.
4. Smoke Color and Density
In the shader editor, adjust parameters of the "Volume Scatter" and "Volume Absorption" nodes to change the color and density of the smoke. Experiment with different settings until you achieve the desired effect.
IV. Rendering and Output
1. Preview Render
Press Z in the viewport and choose "Render Preview" mode to preview the smoke effect. If adjustments are needed, go back to previous steps for refinement.
2. Final Render
Once satisfied with the smoke effect, proceed with the final render. From the top menu, select "Render" -> "Render Image," and Blender will start calculating and generating the final smoke image.
3. Save Rendered Result
After rendering completes, in the image window, select "Image" -> "Save As" to save the rendered result to your computer.
Rendering smoke in Blender involves multiple setup and adjustment steps, but once you grasp the basic process, you can create realistic smoke effects. By selecting appropriate tools and finely tuning parameters, you can enhance the realism and visual impact of your 3D projects significantly.

