How to select where render goes blender
In 3D design and animation production, rendering is a crucial step that converts virtual scenes into images or videos. Blender, as a powerful open-source 3D creation software, offers various rendering options, yet many newcomers often overlook the importance of setting the output path. Choosing the right output path not only keeps files organized but also helps optimize the rendering workflow, preventing loss or overwriting of render results. This article will detail how to set the render output path in Blender and provide practical tips for optimizing the rendering process.
Why Setting the Output Path is Important
Render results are often the final output of a project, whether it's a single frame image or a complete animation. Without a correctly set output path, rendered results may be accidentally lost. The default output path in Blender is usually a temporary folder; if you don’t save or manually change the path after rendering, files may be automatically deleted or overwritten. This not only wastes valuable rendering time but can also lead to significant project progress being lost.
Additionally, rendering large projects can generate numerous frame files and intermediate data. Properly setting the output path helps better organize files for easier access during post-processing.
How to Set the Render Output Path in Blender
Blender provides a straightforward interface for setting the render output path. Here are the specific steps:
1. Open the Output Properties Panel: In Blender’s right toolbar, find the “Output Properties” panel. Clicking on it will show you an “Output” option.
2. Choose the Save Path: Click the small folder icon in the “Output” section to select the folder where you want the render results to be saved. It's best to create a separate folder for each project for easier management. For long animation projects, consider saving different frames in separate subfolders to avoid file confusion.
3. Set File Naming Format: In the same panel, you can set the file name template. Adding frame numbers or timestamps to file names is a common method to avoid overwriting. Blender supports automatically appending a sequence number or time information for each rendered frame, ensuring each file is unique.
4. Select File Format: After choosing the path, the next step is selecting the file format. Blender supports various output formats, including common image formats like PNG and JPEG, as well as video formats like MP4 and AVI. If you plan to further process the rendered results, it’s advisable to choose a lossless image format (e.g., PNG or EXR) to preserve more detail.
Choosing the Right Output Format
The choice of output format in Blender depends on your rendering goals. If rendering a single frame image for display or printing, PNG is recommended as it supports transparent backgrounds and retains high-quality image details. For animation rendering, balance the compression rate and quality when choosing a video format.
For simple preview animations, you might opt for a format with faster encoding like MP4. However, for films or professional-level projects, it’s advisable to use high-bitrate or uncompressed formats like AVI Raw or FFmpeg to ensure image quality remains intact for post-editing.
Using EXR Format for Multi-Channel Output
In complex rendering scenarios, you may need to layer renders for post-processing. For instance, you might want to save lighting, shadows, and reflections separately for detailed adjustments in post-production software. In such cases, Blender’s EXR format is a powerful tool.
EXR format not only supports high dynamic range images (HDRI) but also saves multi-layer information. To use EXR for multi-channel output, simply select EXR in the output properties and check the “Multilayer” option, allowing Blender to save all channel data in a single file.
Methods to Prevent Loss of Render Results
During long render sessions, if a system crash or other issue interrupts the process, already rendered frames may be lost. This is a common problem many users face. To mitigate this, Blender offers a frame-by-frame rendering feature that automatically saves each rendered frame to the specified output path. If an error occurs, you can simply continue rendering from the interrupted point without starting over.
Frame-by-frame rendering can be achieved by selecting output as an image sequence in the “Render Settings.” This method is particularly suitable for long animation renders, especially for projects that require further adjustments during post-processing.
Performance Optimization for the Rendering Process
When rendering 4K or higher resolution images, computational demands can be significant, making it crucial to optimize the rendering process. Blender offers several options to help balance rendering time and image quality.
1. Reduce Sample Count: The sample count determines Blender’s precision when calculating light. Higher sample counts result in fewer noise artifacts but increase rendering time. You can adjust the sample count in the “Render Settings,” previewing effects with lower samples and increasing it for final renders.
2. Use Simplified Mode: When creating animations, Blender allows you to use simplified mode for preview renders. This mode reduces some detail complexity to speed up rendering without affecting final output quality.
3. Distributed Rendering: Blender also supports distributed rendering, allowing you to delegate rendering tasks across multiple computers or servers. This can significantly reduce rendering time, especially for large projects or complex scenes.
Accessing Quality Resources to Enhance Render Quality
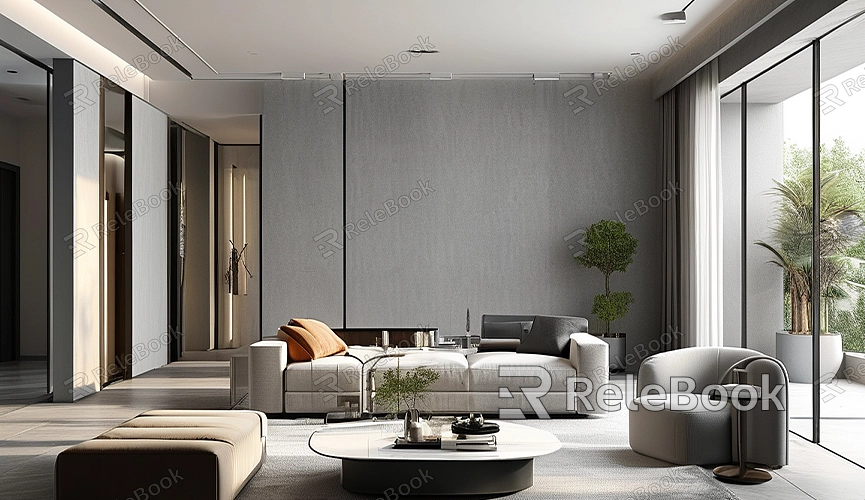
The quality of materials and textures significantly impacts the final render outcome when creating complex scenes and high-quality models. If you need high-quality 3D textures and HDRIs for your models and virtual scenes, you can download them for free from [Relebook](https://textures.relebook.com). If you're looking for exquisite 3D models, visit [Relebook](https://3dmodels.relebook.com) for a vast selection of quality 3D resources, helping you quickly build scenes and enhance the overall quality of your work.
In Blender, correctly setting the render output path is an essential step before starting any project’s rendering process. By rationally configuring path settings, format choices, and rendering optimizations, you can not only avoid loss of render results but also significantly improve your workflow efficiency. In real projects, planning the rendering process in advance and ensuring each step is clear and orderly will allow you to produce high-quality work in a shorter time. Finally, don’t forget to leverage quality resources from platforms like Relebook to further enhance your creative efficiency and the quality of your outputs.
