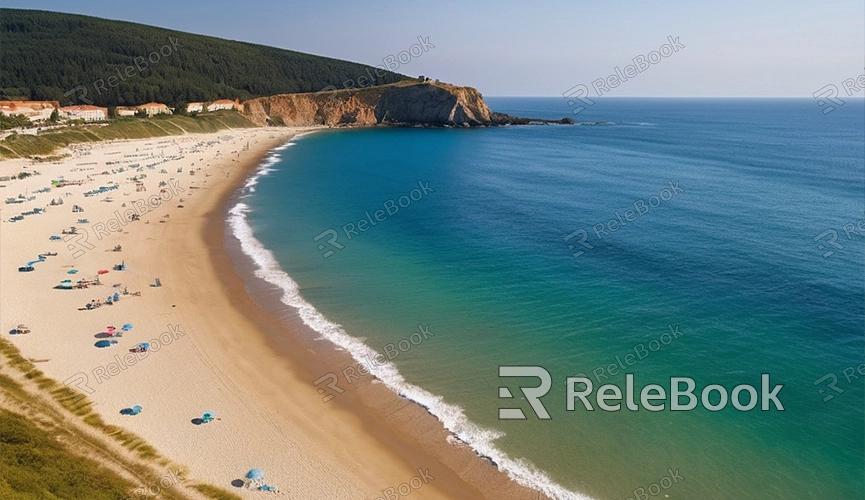
How to Render Water in Blender
Blender is a powerful 3D modeling and rendering software capable of creating various complex effects, including realistic water surfaces. Rendering a realistic water effect in Blender might seem challenging for many beginners, but with the following steps, you can easily achieve stunning water effects.
Step One: Create the Water Surface Mesh
Start by opening Blender and creating a new project. Delete the default cube in the scene and add a plane instead. You can do this by pressing Shift+A and selecting Mesh > Plane. Adjust the plane's size to cover the entire water area.

Step Two: Subdivide the Mesh
To add finer ripples to the water surface, we need to subdivide the plane. Select the plane and enter Edit Mode (press Tab). Then press W and select Subdivide, repeating this step several times until the plane is adequately subdivided. This ensures the ripples will appear detailed in the subsequent steps.
Step Three: Apply the Ocean Modifier
After subdividing the mesh, exit Edit Mode (press Tab) to return to Object Mode. In the right-side Properties panel, select the Modifiers tab, click on Add Modifier, and choose Ocean. Instantly, the plane will transform into a water surface with waves. Adjust the Ocean modifier's parameters to control wave size, speed, and complexity.
Step Four: Add Materials
Next, add a material to the water surface. In the Material Properties tab on the right, click on the New button to create a new material for the plane. Set the Surface type to Principled BSDF and adjust the following parameters:
- Base Color: Choose a light blue color for a realistic water appearance.
- Roughness: Set to a low value (e.g., 0.1) to add reflections to the water surface.
- Transmission: Set to 1.0 to give the water a transparent effect.
Step Five: Set Environment Lighting
To enhance the water surface reflections, set up environment lighting. In the World Properties tab on the right, add an Environment Texture. Click Open and select a high-quality HDRI image to provide realistic lighting to the scene.
Step Six: Add Camera and Lights
Before rendering, add a camera and lights to the scene. Press Shift+A, then choose Camera and Light. Adjust the camera's position and angle to capture the best view of the water surface. Also, add a Sun light and adjust its angle to naturally illuminate the water surface and enhance reflections.
Step Seven: Adjust Render Settings
In the Render Properties tab on the right, select the Cycles renderer for high-quality rendering in Blender. Adjust the number of Samples based on your computer's performance; higher samples provide better rendering quality but increase rendering time.
Step Eight: Start Rendering
With all settings configured, press F12 to start rendering. Depending on your scene complexity and computer performance, rendering may take some time. Be patient, and you'll eventually get a realistic image of the water surface.
By following these steps, you can effortlessly create realistic water effects in Blender. Whether you're making animations, game environments, or other 3D projects, such water effects will significantly enhance your work. For high-quality 3D textures, HDRI, or downloadable 3D models to use in your modeling and virtual scene creation, consider downloading them directly from Relebook, simplifying your design process and boosting efficiency.

