How to Set Up a Render Farm with Blender Cycles
When using Blender for high-quality 3D rendering, render times can become a significant challenge, especially when dealing with complex scenes and high-resolution images. To address this issue, setting up a render farm is an effective solution. By distributing rendering tasks across multiple computers, you can significantly reduce render times and improve workflow efficiency. This article will detail how to set up a render farm using Blender Cycles and provide practical tips to optimize your rendering process.
What is a Render Farm?
A render farm is essentially a network system composed of multiple computers that share rendering tasks to accelerate rendering speeds. Each computer is responsible for rendering part of the frames or images, and the results are combined to produce a complete rendering output. This approach allows for rendering complex 3D scenes without relying solely on the performance of a single machine, leveraging the computational power of multiple devices.
Preparations
Before setting up a Blender Cycles render farm, ensure the following:
- Multiple Computers: You need at least two or more computers, designated as the master node and worker nodes. Each computer must have Blender installed and be on the same network.
- Unified Blender Version: All computers involved in rendering should run the same version of Blender to ensure consistent rendering results.
- Shared File System: You need a shared folder to store project files and output results, ensuring all computers can access it.
Setting Up the Render Farm
Here are the steps to set up a Blender Cycles render farm:
1. Configure the Master Node
The master node is responsible for distributing rendering tasks. In Blender, you can configure the master node through the Network Render add-on. First, enable this add-on:
- Open Blender, go to the "Edit" menu, and select "Preferences."
- In the "Add-ons" tab, search for "Network Render" and enable it.
Once the add-on is enabled, you can manage rendering tasks through the network. In the Blender interface, go to the "Render" menu, click on "Network Render," and select "Master." This computer will act as the task manager, distributing rendering tasks to worker nodes.
2. Configure Worker Nodes
Each computer participating in the rendering needs to be set up as a worker node (Slave), which will receive tasks from the master node. After enabling the Network Render add-on, configure the worker nodes similarly:
- Open Blender and select "Network Render" under the "Render" menu, then choose "Worker" (Slave).
- Enter the IP address and port number of the master node so that the worker nodes can connect to it.
3. Set Up Shared Folder
To ensure that each computer can access project files and rendering outputs, set up a shared folder. This folder can be located on the master node's computer and shared over the network with all worker nodes. All project files, materials, textures, etc., should be stored in this shared folder, allowing worker nodes to access them for rendering.
4. Assign Rendering Tasks
Once the master and worker nodes are set up, you can start assigning rendering tasks. The master node will automatically detect all connected worker nodes through the Network Render add-on and distribute rendering frames based on task complexity.
You can submit rendering tasks via the "Render" menu by selecting "Network Render," and the system will allocate tasks according to the number and performance of the worker nodes. This significantly reduces rendering time.
Optimizing Rendering Performance
When using a Blender Cycles render farm, consider these points to enhance overall performance:
- Task Distribution: Assign rendering tasks based on the computational capabilities of different nodes. More powerful nodes can handle more frames, while lower-performance nodes can manage simpler tasks.
- Reduce Sample Count: In Blender Cycles, the quality of rendered images is related to the sample count. Excessively high sample counts can greatly increase rendering times. Consider lowering sample values to speed up the rendering process.
- Utilize GPU Acceleration: If your computers have high-performance GPUs, enable GPU rendering. GPU rendering typically reduces render times significantly compared to CPU rendering.
- Network Speed and Stability: Render farms rely on the network for task distribution and data transfer. Ensure that your network connection is stable and fast to further enhance rendering efficiency.
Using High-Quality 3D Resources
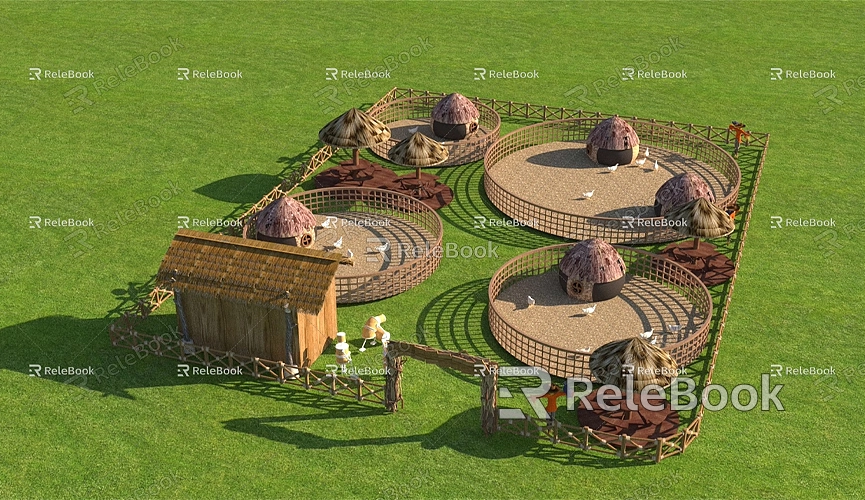
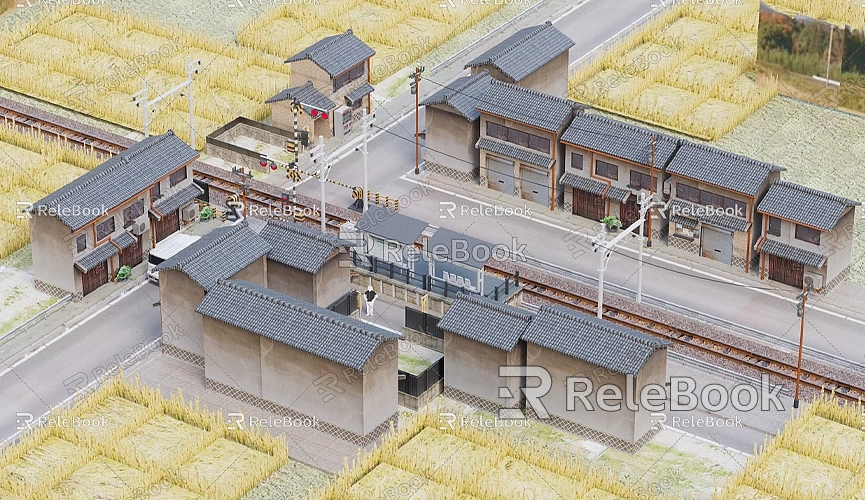
After setting up the render farm and completing rendering tasks, using high-quality 3D resources is crucial to improving render effects. High-quality textures and HDRIs can significantly enhance the realism of your scenes. If you need many high-quality 3D textures and HDRIs for your models and virtual scenes, you can download them for free from [Relebook](https://textures.relebook.com). For stunning 3D models, visit [Relebook](https://3dmodels.relebook.com), which offers a wide range of quality 3D resources.
Setting up a render farm with Blender Cycles can greatly improve rendering efficiency, especially when handling complex scenes or high-resolution images. By distributing rendering tasks across multiple computers, you can not only reduce render times but also effectively utilize your existing hardware resources. Whether configuring master and worker nodes or optimizing rendering settings, a flexible render farm setup will help you complete high-quality rendering tasks more quickly. Additionally, using high-quality 3D textures and model resources can significantly enhance the final render results.
