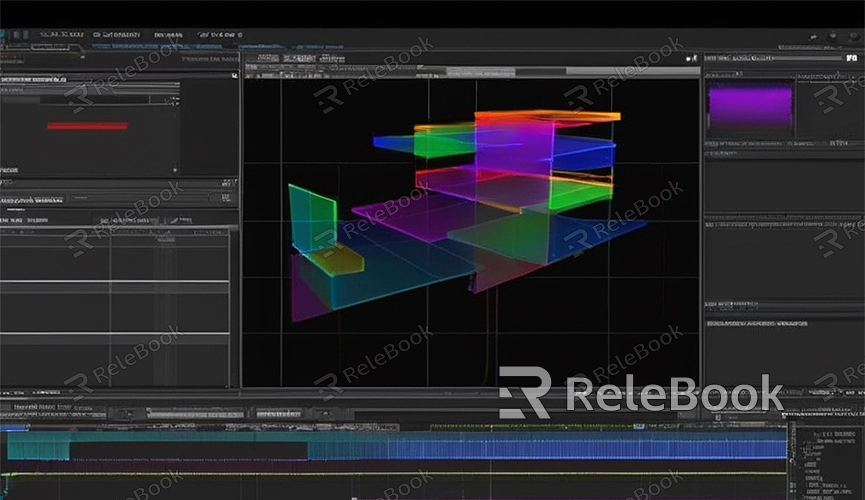
How do you render animation in blender
Blender is a powerful open-source software for 3D modeling and animation, widely used in film, gaming, and visual effects industries. Rendering animation in Blender can bring your creative ideas to life. This article provides a detailed guide on how to render animation in Blender, covering the entire process from creating animation, setting up the scene, to final rendering output.
Step 1: Create Animation
The first step in creating animation in Blender is preparing your 3D models and scenes. You can use Blender's modeling tools to create your own models or download ready-made 3D models from other sources. For those requiring high-quality 3D textures, HDRI environments, or downloadable 3D models, resources from Relebook are available for direct integration into your projects.

1.1 Animation Basics
Blender utilizes keyframes to create animations, where keyframes set specific attributes like model position, rotation, scaling, etc., on the animation timeline. Blender automatically generates transitions between these keyframes.
1.2 Setting Keyframes
In Blender's 3D view, select the object you want to animate. For example, to move a cube from left to right, select the cube and set a position keyframe at the starting point on the timeline (e.g., frame 0). Press `I` and choose "Location" to insert the keyframe. Then, move the timeline to the ending point (e.g., frame 100), move the cube to its new position, and insert another location keyframe by pressing `I`. Blender will calculate and generate a smooth animation between frame 0 and frame 100.
Step 2: Set Up the Scene
Once the animation is created, the next step is setting up the scene, which includes lighting, camera, and environment settings.
2.1 Add Lighting
Lighting is crucial in 3D rendering. In Blender, you can add various types of lights such as point lights, spotlights, and directional lights. Adjust the position, intensity, and color of the lights to create different atmospheres and effects.
2.2 Set Up Camera
The camera determines the final view and composition of your animation. In Blender, you can add one or more cameras and adjust their positions and angles to achieve the desired perspective. Switch to camera view by pressing `0` on the number pad.
2.3 Environment Settings
In Blender, enhance scene realism by adding HDRI environment maps. In the "World" properties panel, select "Use Nodes" and add an environment texture node. Choose your HDRI texture file to provide realistic environmental lighting effects.
Step 3: Render Settings
3.1 Choose Rendering Engine
Blender offers two main rendering engines: Eevee and Cycles. Eevee is a real-time rendering engine suitable for previews and quick renders. Cycles is a ray-tracing-based rendering engine that produces more realistic results but requires longer render times. Choose the rendering engine based on your needs.
3.2 Set Rendering Parameters
In the "Render Properties" panel, adjust settings such as resolution, frame rate, and sampling. Resolution determines the output size, frame rate affects animation smoothness, and sampling impacts rendering quality and time. Higher sampling reduces noise but increases render time.
Step 4: Start Rendering
4.1 Render Output Setup
In the "Output Properties" panel, set the output file format and path for rendering. Common animation file formats include AVI, MOV, etc. Alternatively, you can render each frame as separate image files like PNG or JPEG for post-processing in other compositing software.
4.2 Begin Rendering Animation
After configuring all settings, start rendering your animation. In Blender's top menu bar, select "Render" > "Render Animation". Blender will render each frame according to the timeline and save the results to the specified output path.
Step 5: Post-Processing
Once rendering is complete, use Blender's Video Sequence Editor for post-processing tasks such as adding sound effects, subtitles, etc. Alternatively, import the rendered output into other video editing software for further refinement.
Following these steps allows you to successfully render animation in Blender, bringing your creative visions to reality. Whether simple object movements or complex scene animations, Blender empowers you to achieve your goals. For those needing extensive 3D textures, HDRI environments, or downloadable 3D models during creation, resources from Relebook streamline integration into your modeling and virtual scene creation.

