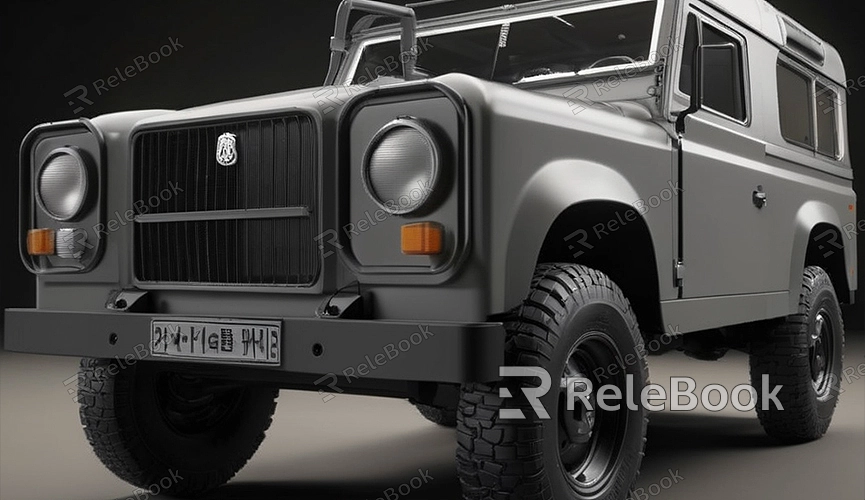
c4d how to 3d print model cars
The advancement of 3D printing technology has made it easier to create intricate models. Whether you're a professional designer or a hobbyist, Cinema 4D (C4D) offers robust tools for crafting detailed 3D printed model cars. This article provides a comprehensive guide on creating and preparing model cars for 3D printing using C4D, along with practical tips and resources.
Step 1: Preparation
Before diving into design, ensure you have the latest version of Cinema 4D installed and familiarize yourself with its basic operations. For beginners, online tutorials can help acquaint you with the interface and essential functions.

Step 2: Creating Basic Car Body Shapes
1. Import Reference Images:
- Import reference images (front, side, and top views) of the car you want to model into the viewport.
- Reference images help in accurately modeling the vehicle.
2. Using Splines and NURBS:
- Use spline tools to outline the car's body.
- Convert splines to 3D shapes using NURBS tools like Extrude NURBS and Lathe NURBS.
3. Modeling Details:
- Utilize polygon modeling tools to add details such as doors, windows, and headlights.
- Ensure all parts are correctly connected with no open edges for successful 3D printing.
Step 3: Creating Wheels and Chassis
1. Wheel Modeling:
- Create the basic shape of the wheels using cylinders and polygon modeling tools.
- Add details like tire treads and rims.
2. Chassis Modeling:
- Start with a simple cube for the chassis and refine its shape using polygon modeling tools.
- Incorporate suspension systems and chassis structures.
Step 4: Checking and Repairing the Model
1. Ensure Watertightness:
- 3D printed models must be watertight (no holes or disconnected surfaces).
- Use C4D's checking tools to ensure all surfaces are properly connected.
2. Scaling and Sizing:
- Verify that the model's dimensions meet the requirements of your 3D printer.
- Use C4D's measurement tools to check various parts of the model.
3. Simplify the Model:
- Reduce polygon count to prevent printing issues.
- Maintain essential details, especially in critical areas.
Step 5: Exporting the Model
1. Choose Appropriate File Format:
- Common 3D printing file formats include STL and OBJ.
- In C4D, select "File" menu, then "Export," and choose the suitable format.
2. Export Settings:
- In the export dialog, ensure correct units and precision settings.
- Enable "Optimize" options to reduce file size and printing errors.
Step 6: Preparing for 3D Printing
1. Using Slicing Software:
- Import the exported file into slicing software like Cura or PrusaSlicer.
- Configure parameters such as layer height, infill density, and printing speed based on your 3D printer's specifications.
2. Previewing the Print:
- Preview the print within slicing software to ensure there are no obvious errors.
- Use software's inspection tools to detect potential issues.
3. Starting the Print:
- Transfer the file to your 3D printer and begin printing.
- Monitor the printing process for any issues that may require adjustment.
Following these steps allows you to create and 3D print high-quality model cars in Cinema 4D. Whether for display purposes or as functional toys, these models showcase your creativity and technical skills. For high-quality 3D textures, HDRI, or 3D model downloads, consider using Relebook to enhance your modeling and virtual scenes.
This guide aims to help you efficiently create and prepare model cars in C4D for 3D printing, boosting your productivity and achieving excellent results.

