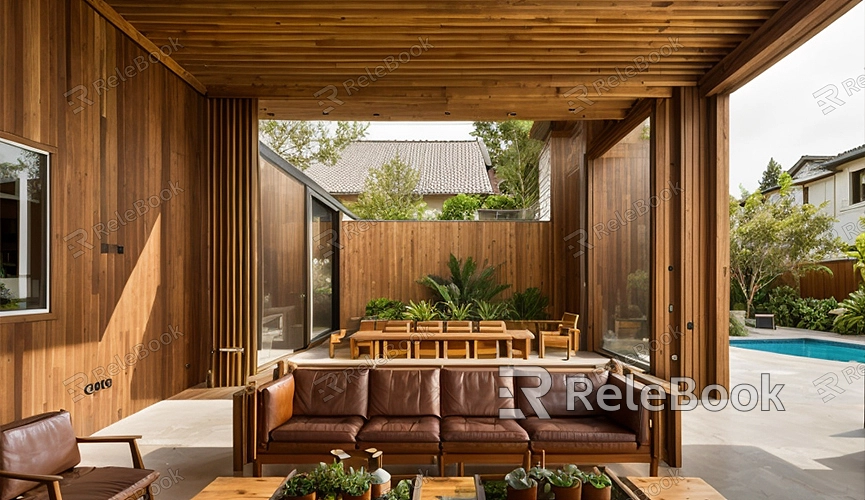
How to Add Depth of Field in Blender Render
Blender, as a powerful open-source 3D software, is widely loved by 3D artists and designers for its rendering capabilities. In 3D rendering, the depth of field (DOF) effect can enhance the realism and visual impact of an image. So, how do you add depth of field in Blender? This article will detail the steps to add a depth of field effect in Blender render.
What is Depth of Field?
Depth of Field (DOF) refers to the blur effect of the foreground and background relative to the main subject in a camera shot. By adjusting the DOF, you can highlight the focal object while blurring other parts, thus emphasizing the subject. In 3D rendering, the DOF effect can simulate the effect of a real camera, improving the visual quality of the render.
Preparation
Before adding the DOF effect, ensure the following preparations are completed:
1. Install Blender: Ensure you have the latest version of Blender installed. If not, you can download and install it from the Blender website (blender.org).
2. Import 3D Model: Import the 3D model you need to work with into Blender.
3. Set Up Scene and Lighting: Add appropriate lighting to the scene to ensure good rendering results.

Setting Up the Camera
To add a DOF effect, first set up the camera's position and parameters:
1. Select the Camera:
- In the Blender interface, press the `N` key to open the right-side toolbar.
- In the "View" tab, click "Camera" view to ensure the camera is properly aligned with the object to be rendered.
2. Adjust Camera Parameters:
- Select the camera object, and in the properties panel on the right, click the camera icon to enter the camera settings.
- In the "Depth of Field" section, check the "Depth of Field" option.
- Set the focus object (Focus Object). You can directly select an object in the scene or manually enter the focus distance (Focus Distance).
Setting DOF Parameters
Next, adjust the DOF parameters to ensure the desired effect:
1. Set Aperture Size:
- In the "Depth of Field" section, adjust the "F-Stop" parameter. This parameter determines the strength of the DOF effect. The smaller the value, the stronger the DOF effect. Typically, a value between 0.5 and 2 works well.
2. Set Blur Radius:
- In the "Viewport Display" section, you can adjust the "Focus Peaking" parameter to preview the DOF effect in the viewport.
3. Enable Render Preview:
- At the top of the Blender interface, click the "Render" tab, select "Render Image," or press the F12 key to render a preview and check the DOF effect.
Rendering the Image
After setting up the DOF effect, you can start rendering the image:
1. Select Render Engine:
- In the properties panel on the right, click the "Render Properties" icon.
- In the "Render Engine" option, select the appropriate render engine (such as Cycles or Eevee).
2. Set Render Parameters:
- Adjust the resolution, sample count, and other render parameters as needed to balance render quality and speed.
3. Start Rendering:
- At the top of the Blender interface, click the "Render" tab, select "Render Image," or press the F12 key to start rendering the image.
Post-Processing
After rendering, you can further enhance the DOF effect through post-processing:
1. Using Blender’s Compositor:
- Switch to the "Compositing" workspace at the top of the Blender interface.
- Check the "Use Nodes" option, add a "Defocus" node, and connect it to the render image output.
- Adjust the "Defocus" node parameters, such as blur radius and threshold, to refine the DOF effect.
2. Using External Software:
- You can also export the rendered image to external image editing software (like Photoshop or GIMP) for further DOF adjustments and detail enhancements.
By following these steps, you can add an impressive depth of field effect in Blender render. If you need high-quality 3D textures and HDRIs for creating models and virtual scenes or downloading 3D models, you can get them from Relebook and directly import the textures and models into your project. This guide aims to help you master the techniques for adding DOF effects in Blender.

