How to Convert a Photo to 3D Model
In the realm of 3D modeling, converting a photo into a 3D model is a fascinating and practical skill. Whether you're creating virtual environments, designing game characters, or working on product prototypes, mastering the art of transforming 2D photos into 3D models can significantly enhance your workflow efficiency and the quality of your output. Today, we'll delve into the detailed steps of how to convert a photo into a 3D model, helping you master this valuable technique.
Why Convert a Photo to a 3D Model?
Firstly, let's understand why converting a photo into a 3D model is advantageous. Compared to creating a 3D model from scratch, using photos can drastically reduce modeling time while preserving intricate details and realism. This is crucial for projects requiring accurate real-world object replication, such as architectural design, archaeological reconstruction, and film production.
Choosing the Right Software
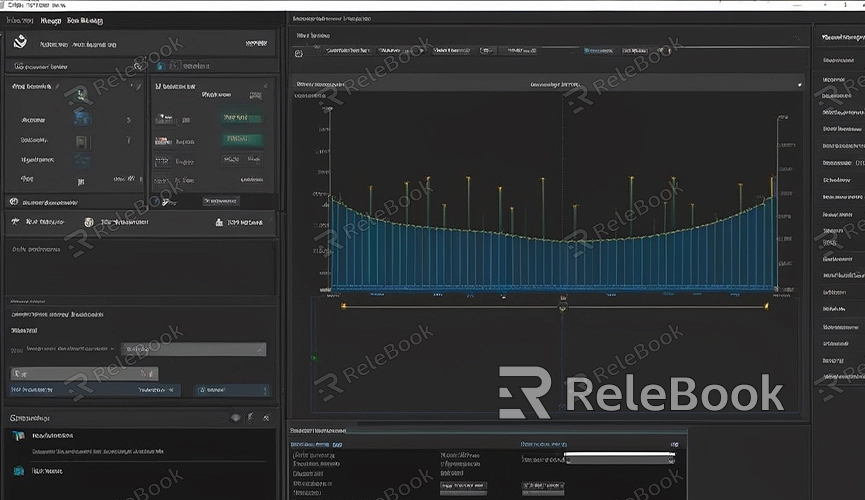
To convert a photo into a 3D model, selecting the right software is essential. There are various tools available in the market that can accomplish this task, ranging from professional-grade software to free tools. Common software includes:
1. Relebook: Relebook provides professional 3D resources, offering free downloads of 3D textures and exquisite 3D models. Here, you can find plenty of inspirational material for 3D model creation.
2. Agisoft Metashape: A professional photogrammetry software that generates high-quality 3D models, albeit at a higher cost.
3. RealityCapture: Another powerful photogrammetry software known for swiftly processing large volumes of photos.
4. Meshroom: An open-source and free photogrammetry software suitable for personal and small team use.
5. Blender: A free, open-source 3D modeling software that, with plugins, can also facilitate the conversion of photos to 3D models.
Capturing High-Quality Photos
The quality of your photos directly impacts the final 3D model. To achieve optimal results, follow these shooting recommendations:
- Adequate Lighting: Ensure sufficient ambient lighting to avoid strong shadows and reflections.
- Multiple Angles: Capture the target object from different angles to cover all details. It's generally recommended to take at least 20-30 photos.
- Stable Camera: Use a tripod or stable support to prevent camera shake.
- Appropriate Overlap: Maintain a significant overlap (typically 60%-80%) between each photo.
Photo Processing
After capturing photos, preliminary processing is necessary:
- Organize Photos: Remove duplicates or blurry images.
- Exposure Adjustment: Ensure consistent exposure across all photos, adjusting exposure if necessary.
- Distortion Correction: If using a wide-angle lens, distortion correction may be required.
Importing Photos into Software
Once photos are prepared, import them into your chosen software. For example, using Meshroom:
1. Create a New Project: Open Meshroom and create a new project.
2. Import Photos: Drag all photos into the software interface.
3. Adjust Settings: Configure processing parameters such as image resolution and feature detection algorithms as needed.
4. Start Processing: Click the start button to initiate photo matching, feature extraction, point cloud generation, and mesh reconstruction.
Refining and Optimizing the Model
After generating the initial model, refinement and optimization are typically required:
- Noise Removal: Use built-in tools to remove excess noise and erroneous geometry.
- Mesh Smoothing: Smooth the model surface to eliminate unnecessary bumps and irregularities.
- Retopology: Depending on requirements, perform retopology to reduce polygon count and optimize structure.
Adding Textures
High-quality textures significantly enhance the visual appeal of a 3D model. Applying processed photos as textures onto the 3D model can enhance its realism. You can bake textures within the software or use professional texture painting tools like Substance Painter for further texture refinement.
Output and Application
Finally, export the completed 3D model into common formats such as OBJ, FBX, etc. These formats are compatible with most 3D software applications, including Blender, Unity, Unreal Engine, etc.
By following these steps, you've learned the basic process of converting a photo into a 3D model. This skill not only boosts your productivity but also enhances the realism and intricacy of your work. Whether you're involved in architectural design, game development, or film production, mastering this technique can greatly benefit your projects.
