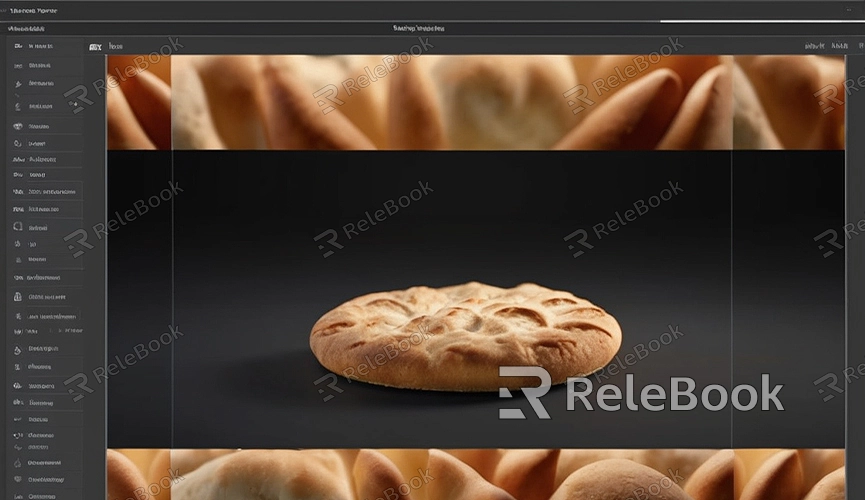
How to change render background in blender
Blender is a powerful 3D modeling and rendering software highly favored by 3D artists and designers. When rendering in Blender, changing the background color or image can significantly enhance the visual impact of your work. This article will detail how to change the render background in Blender and provide practical tips to make your creations stand out.
Accessing Render Settings
1. Open Your Blender Project: Launch Blender and open your project file.
2. Navigate to "Render" Tab: At the top of the Blender interface, click on the "Render Properties" icon, which looks like a camera shape.
Changing Background Color
1. Select "World" Properties: In the right-side properties panel, click on "World Properties," represented by an icon shaped like a globe.
2. Set Background Color: Under the "Color" section, you'll find a color picker. Click on the color picker and choose your desired background color. Adjust the RGB values for precise color selection.
Using Background Images
1. Enable Node Editor: If you prefer to use an image as your background, enable the "Node Editor." In the "World Properties" panel, check the "Use Nodes" option.
2. Open the "Shader" Tab: Switch to the "Shading" tab at the top of the Blender interface, then select "World" for node editing mode.
3. Add Environment Texture Node: In the node editor, press "Shift+A," select "Texture" -> "Environment Texture," and connect it to the "Color" input of the background node.
4. Load Background Image: Click on the "Open" button to choose the image file you want to use as the background. Once loaded, the image will be applied automatically to the render background.
Adjusting Background Settings
1. Fine-Tune Exposure and Brightness: Within "World Properties," adjust background exposure and brightness to achieve your desired effect.
2. Using HDRI Images: HDRI images provide more realistic lighting effects. Loading an HDRI image into the environment texture node enhances rendering realism. If you need high-quality 3D textures, HDRI, or downloadable 3D models for creating models and virtual scenes, you can download them from Relebook and import them directly into your models.
Setting Transparent Background
1. Enable Transparent Background: In the "Render Properties" panel, locate the "Film" section, and check the "Transparent" option. This makes the background transparent, ideal for post-processing.
2. Rendering the Image: After setting up the background, press F12 or select "Render" -> "Render Image" from the menu to start rendering your scene. Once rendered, you can view and save the result in the image editor.
Rendering Tips and Recommendations
1. Use High-Resolution Images: The resolution of your background image directly affects the rendering quality. Opt for high-resolution images to ensure clarity and detail in the background.
2. Adjust Image Proportions: Ensure the background image's proportions match the scene's aspect ratio to avoid stretching or distortion.
3. Utilize Environment Lighting: When using an HDRI image as the background, leverage the image's lighting information to provide natural lighting for your scene.
By following these steps, you can easily change the render background in Blender, whether adjusting colors or using image backgrounds. I hope this article helps you enhance your Blender projects. If you require high-quality resources for 3D modeling and rendering, such as textures, HDRI, or 3D model downloads, consider downloading them from Relebook to elevate your creations. Wishing you continuous improvement and success in your 3D creative journey!
