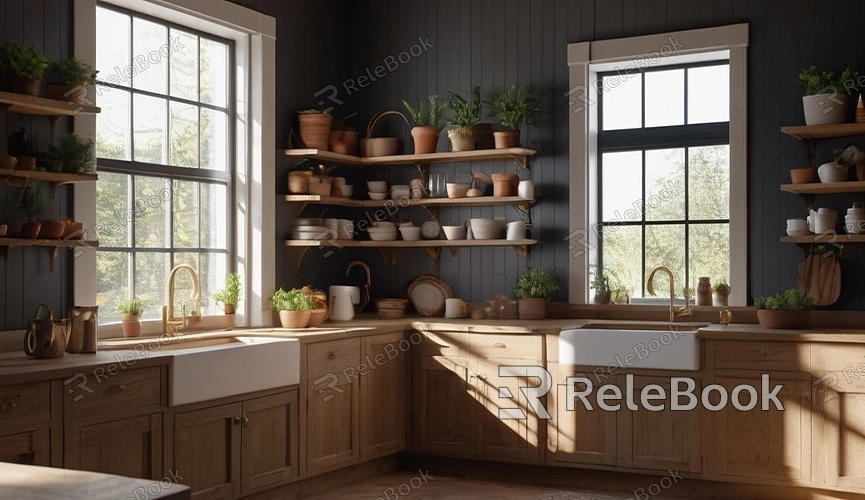
How to Create 3D Model from Picture
As 3D technology continues to advance, creating 3D models from 2D photos has become increasingly simple and popular. Whether for game development, animation production, or 3D printing, this technique offers great convenience. This article will provide a detailed guide on how to create a 3D model from a picture, helping you master this skill effortlessly.
Preparation
Before starting to create a 3D model, you'll need to gather some essential tools and materials:
1. Photos: Choose one or multiple high-quality photos, preferably from different angles, to ensure accurate 3D modeling.
2. Software: There are various software options available to convert 2D photos into 3D models, such as Blender, Agisoft Metashape, Autodesk ReCap, etc. This guide will use Blender as an example.

Importing the Picture
Firstly, open Blender and create a new project. Then, follow these steps to import your picture:
1. Click on "File" in the top menu, then select "Import."
2. Choose "Background Images" and select the photo you want to import.
Once imported, the photo will appear as a background image in the 3D view, allowing you to create a 3D model based on it.
Creating the 3D Model
1. Building Basic Shapes
Based on the content of the photo, use basic shapes in Blender (such as cubes, spheres, cylinders, etc.) to establish the model's basic structure.
- Press `Shift + A`, select "Mesh," and then choose the desired basic shape.
- Use `G` for move, `S` for scale, and `R` for rotate to align the basic shape with the objects in the photo.
2. Refining the Model
After establishing the basic shapes, refine the model to better match the objects in the photo.
- Use "Edit Mode" (`Tab` key) for detailed adjustments.
- Use `E` for extrusion, `Ctrl + R` to add loop cuts, `K` for cutting, etc., to refine the model.
3. Adding Details
To enhance the realism of the 3D model, add more details.
- Use Blender's sculpting tools to sculpt the model for finer details.
- Use "Texture Painting" to add textures to the model, enhancing its realism.
Optimizing the Model
Once the model is created, optimize it by removing unnecessary vertices and faces.
- Use the "Decimate" function in the "Modifiers" to reduce polygon count.
- Ensure the model's topology is clean to avoid unnecessary vertices and faces.
Exporting the Model
After completing the model, export it into various 3D file formats such as OBJ, FBX, etc., for use in other software or 3D printing.
- Click on "File," select "Export," and then choose your desired file format.
- Set the export parameters to ensure the model's size and details meet your requirements.
Using High-Quality 3D Textures and HDRI
High-quality 3D textures and HDRI significantly enhance the realism and detail of 3D models and virtual scenes. If you need high-quality resources for creating models and scenes, consider downloading them from Relebook and importing them directly into your models.
Creating a 3D model from a picture requires some skill and patience, but once you grasp the basic methods and steps, you can easily transform 2D photos into detailed 3D models. I hope this guide helps you make significant progress in your journey of 3D modeling.

