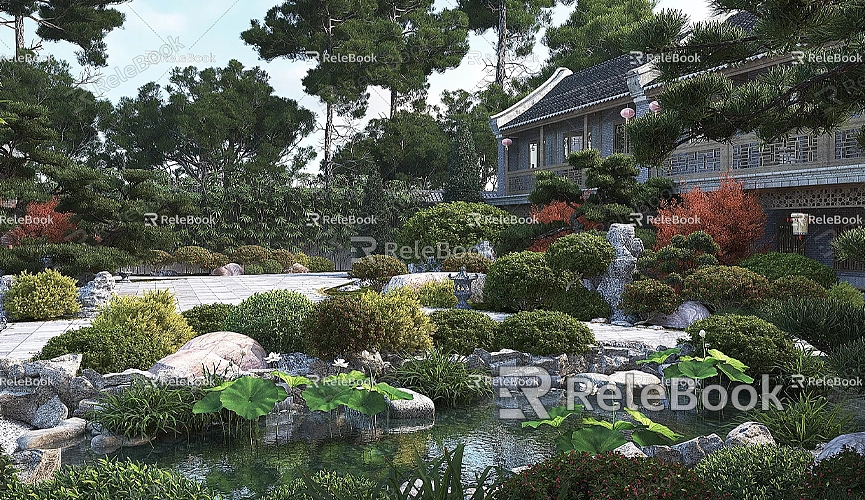
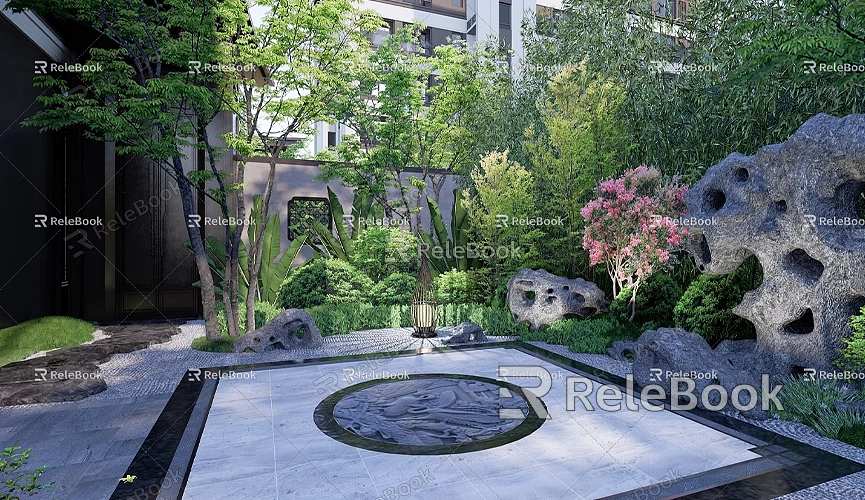
How to set sketchup model in landscape
In modern architectural and landscape design practices, SketchUp is undoubtedly one of the most popular 3D modeling tools. With its easy-to-use interface and powerful features, it has become the go-to choice for designers, architects, urban planners, and other professionals. Especially in landscape design, SketchUp provides users with a variety of tools to help designers meet a wide range of design needs, from macro to micro-level details. However, creating a beautiful and realistic landscape model requires not only mastering SketchUp’s basic operations but also using various techniques and external resources to enhance the design’s depth and details.
In this article, we will explore in detail how to create landscape models in SketchUp, focusing on key factors such as the modeling process, texture application, lighting adjustments, and more. Whether you're designing a public park or a private garden, the techniques and methods discussed below will help you achieve your design goals.
Setting the Purpose and Goal for the Landscape Model
Before starting the modeling process, designers must first clarify the goals of the landscape design. Landscape design is not just about greenery and beautification; it is a multi-layered and multi-dimensional project. Each landscape design should integrate harmoniously with its surrounding environment, reflecting the coexistence of natural and man-made elements. For example, when designing a park, in addition to considering basic landscape features like trees, grass, and flowerbeds, factors such as pedestrian flow, recreational facilities, and sightlines also need to be considered.

Therefore, establishing a clear design concept and setting a reasonable model framework is crucial.
In SketchUp, landscape design typically begins with importing terrain data. This step is critical, as the elevation and topography of the terrain directly influence the overall planning and layout of the landscape. SketchUp offers various tools and plugins to help designers quickly import and adjust terrain, allowing them to better present and optimize the landscape design.
Accurate Import and Optimization of Terrain
Terrain is one of the core elements in landscape design, and accurate terrain data is crucial to the successful implementation of a project. SketchUp offers integration with Google Earth, allowing designers to import real-world terrain data directly. This not only saves a significant amount of time but also ensures the authenticity and accuracy of the project. By importing terrain data, SketchUp can automatically generate a 3D terrain model that includes elevation, slopes, and surrounding buildings. The imported terrain can then be further adjusted, including modifications to elevation, adding or removing hills, rivers, and other natural features.
In addition to Google Earth, SketchUp supports importing CAD files, topographic maps, and other formats. In practice, if you wish to refine the terrain further, SketchUp provides tools like the Terrain Tool and Move Tool, which help you manually edit and optimize the terrain. For example, when designing specific landscape elements like artificial lakes or man-made hills, precise modifications and optimizations may be required based on project specifications.
Adding and Constructing Landscape Elements
Once the terrain model is completed, the next step is to add landscape elements. These elements include plants, buildings, bridges, roads, benches, fountains, etc., which together form a complete landscape design. SketchUp comes with some basic models and components, which allow you to quickly create simple landscape elements. However, when the design requires higher levels of detail and realism, relying on external resources becomes inevitable.
To make the landscape model more vivid, designers typically need to use high-quality 3D models and textures. For instance, if you want to add different types of trees and flowers to your landscape, you can download the appropriate models from dedicated 3D model libraries. If you need high-quality 3D textures and HDRIs to create your models and virtual environments, you can download them for free from https://textures.relebook.com/. Additionally, if you need beautiful 3D models, you can download them from https://3dmodels.relebook.com/. Relebook offers a wealth of high-quality 3D resources that can help you enhance the quality of your design easily.
By using these resources, you can quickly access high-quality textured models of trees, grass, rocks, and other landscape elements. You can even add realistic lighting and shadow effects to your models. These high-quality assets will significantly enhance the details of your model and improve the overall visual effect.
Lighting and HDRI Application
Lighting is one of the key factors that affect the realism of a landscape model. In natural landscapes, the variation of light can greatly influence how the scene is perceived. For example, sunlight filtering through tree leaves, the warm glow of morning light, or street lamps at night, all contribute to creating vastly different effects. SketchUp’s default lighting system helps designers simulate different lighting conditions such as daylight, dusk, and nighttime. However, if you want higher-quality lighting effects, using HDRI (High Dynamic Range Imaging) is a more ideal choice.

HDRI not only simulates more natural and subtle lighting effects, but it also helps add realistic environmental reflections to the landscape model. When using HDRI, you can choose an appropriate sky image (such as a blue sky, sunset, or night sky) and use it as both a light source and background. By adjusting HDRI’s exposure, brightness, and other parameters, you can achieve the desired lighting effect, making the landscape design appear more three-dimensional and realistic.
In SketchUp, users can render HDRI images through plugins like V-Ray or Enscape to further optimize lighting effects. For example, V-Ray’s powerful lighting controls and texture adjustment functions can help designers easily create a variety of lighting and shadow effects.
Refining Material and Texture Application
Materials and textures are the elements that bring a landscape model to life. In SketchUp, using the right materials can make landscape elements appear more three-dimensional and realistic. Especially in landscape design, common materials like grass, stone, water surfaces, and wood often directly determine the visual effect and realism of the project. Therefore, selecting and applying the right materials is a crucial step in landscape design.
Although SketchUp’s default material library includes a variety of common materials, more delicate effects can often be achieved with high-quality textures from third-party websites. For example, Relebook offers a wide selection of high-quality 3D textures and materials that you can choose from for your landscape model. These textures include natural landscape materials like grass, rocks, and water surfaces, and using these high-quality resources can greatly enhance the design's impact.
Additionally, SketchUp allows you to adjust various material properties, such as texture scaling, rotation, and transparency. By properly adjusting these parameters, you can make each landscape element look more natural and realistic.
Rendering and Detail Adjustments
Once all the models, textures, and lighting are set, the next step is the rendering process. Rendering is the process of converting the SketchUp model into a visual image. During this process, rendering plugins (such as V-Ray, Enscape, etc.) play a crucial role. With these plugins, you can add finer lighting and shadow effects, material textures, depth-of-field effects, and more, making the model appear more realistic.
For example, when using V-Ray for rendering, you can adjust the intensity of light sources, the softness of shadows, and the degree of reflection to optimize the final render. Meanwhile, the details of the landscape model, such as the paths, bench placements, and tree leaf textures, should be carefully considered, as all these details will affect the presentation of the final image.
Setting up a landscape model in SketchUp is a multi-step process that involves importing terrain data, constructing landscape elements, applying materials and textures, optimizing lighting, and adjusting details. By continuously refining each step and leveraging external resources to improve the quality of the design, designers can create realistic and visually impactful landscape models in SketchUp. In practical applications, good planning and meticulous execution can significantly enhance the overall effect of the project.
If you need high-quality 3D textures and HDRIs during the design process, you can download them for free from https://textures.relebook.com/, and if you need beautiful 3D models, you can visit https://3dmodels.relebook.com/ to download them. Relebook provides a wealth of high-quality 3D resources that will help designers easily achieve their ideal landscape effects.
I hope this article has helped you better understand how to set a landscape model in SketchUp and provided you with useful tips and inspiration for your future design projects.

