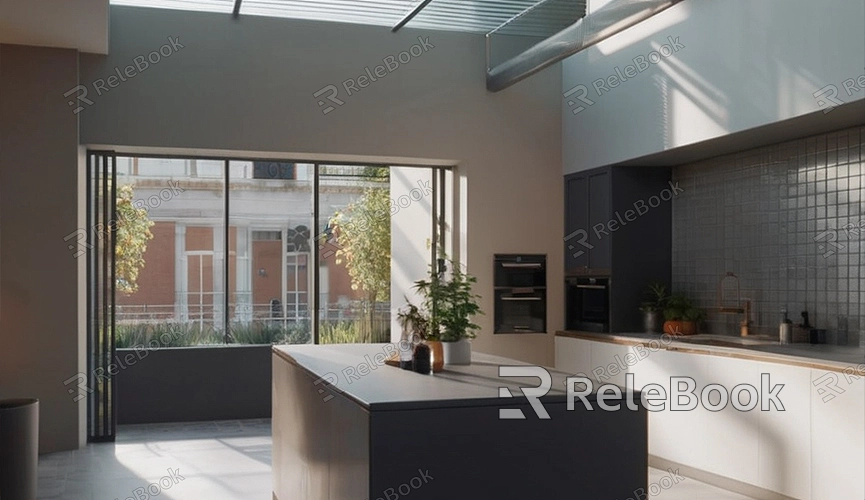
How to changer resolution of render in blender 2 8
Blender 2.8 is a powerful open-source 3D modeling and rendering software widely used in animation, gaming, and visual effects industries. When rendering with Blender, resolution is a critical factor that determines image quality. This article will detail how to change render resolution in Blender 2.8 and provide practical tips to enhance your rendering results.
Opening Blender and Setting Up the Scene
Start by launching Blender 2.8 and creating or importing a 3D scene. You can use Blender's built-in model library or import your own models. Adding basic elements like cubes, spheres, or other geometric shapes to the scene will help you observe changes in rendering effects.

Accessing Render Settings
Navigate to the top menu bar in Blender and click on the "Render" option. This will open the Render Settings panel where you can find various options and parameters related to rendering, including resolution settings.
Adjusting Render Resolution
Render resolution is a crucial parameter affecting final image clarity. In the Render Settings panel, locate the "Resolution" option. By default, Blender 2.8 is set to 1920x1080, which is Full HD resolution. You can adjust this according to your needs.
Changing Resolution
Under the "Resolution" option, there are two input boxes for width and height. Enter your desired resolution values. For example, if you need 4K resolution, set the width to 3840 and height to 2160. Keep in mind that higher resolutions increase rendering time accordingly.
Adjusting Percentage
In addition to setting width and height directly, Blender also offers a percentage option, allowing you to adjust resolution as a percentage of the current setting. For instance, if you want to render an image at 50% of 1920x1080 resolution, set the percentage to 50%. This is particularly useful for test renders, as lower resolutions significantly reduce rendering time.
Optimizing Render Settings
Alongside resolution adjustments, optimizing other render settings can enhance rendering efficiency and quality.
Choosing the Rendering Engine
Blender 2.8 offers two main rendering engines: Eevee and Cycles. Eevee is a real-time renderer known for its speed, while Cycles is a physically-based path tracer that produces high-quality images. Select the rendering engine based on your project requirements.
Sampling Settings
Sampling is crucial for rendering quality. In Cycles renderer, adjust sampling values for "Render" and "Viewport" under the "Sampling" option. Typically, set sampling values between 100 to 500 based on your needs and hardware performance.
Denoising Settings
High sampling values reduce image noise but increase rendering time. To achieve high-quality images at lower sampling values, enable denoising. In the Render Settings panel, find the "Denoising" option and activate it. Blender's built-in denoiser effectively reduces noise, resulting in clearer images.
Using High-Quality Materials and Textures
High-quality materials and textures significantly enhance rendering results. In Blender, add various textures to your models, including color maps, bump maps, and reflection maps. Utilize the Node Editor for precise texture application.
If you require high-quality 3D textures, HDRI, or 3D model downloads for your modeling and virtual scene needs, consider downloading them from Relebook.
Rendering and Exporting
Once settings are configured, initiate rendering. From Blender's top menu, select "Render" and click "Render Image." Rendering times vary based on scene complexity and settings.
Saving Rendered Results
After rendering completes, save the image to your local disk. Click on the "Image" menu, choose "Save As," and specify the saving path and file format, such as JPEG, PNG, or TIFF.
Tips for Enhancing Rendering Results
Optimizing Lighting
Proper lighting setup significantly improves rendering quality. Add and adjust light sources like point lights, directional lights, and spotlights to simulate realistic lighting environments for natural light and shadow effects.
Optimizing Model Topology
Model topology directly affects rendering quality and efficiency. Optimize model topology to reduce polygon count while preserving detail and smoothness. Use Blender's "Subdivision Surface" modifier to enhance model detail with lower polygon counts.
Using Compositor
Blender's built-in compositor is powerful for post-render processing. In the Compositor panel, add nodes such as color correction, blur, and sharpening to adjust and optimize rendered images, enhancing contrast, color saturation, and final image quality.
By following these steps and tips, you can effectively change render resolution in Blender 2.8 and enhance your rendering results. I hope this article helps you achieve better outcomes in your 3D creative projects. Happy creating!
If you need high-quality 3D textures, HDRI, or 3D model downloads for your modeling and virtual scene needs, consider downloading them from Relebook.

